A paperboard AUDI R18 TDI

Post here information about your own engineering projects, including but not limited to building your own car or designing a virtual car through CAD.
silente
silente
6
Joined: 27 Nov 2010, 15:04

Re: A paperboard AUDI R18 TDI

Post

Hi Paul,

this is Andrea (we have been in contact via mail recently regarding your work).

i was looking to the Audi R18 suspensions and, regarding the front one, i noticed from the crash test pictures also shown by allstaruk08 that the upper A arm rear attachment is seating in a sensibly lower position than the front one.
It is something i have seen also on some F1 cars, but it seems such a big span looking to the above mentioned picture..It looks quite extreme to me.

User avatar
PaulB
72
Joined: 17 Oct 2010, 09:52
Location: Graz/Austria

Re: A paperboard AUDI R18 TDI

Post

allstaruk08 wrote:its looking real good man! just a quick question if you knew that the floor is angled at 7º from the edge of the plank outwards. its looking flat on the pictures, iv found the regs for the floor area hope it helps

Image
Huuuuh... Thanks for reminding me of that! =D> I completely forgot that. So I have to abrade the underside of the Radiators.
"Being second is to be the first of the ones who lose!" - Ayrton Senna

Paul Bischof
Milton Keynes, UK
MK2 2HL
http://paulsf1.wordpress.com/

User avatar
PaulB
72
Joined: 17 Oct 2010, 09:52
Location: Graz/Austria

Re: A paperboard AUDI R18 TDI

Post

PaulB wrote:[...]
So I have to abrade the underside of the Radiators.
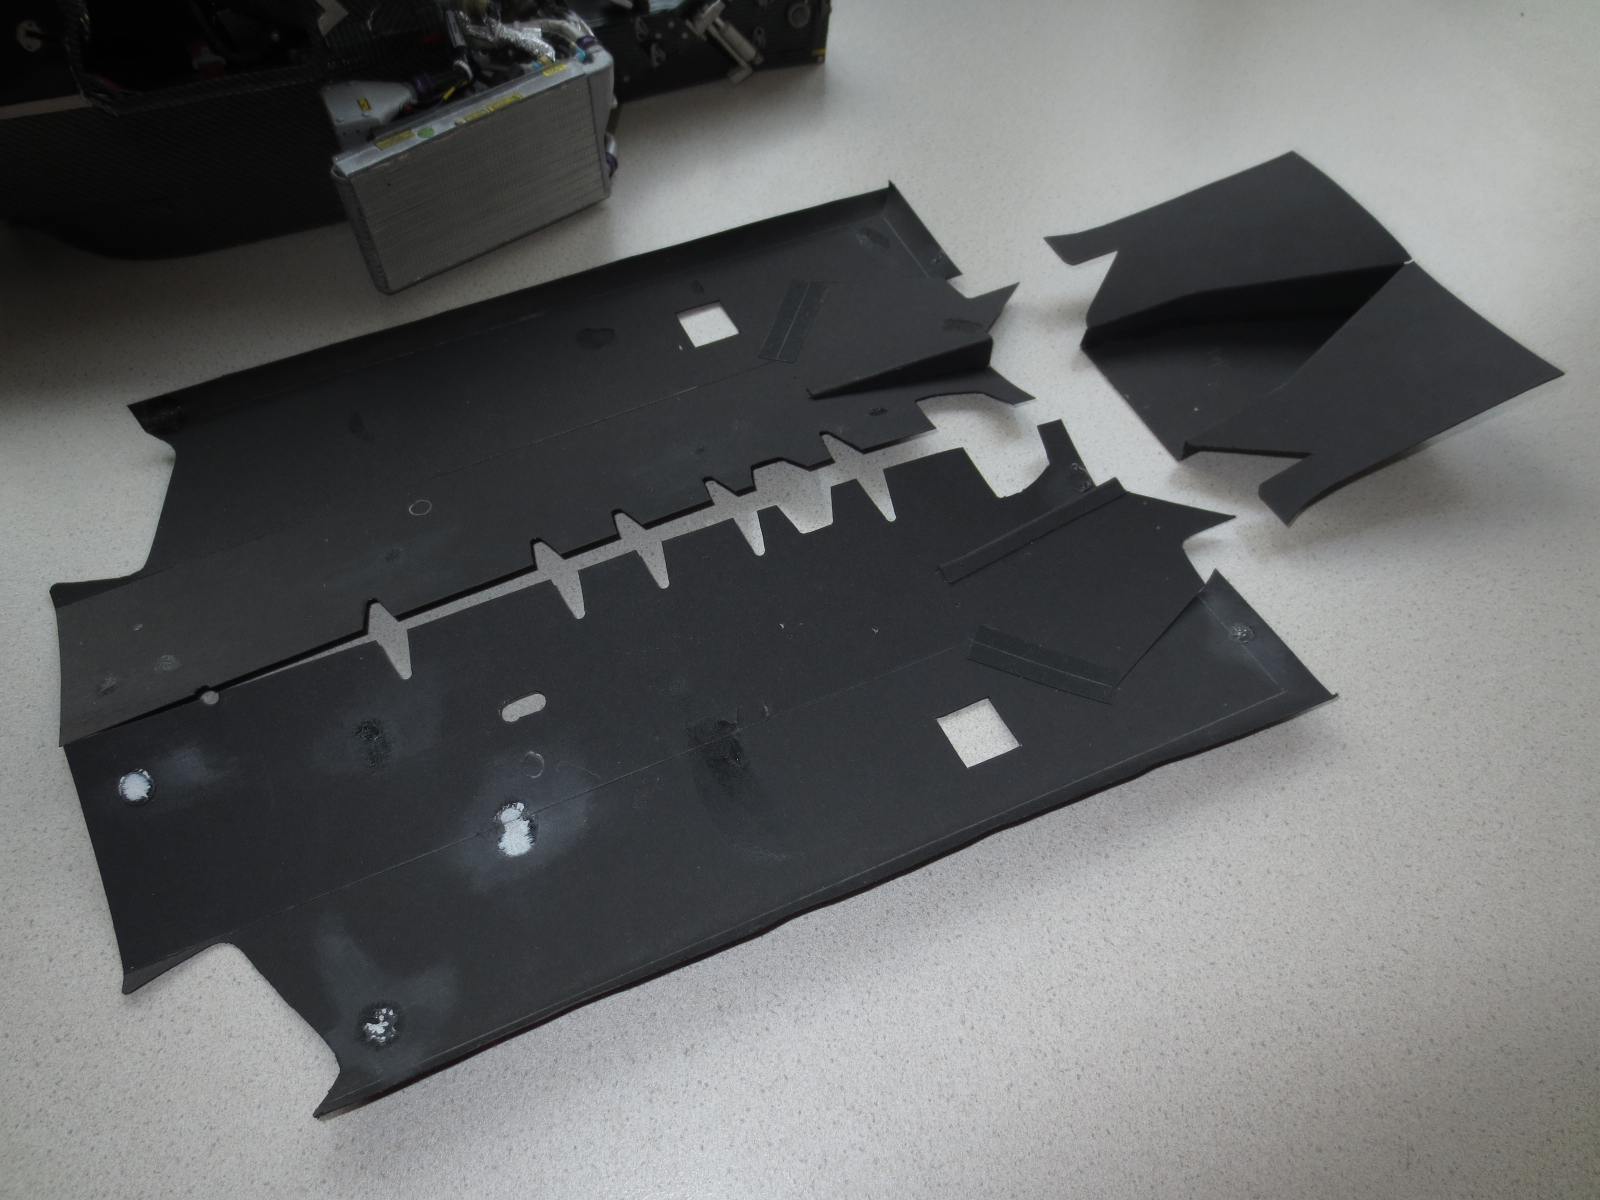
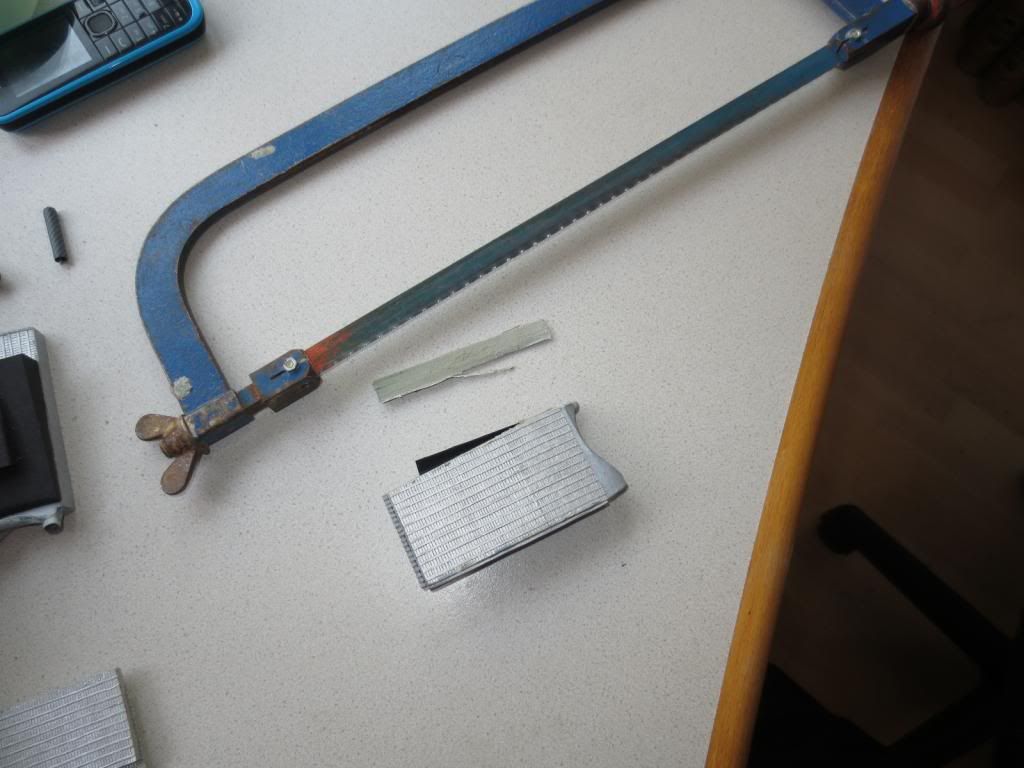
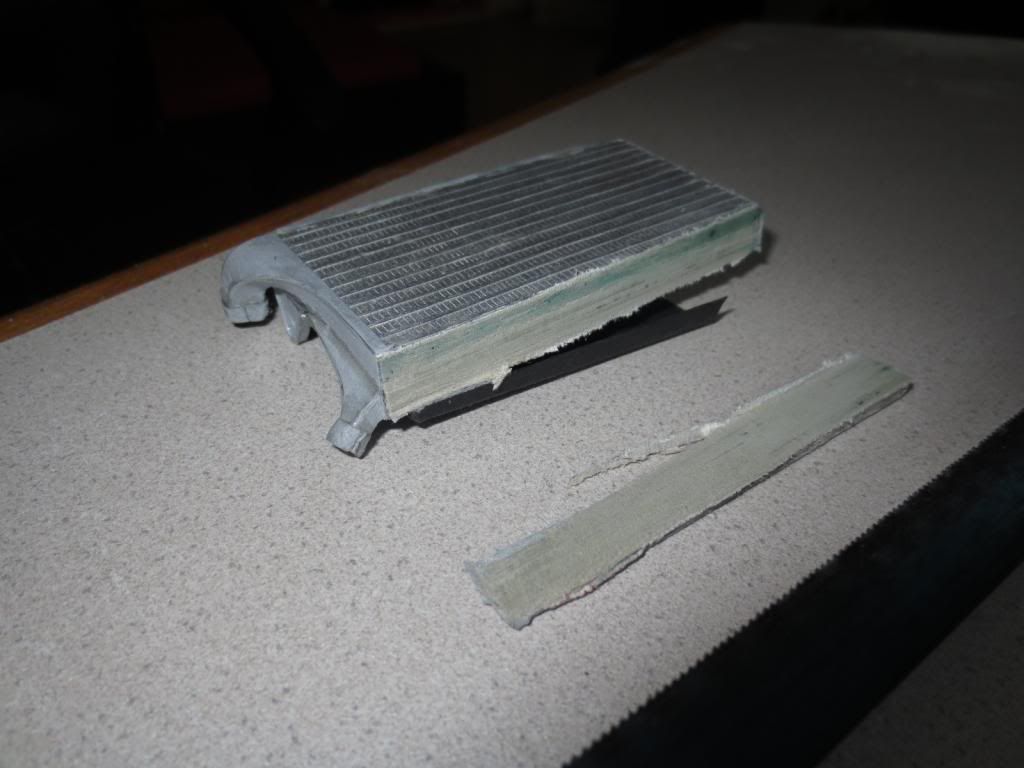
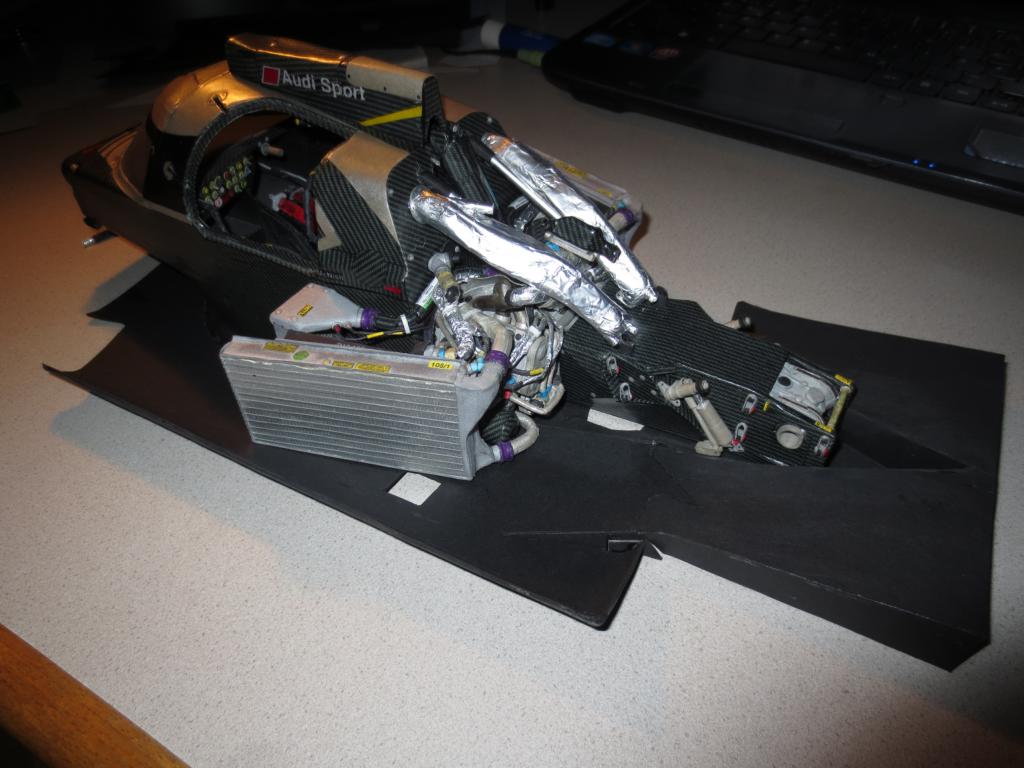
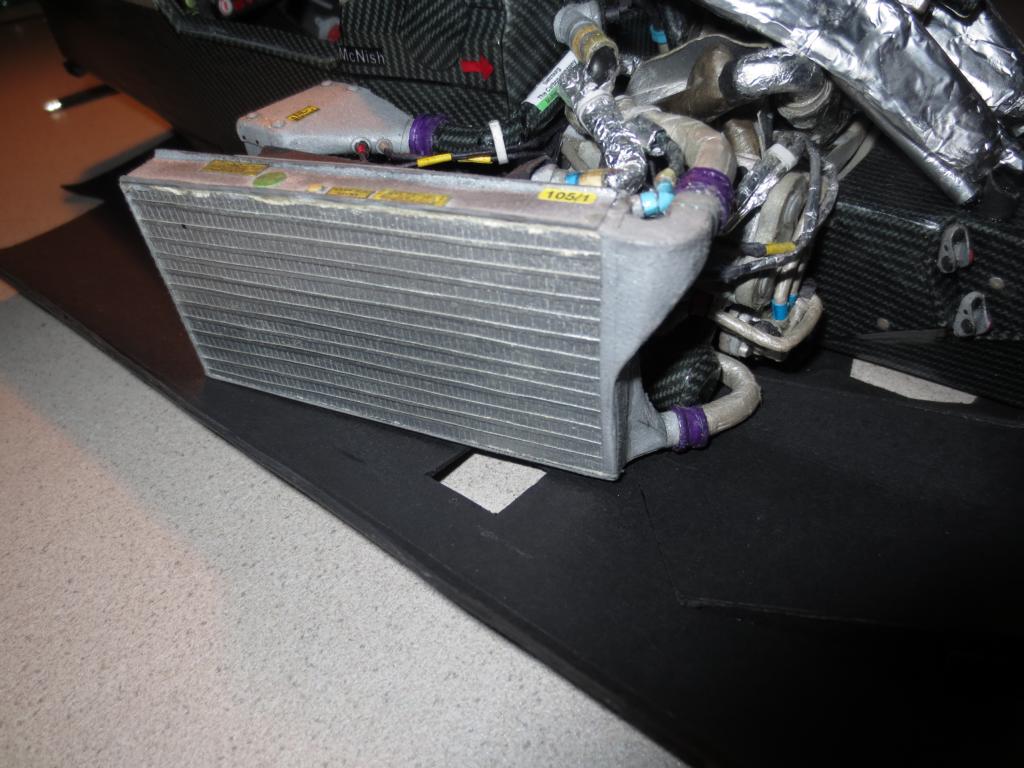
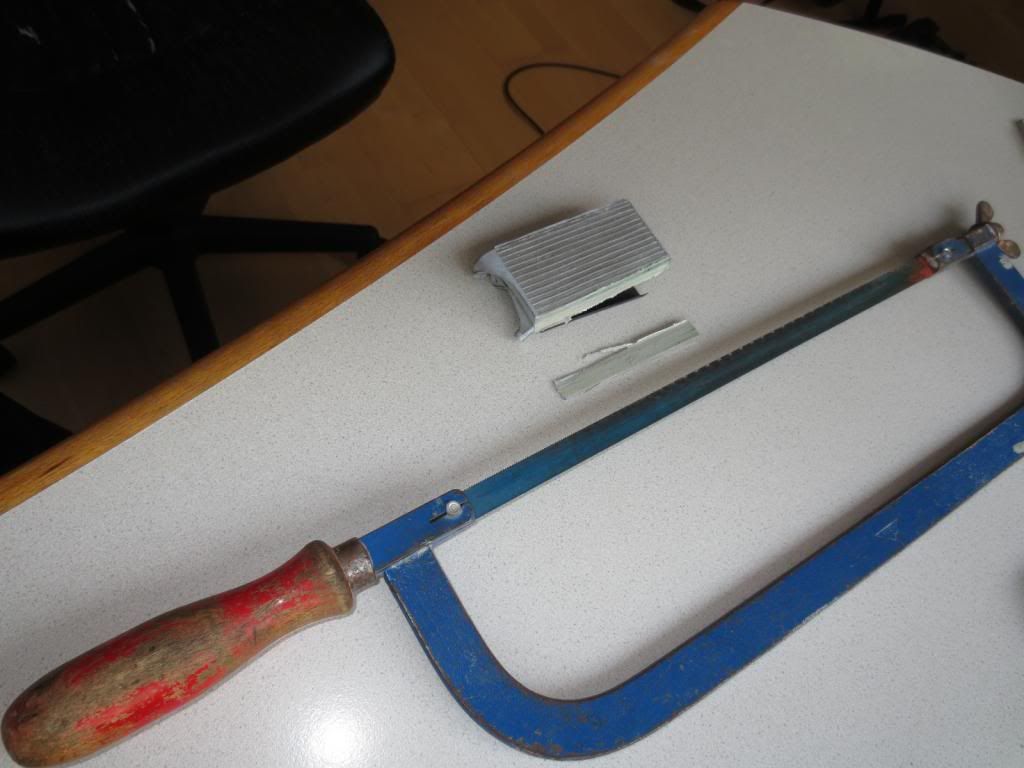
After I've recognized, that I've no chance with sandpaper, I took a saw and raged...
Result:
Image

Image

Image

That's the disadvantage of my high rigid method of construction...
"Being second is to be the first of the ones who lose!" - Ayrton Senna

Paul Bischof
Milton Keynes, UK
MK2 2HL
http://paulsf1.wordpress.com/

allstaruk08
allstaruk08
2
Joined: 21 Jan 2009, 20:47

Re: A paperboard AUDI R18 TDI

Post

i'd think of your high rigid method of building as an advantage, it could have ripped to bits if it wasn't put together so well lol

User avatar
PaulB
72
Joined: 17 Oct 2010, 09:52
Location: Graz/Austria

Re: A paperboard AUDI R18 TDI

Post

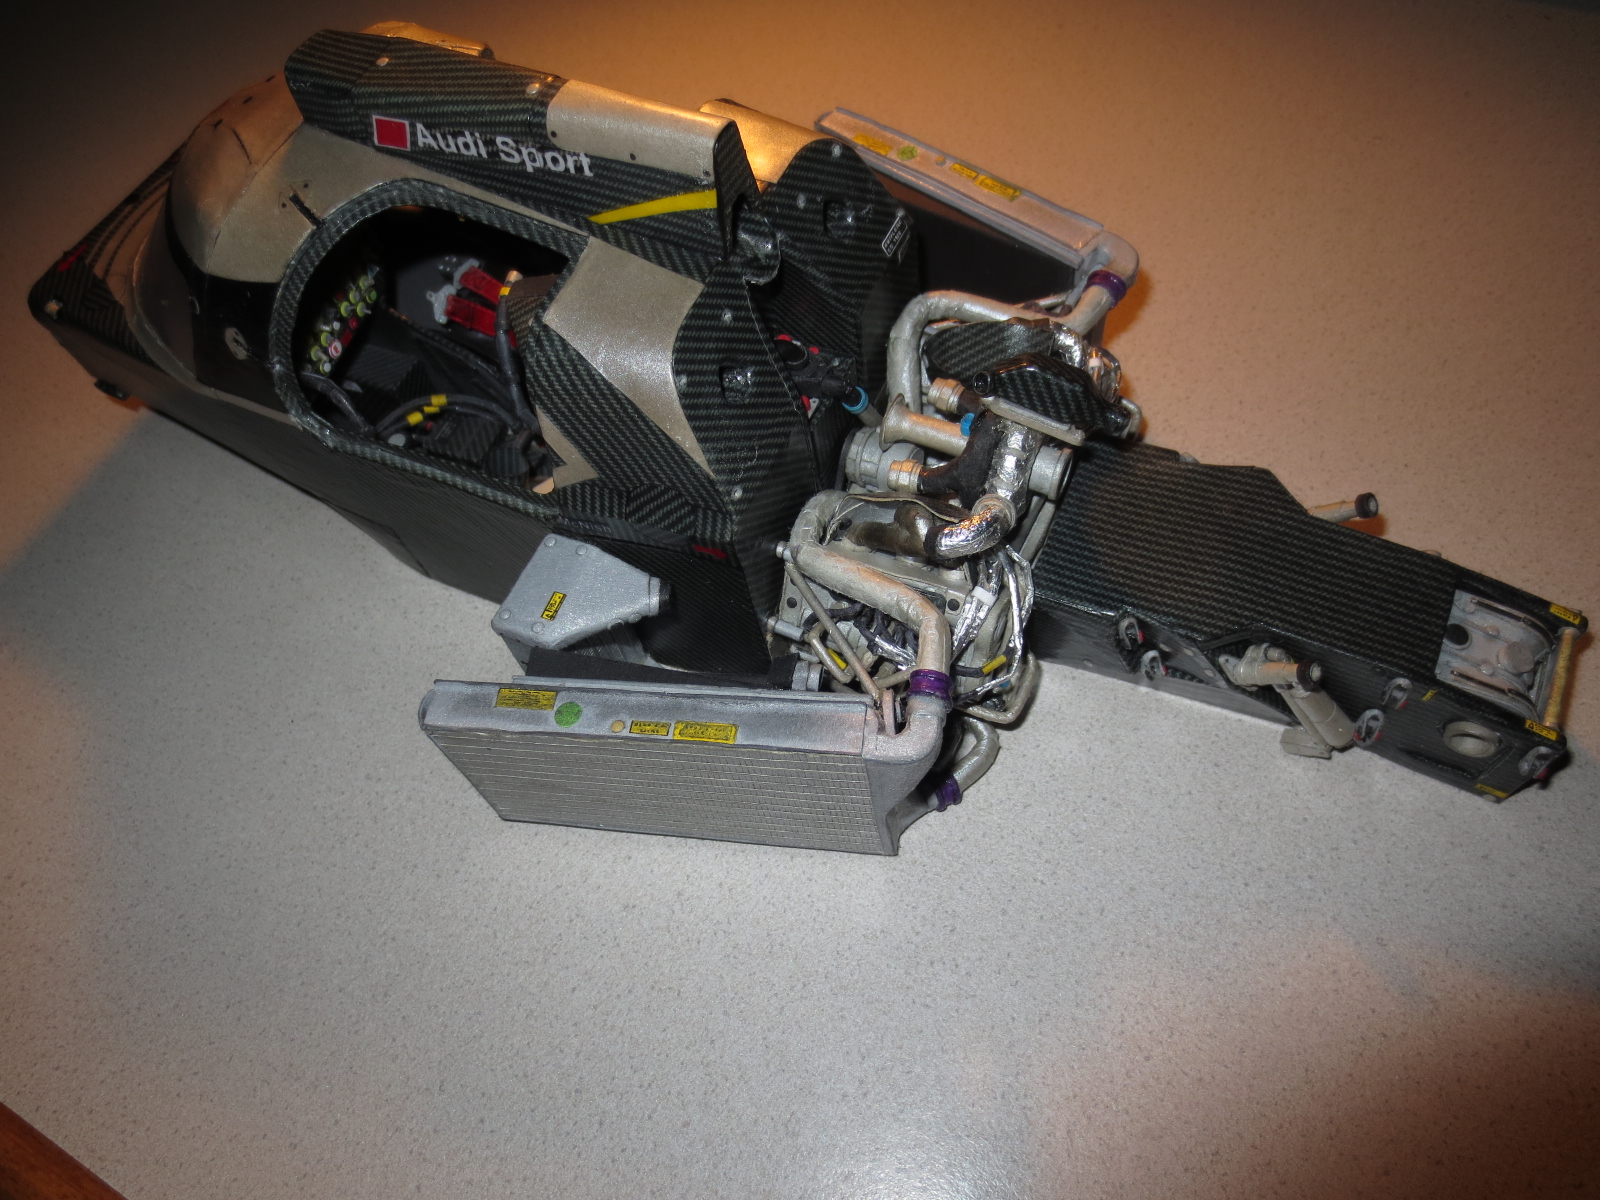
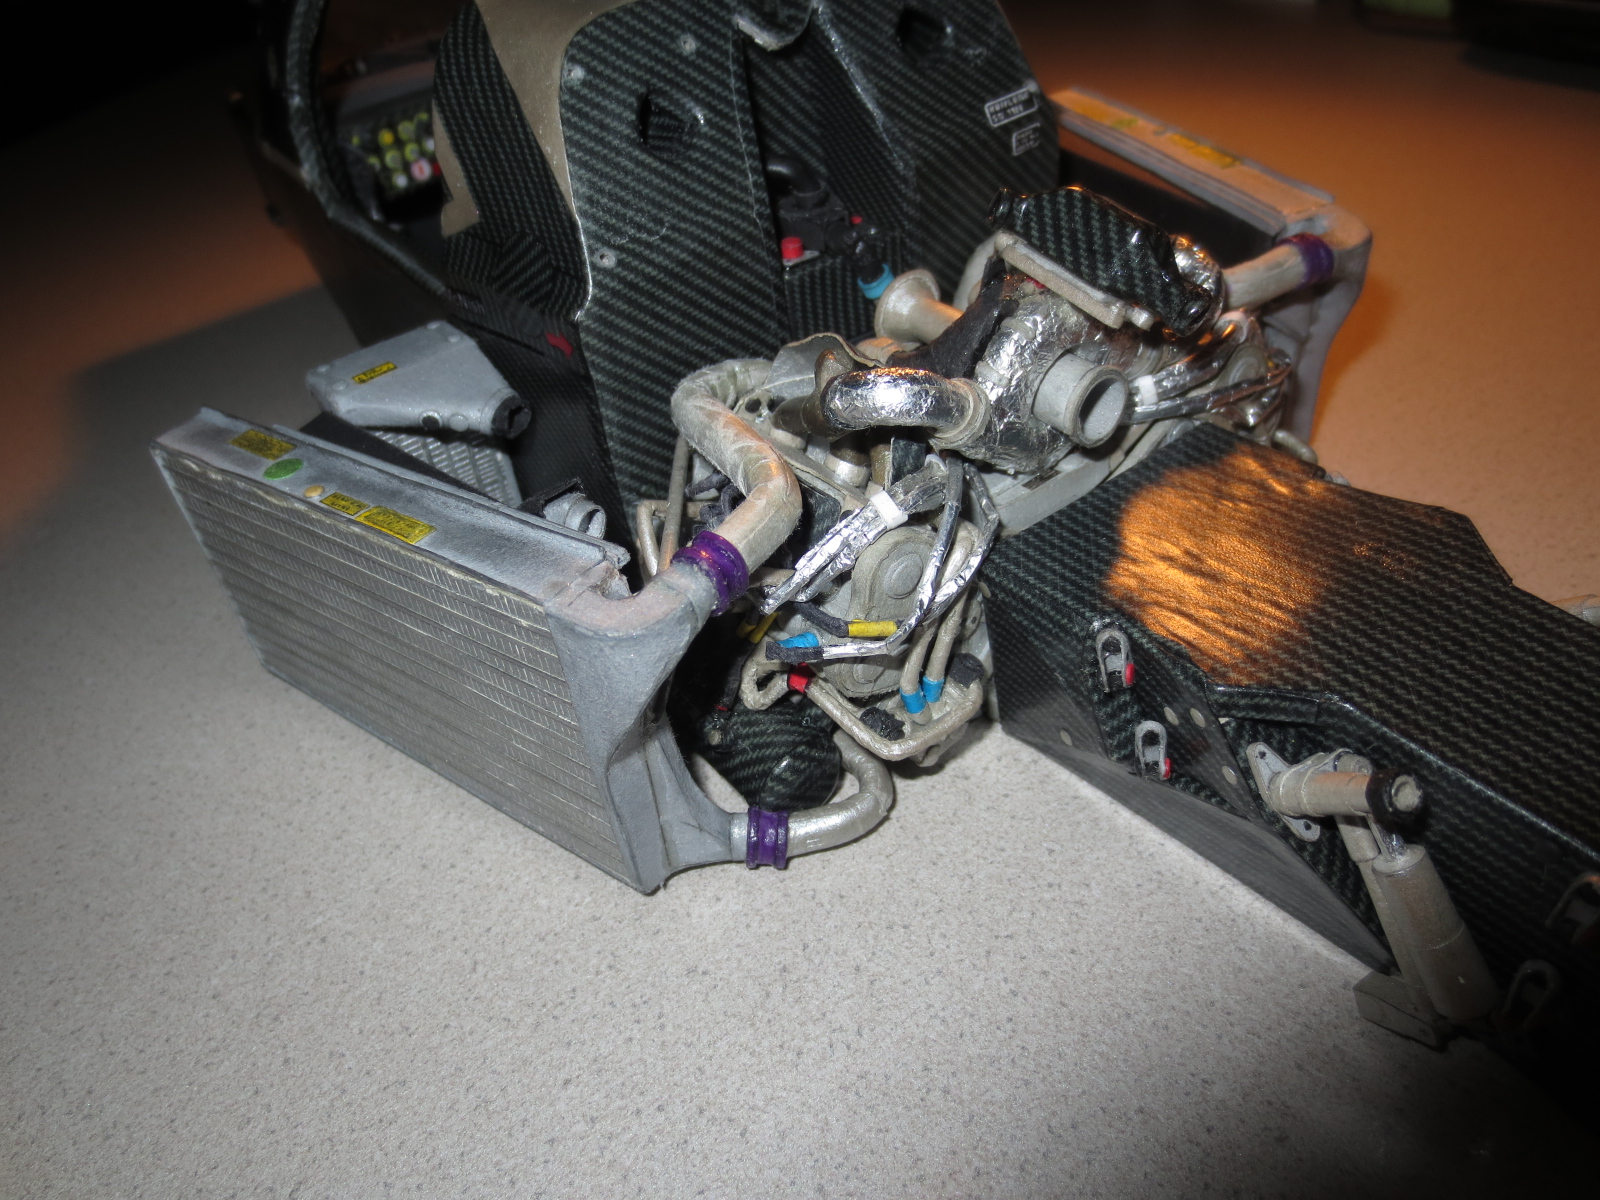
Another few words on my work on the cooling system of the Audi:
allstaruk08 wrote:i'd think of your high rigid method of building as an advantage, it could have ripped to bits if it wasn't put together so well lol
Well, it's actually not really a disadvantage. If the radiators aren't that rigid, maybe I would not be able to cut them down without any damage.
Additionally, I finished now the water cooling circuit. The first lines of the charge air circuit are also done.

Here's the current standing. You can see a part of the water radiator suspension and its lines leading into the inside of the motors V.
Image

Another closer look to the cooling lines.
Image

The inside of the V isn't correct. This picture Click appeared after I've finished the inside.
Image

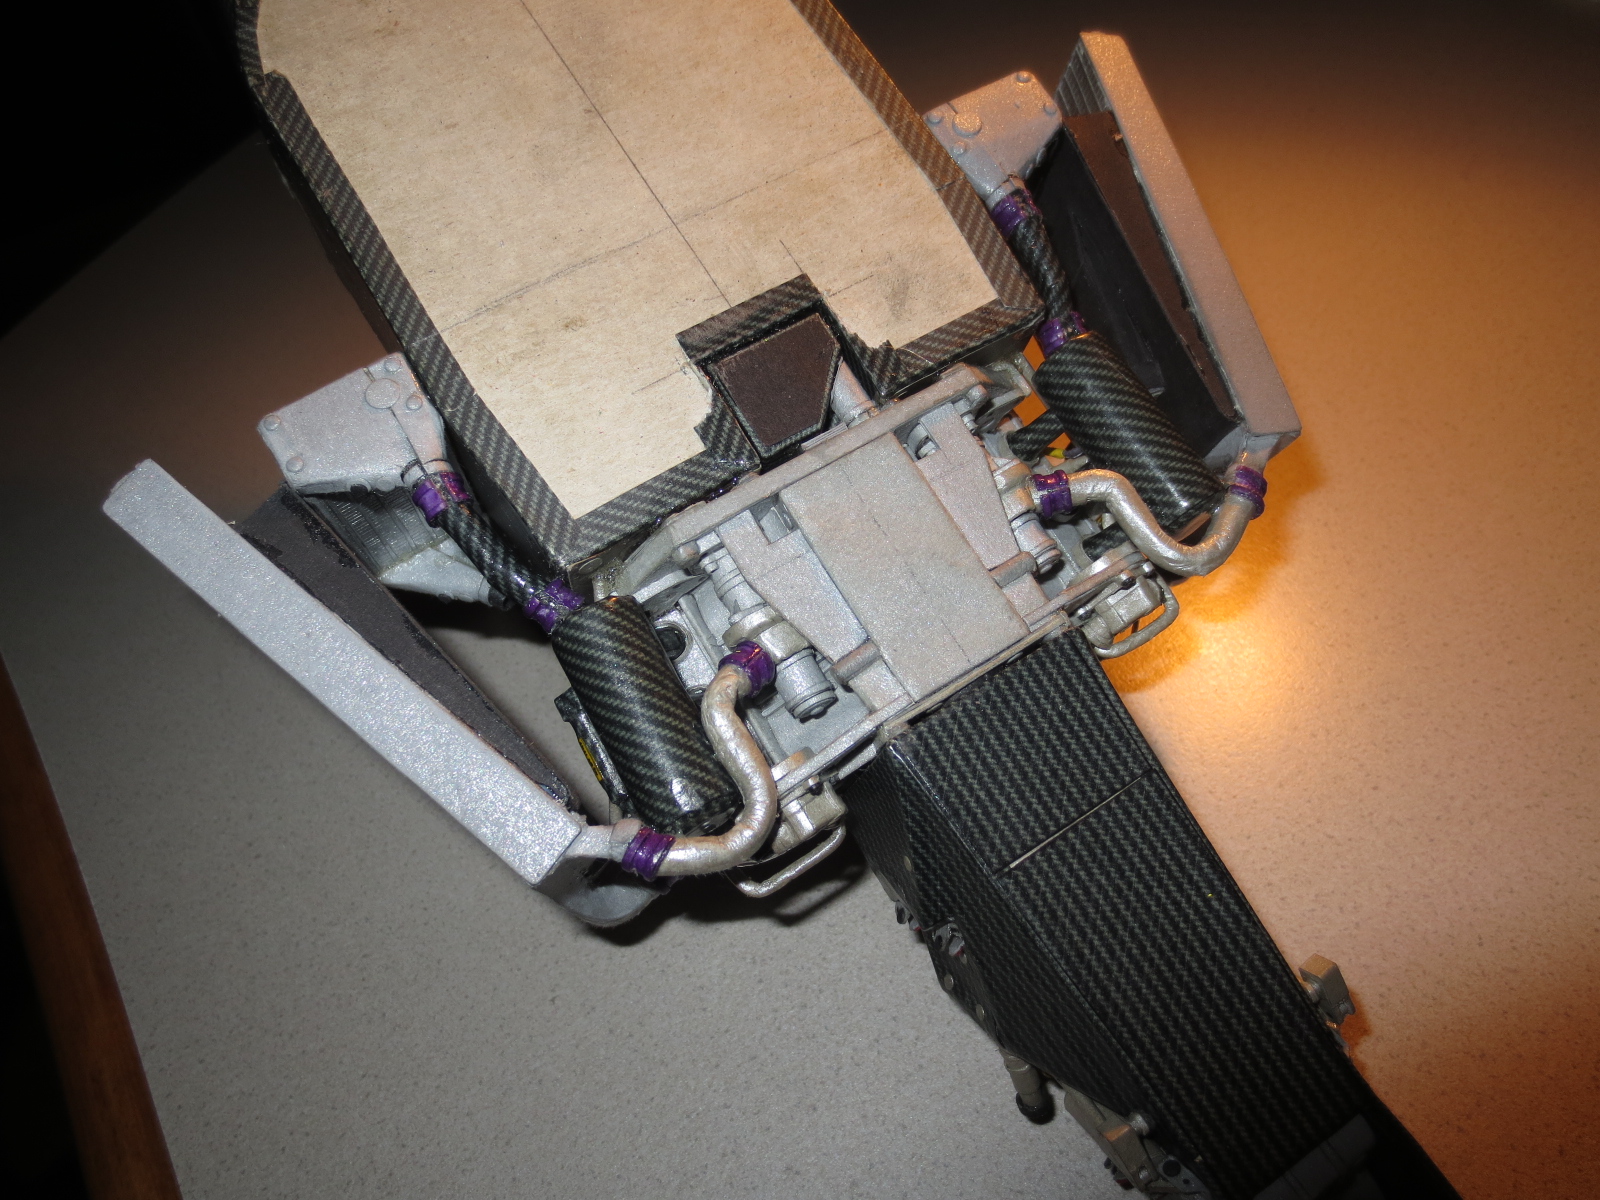
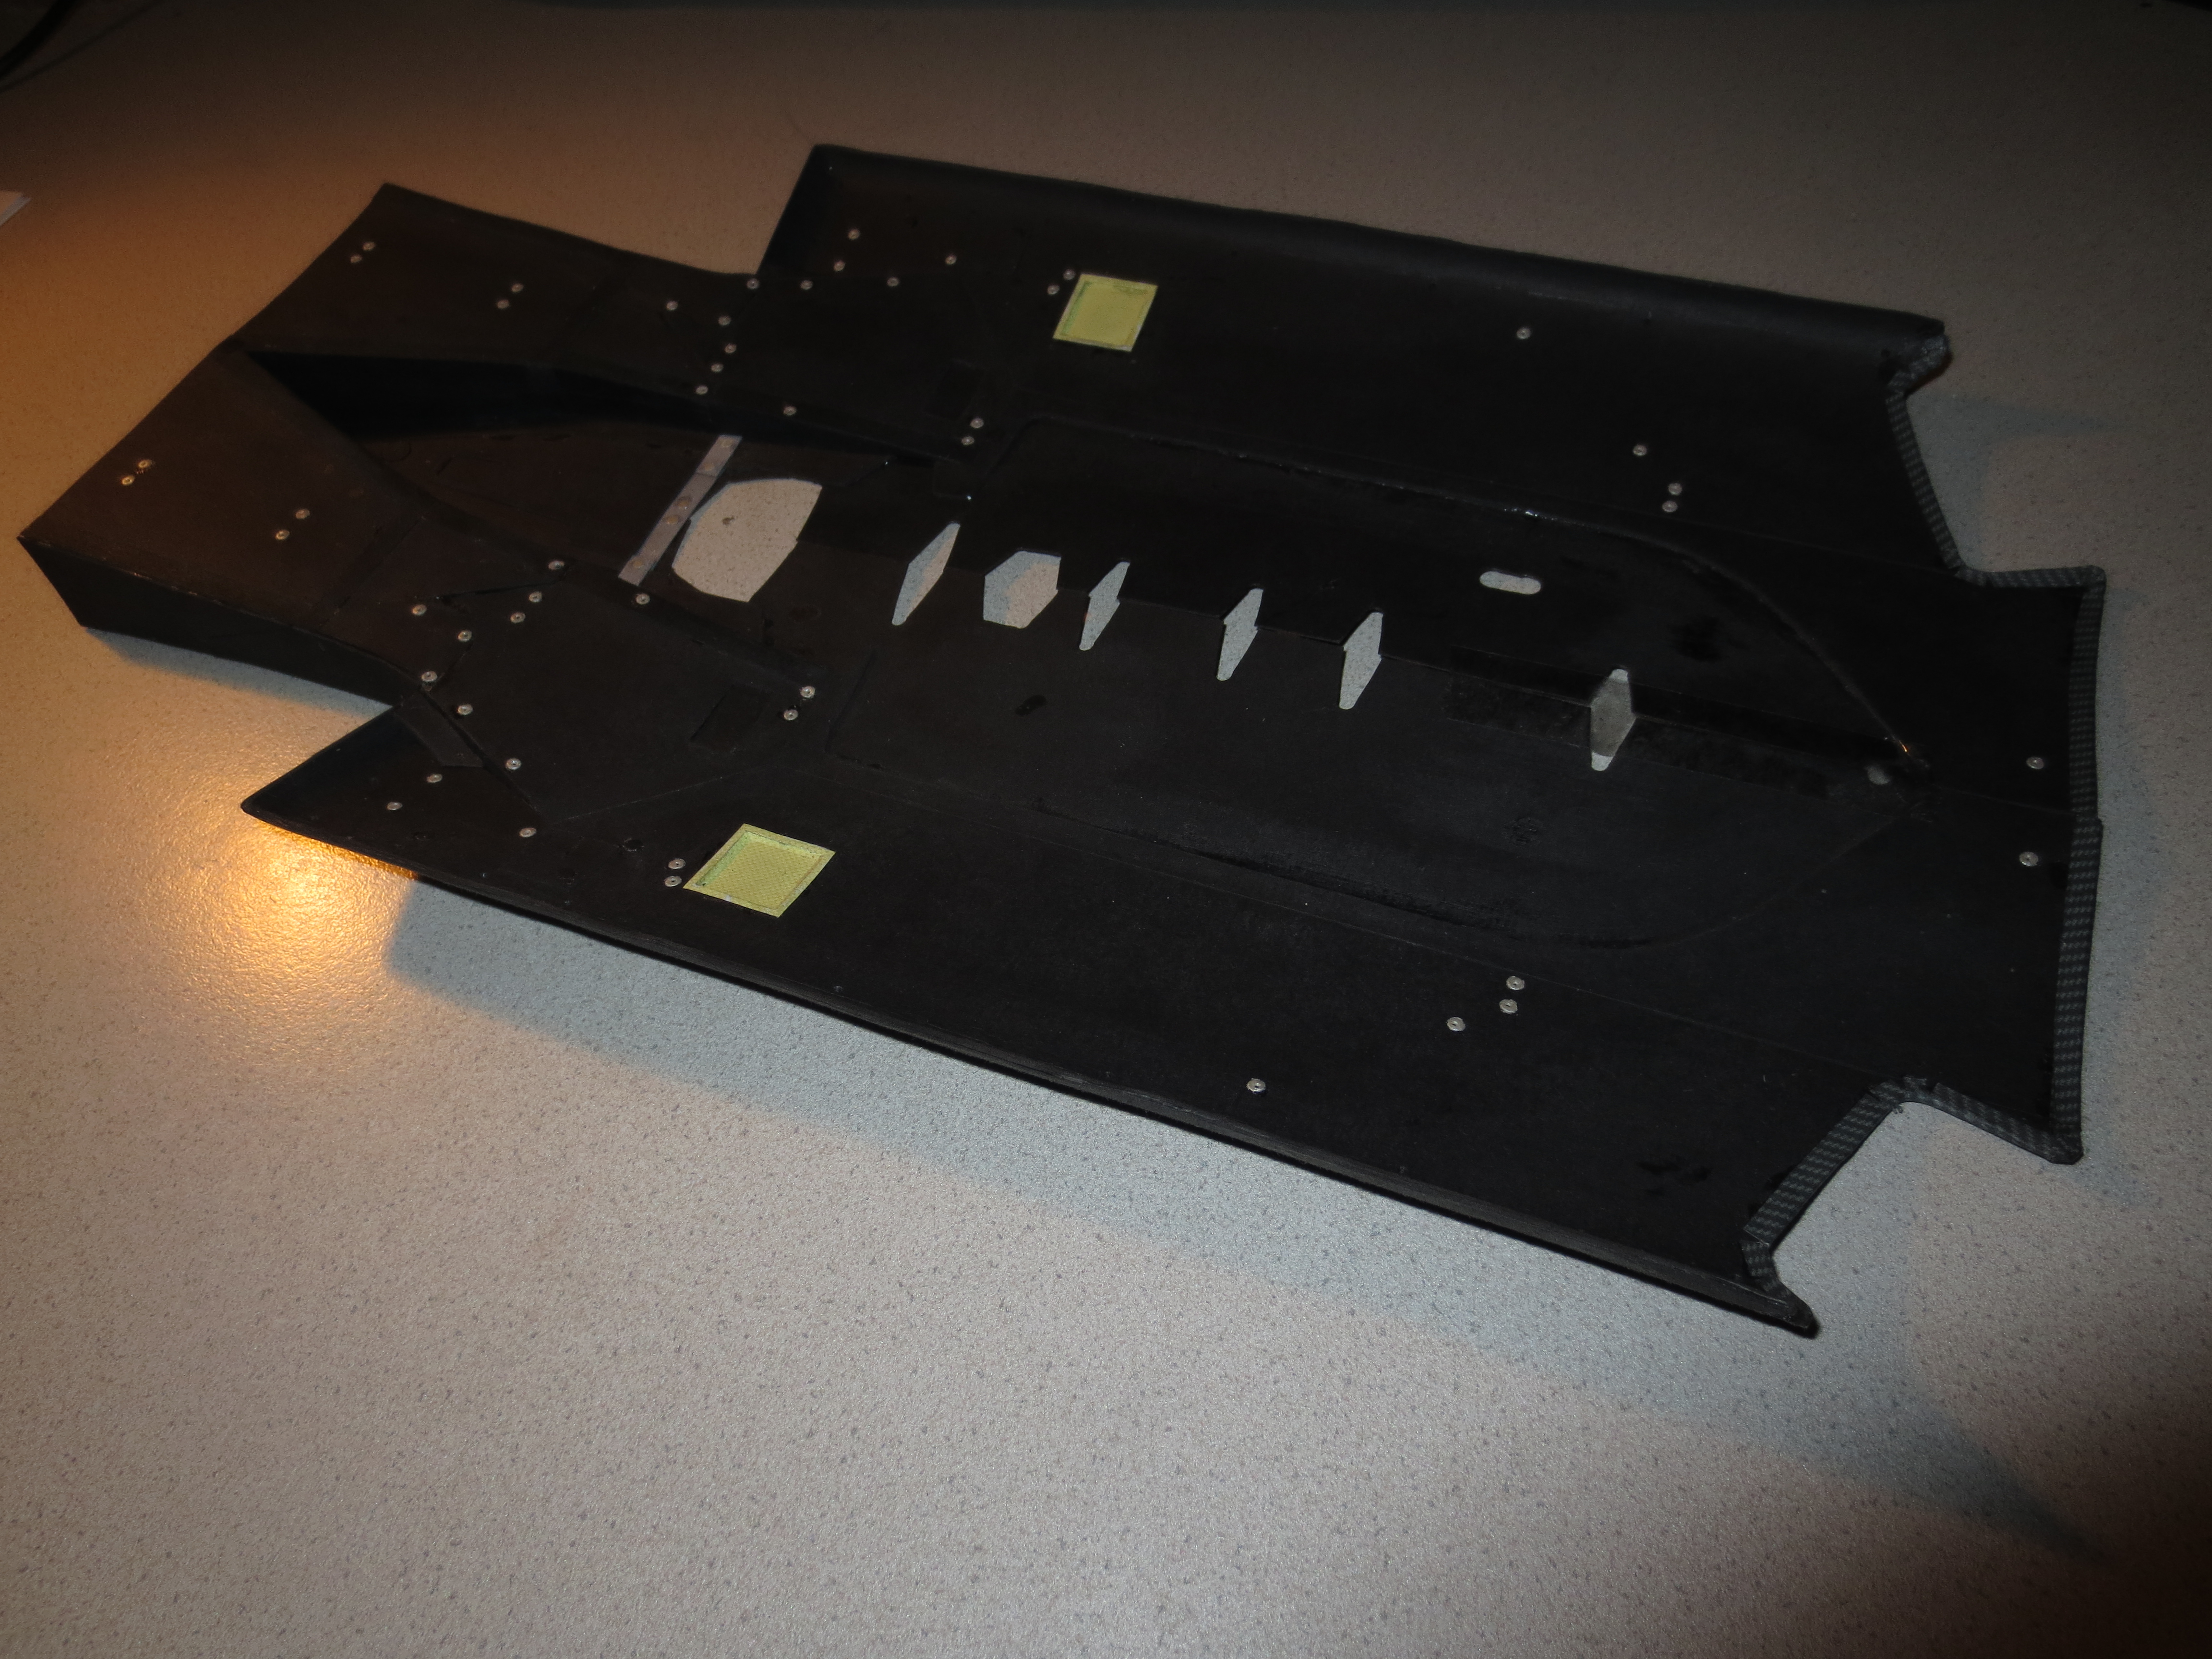
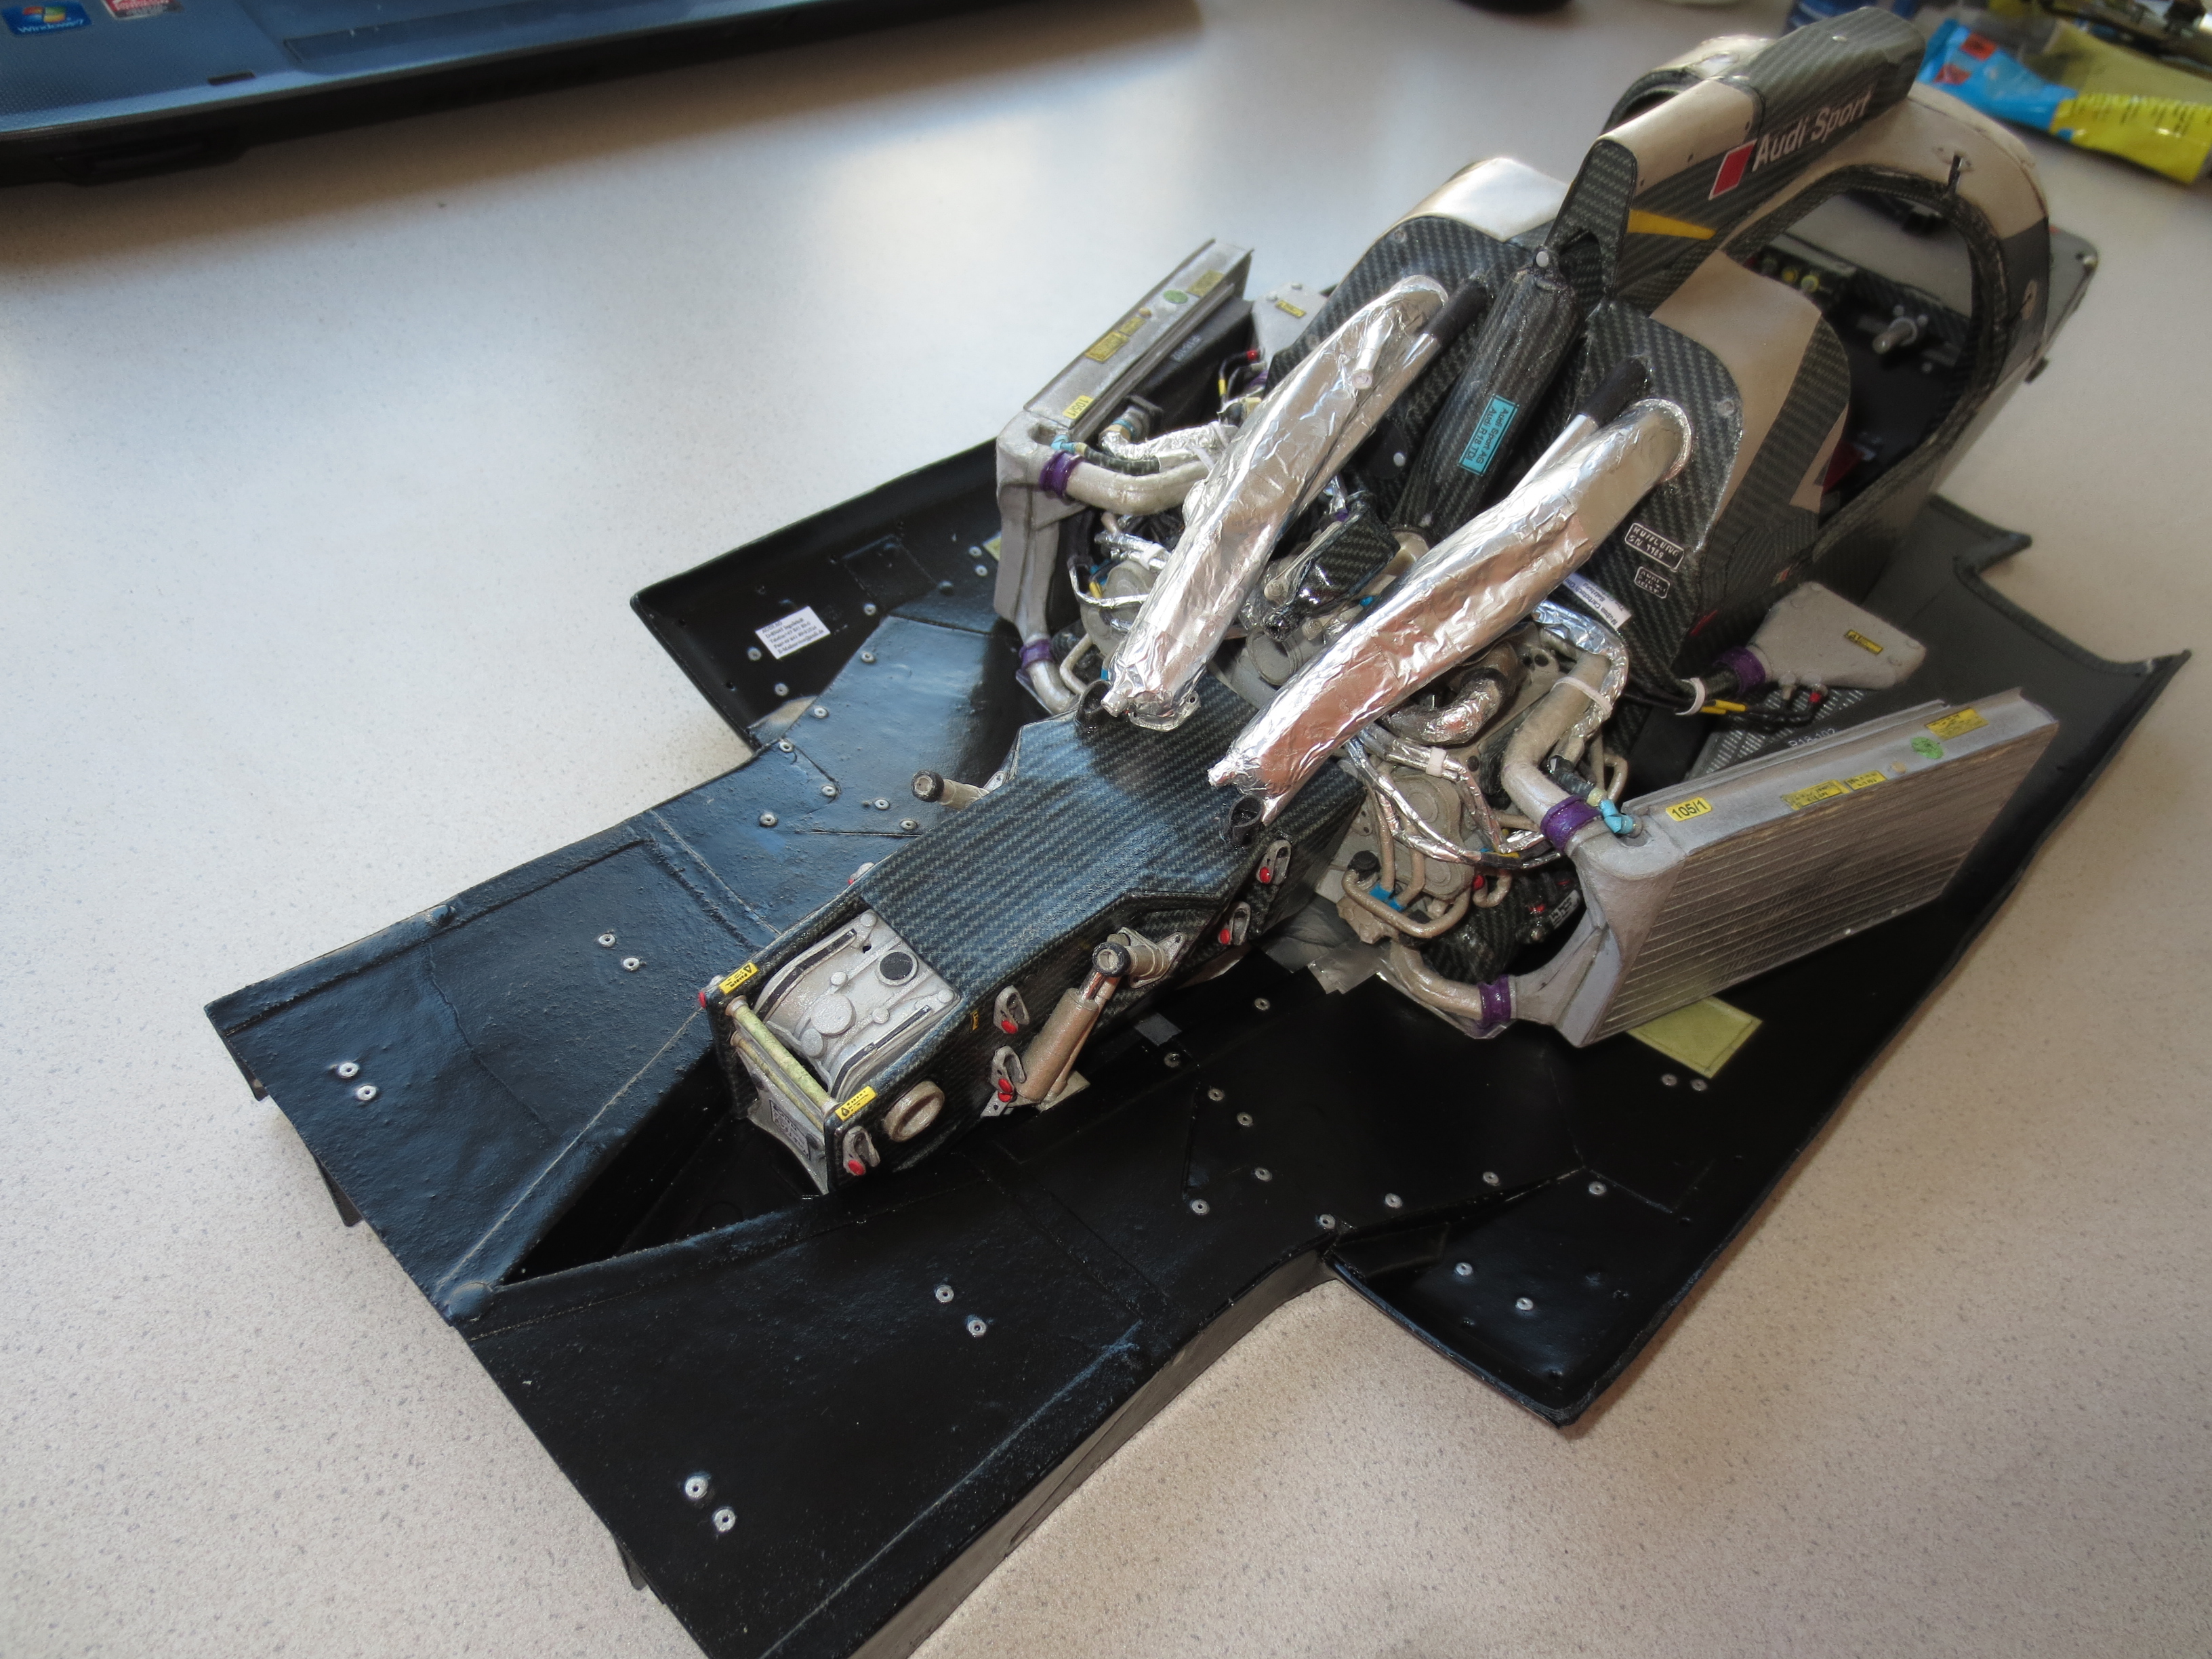
The cars underside. Not completely detailed, but the underbody will cover this. I guess I won't make the underbody removable on the finished car.
Image

Cheers,
Paul
"Being second is to be the first of the ones who lose!" - Ayrton Senna

Paul Bischof
Milton Keynes, UK
MK2 2HL
http://paulsf1.wordpress.com/

bucker
bucker
8
Joined: 02 Aug 2012, 21:33

Re: A paperboard AUDI R18 TDI

Post

Amazing

User avatar
PaulB
72
Joined: 17 Oct 2010, 09:52
Location: Graz/Austria

Re: A paperboard AUDI R18 TDI

Post

Hey folks,

A few more words on my Audi R18 TDI. The last days, I worked on the engine bay, which is now almost finished. Before I can start with the suspension, I've to fit the underbody and before that, I have to manufacture the underbody.

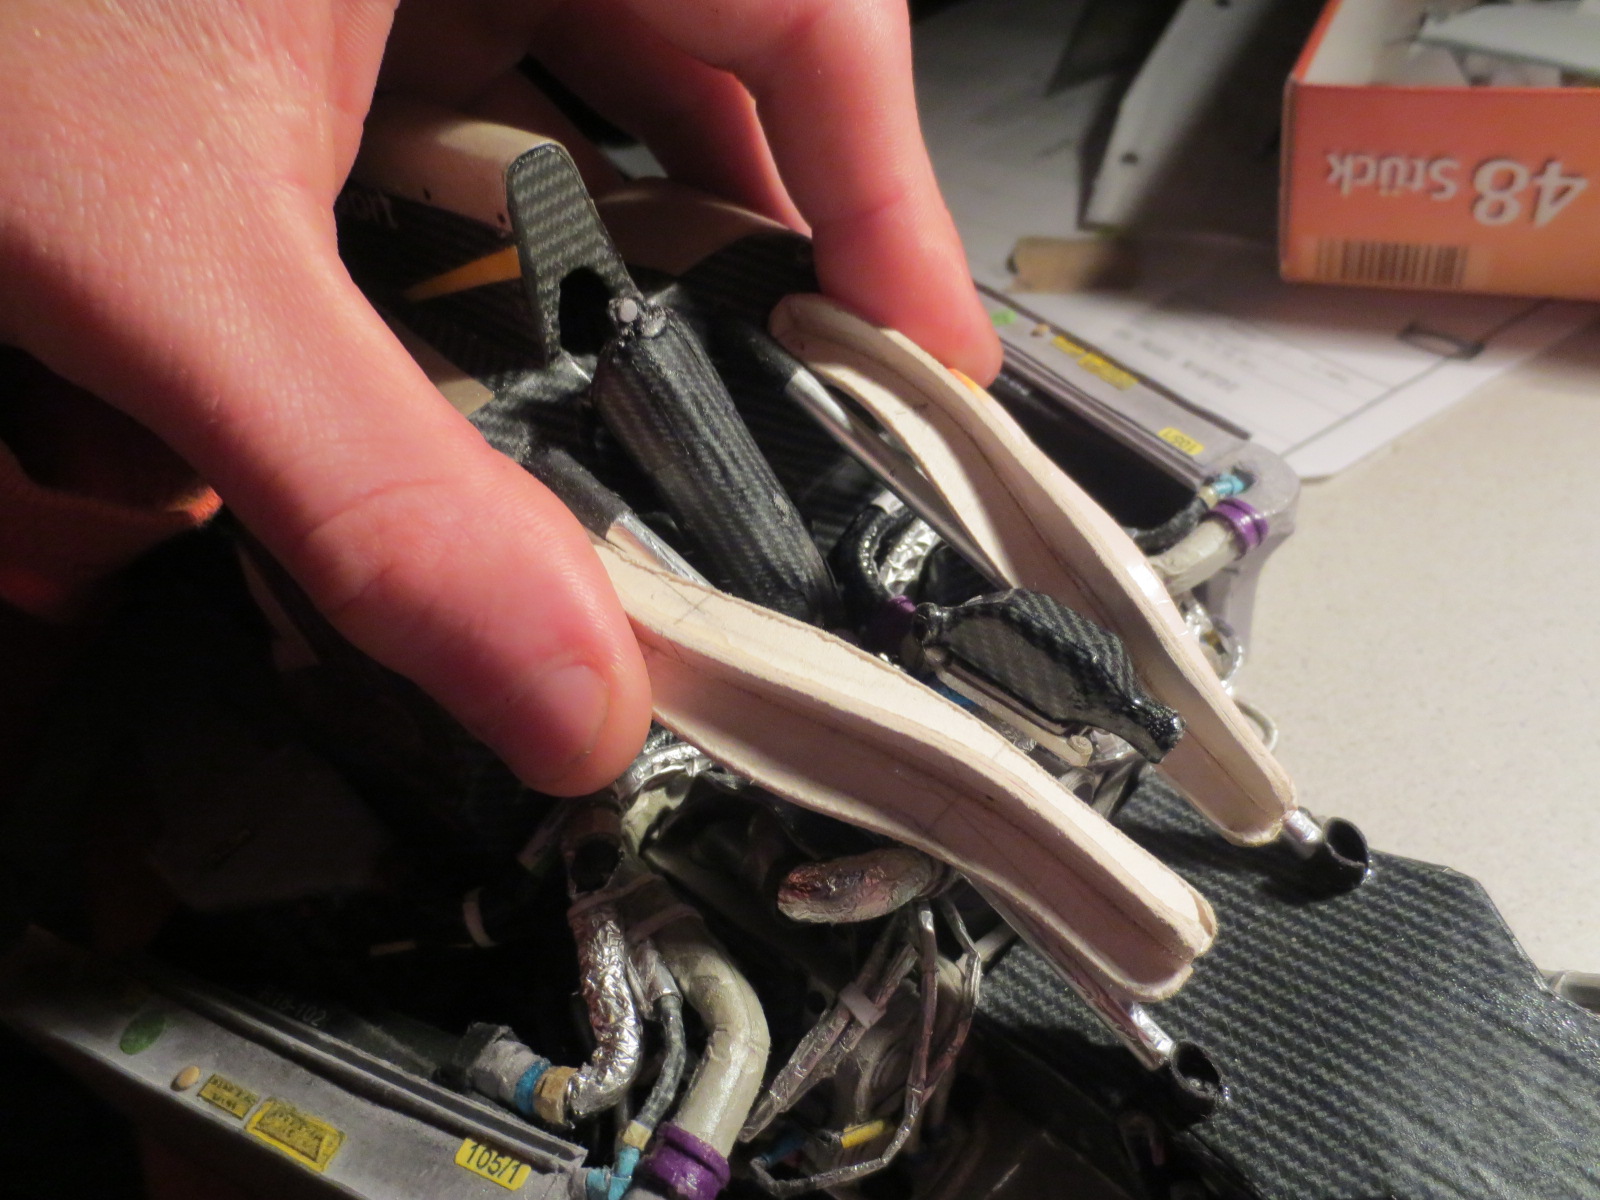
First, to the engine bay. The two big air pipes, which lead the "used" air from the cockpit to the engine area were a bit tricky to build. Not really difficult, but a bit different from my usual building strategy. First, I made the two molds which only consists out of the two longitudinal frames. The shape of this frames is the projected area viewed from the side and viewed from above. Then I took many small paper pieces (about 15mm x 50mm) and placed them round the frames. Just like wet lamination of carbon fibres. Then they were covered with aluminium foil.

The function of these two air pipes is still a bit of unknown territory for me. At the top, a bit air is tapped to cool the VTG control-box (VTG = Variable Turbine Geometry). At the rear end, two lines seem to lead into the gearbox housing. Maybe for gearbox oil cooling? And two other lines lead into some at the gearbox housing attached boxes . One of them should be a hydraulic cooler. So, you see, there's a bit of research in front of me left.

The two frames for the cooling pipes.
Image

At the left pipe, you can see the tap, which leads air to the VTG control-box. At the rear end of the pipes, you can see the quite big tubes which leads into the gearbox housing, the two small taps lead into the boxes.
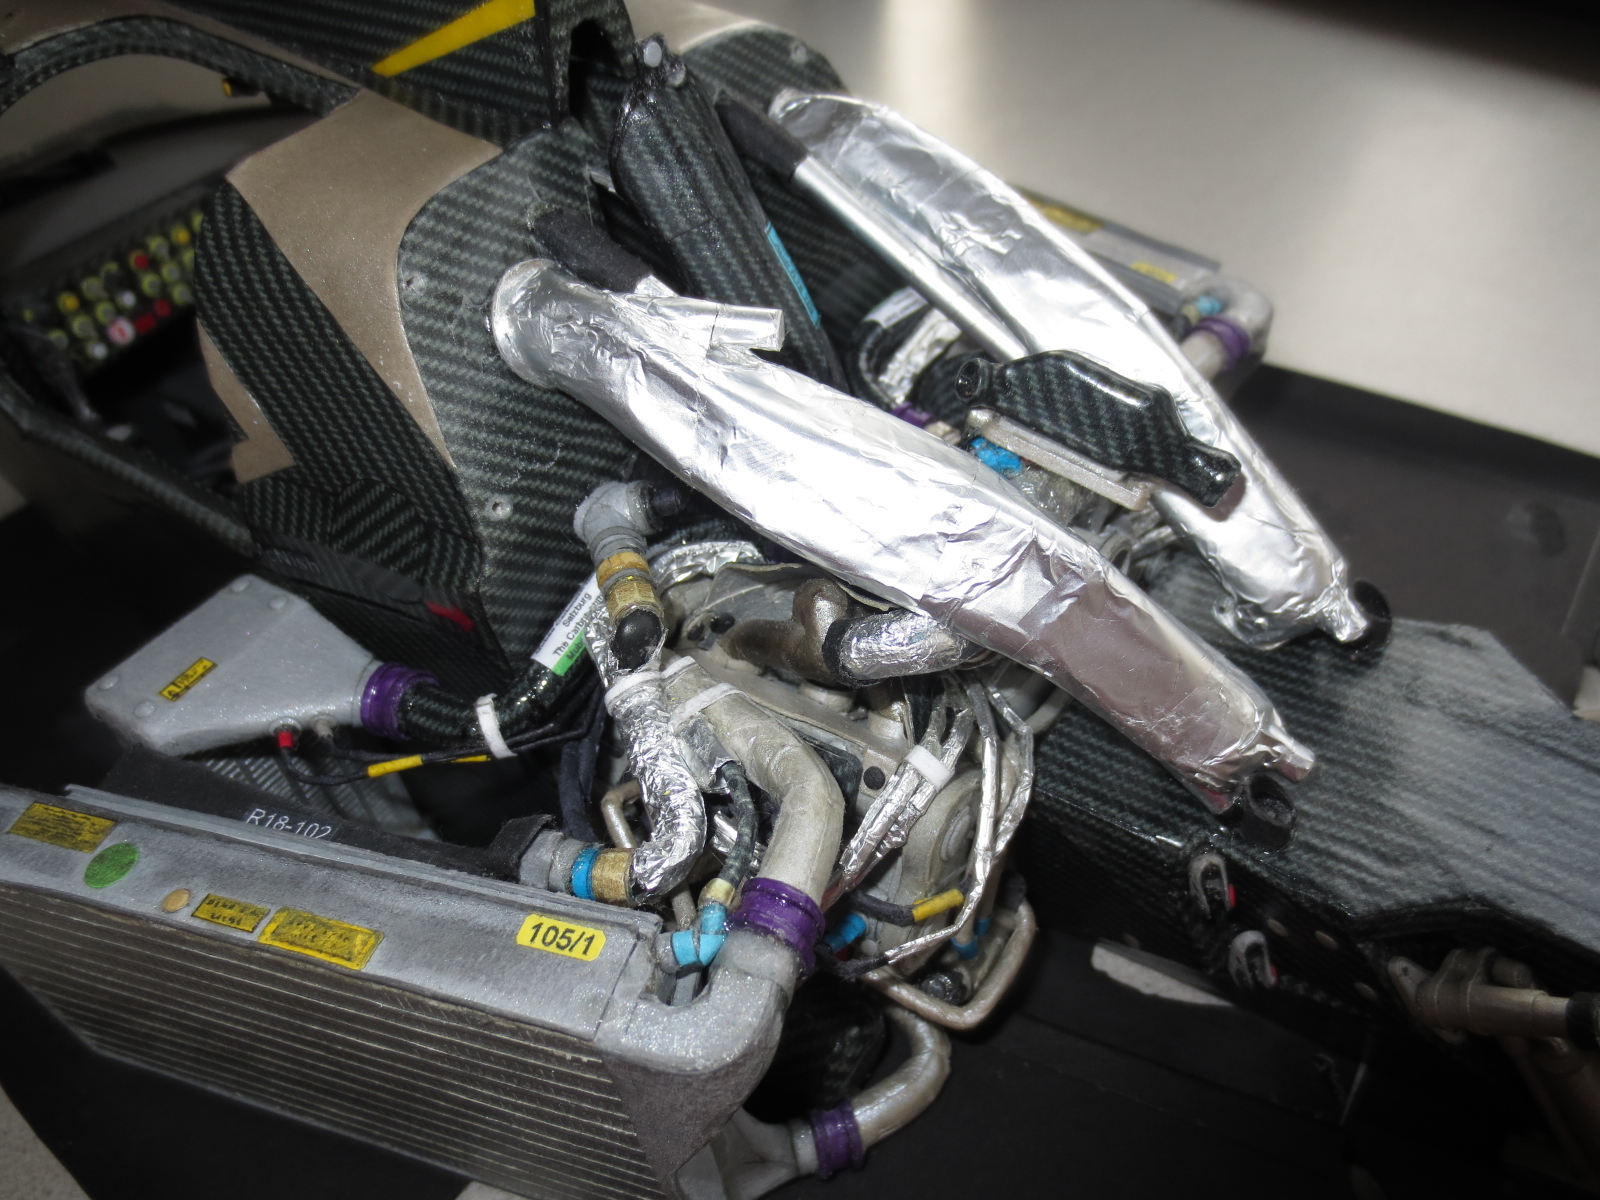
Image

The aluminium foil acts as heat shields, because the pipes run very near beside the exhaust system.
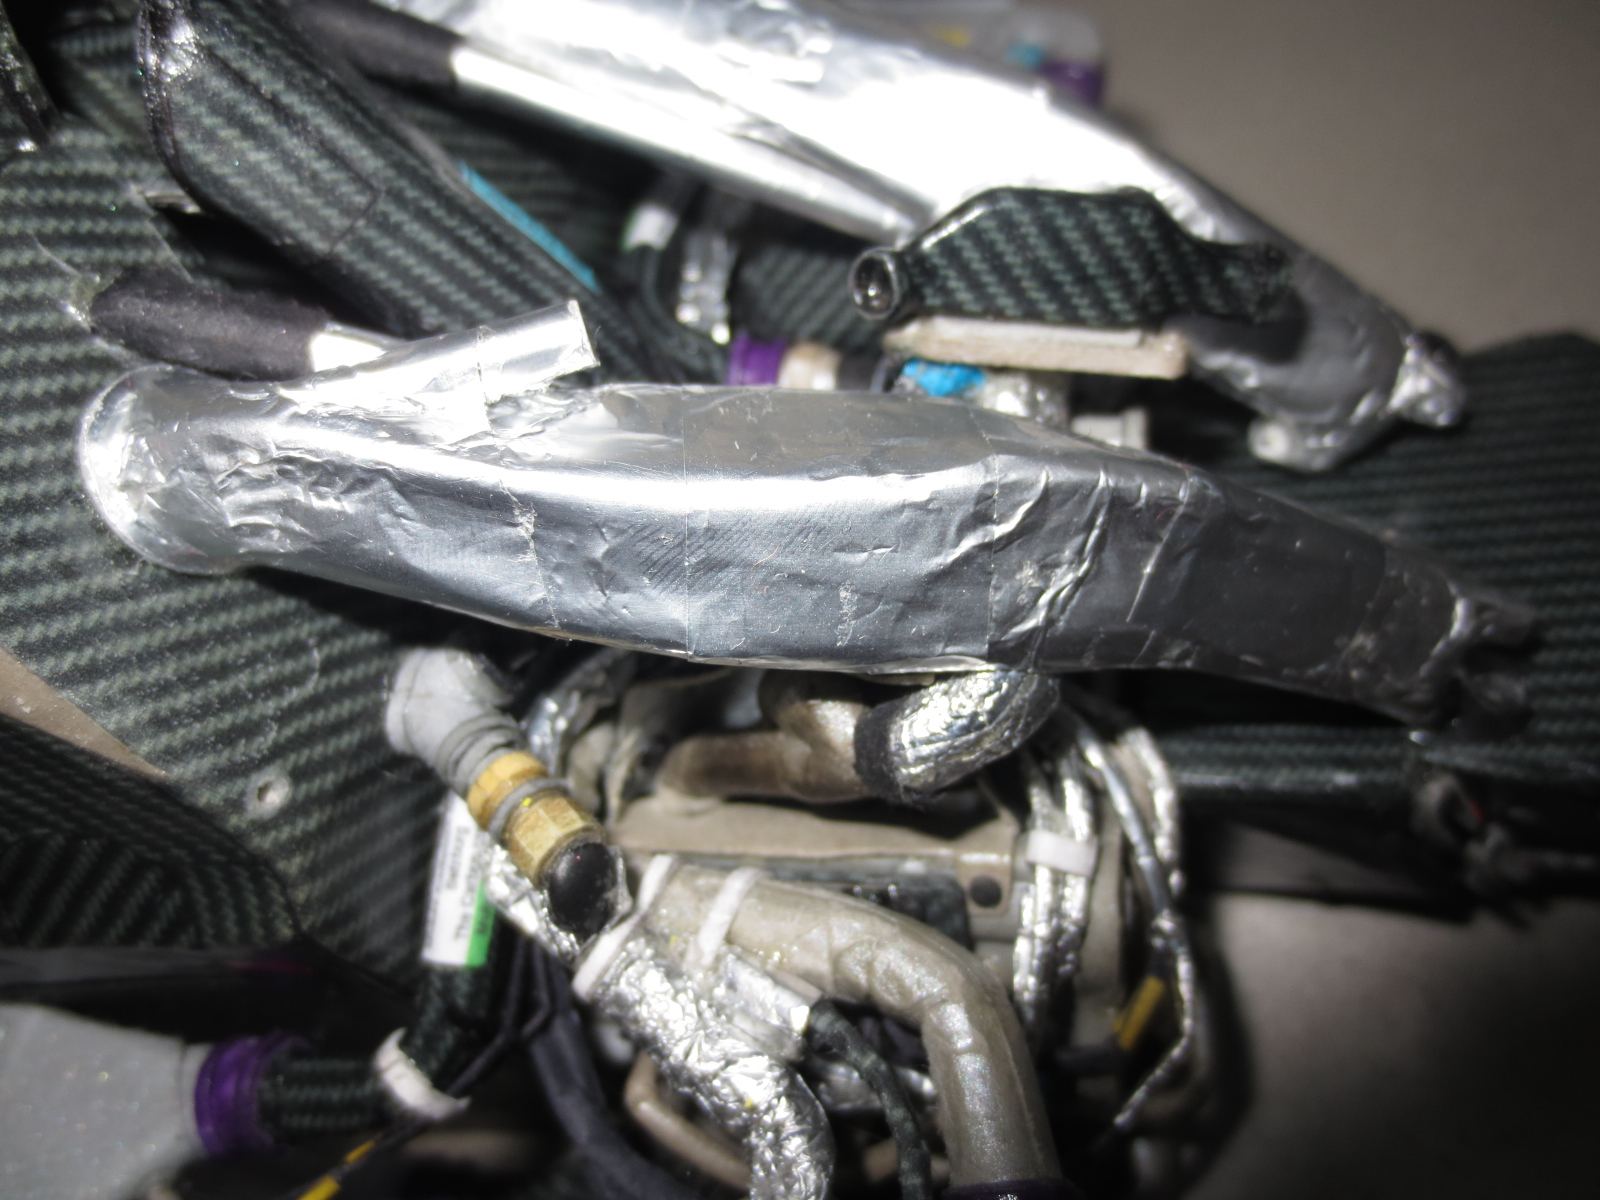
Image

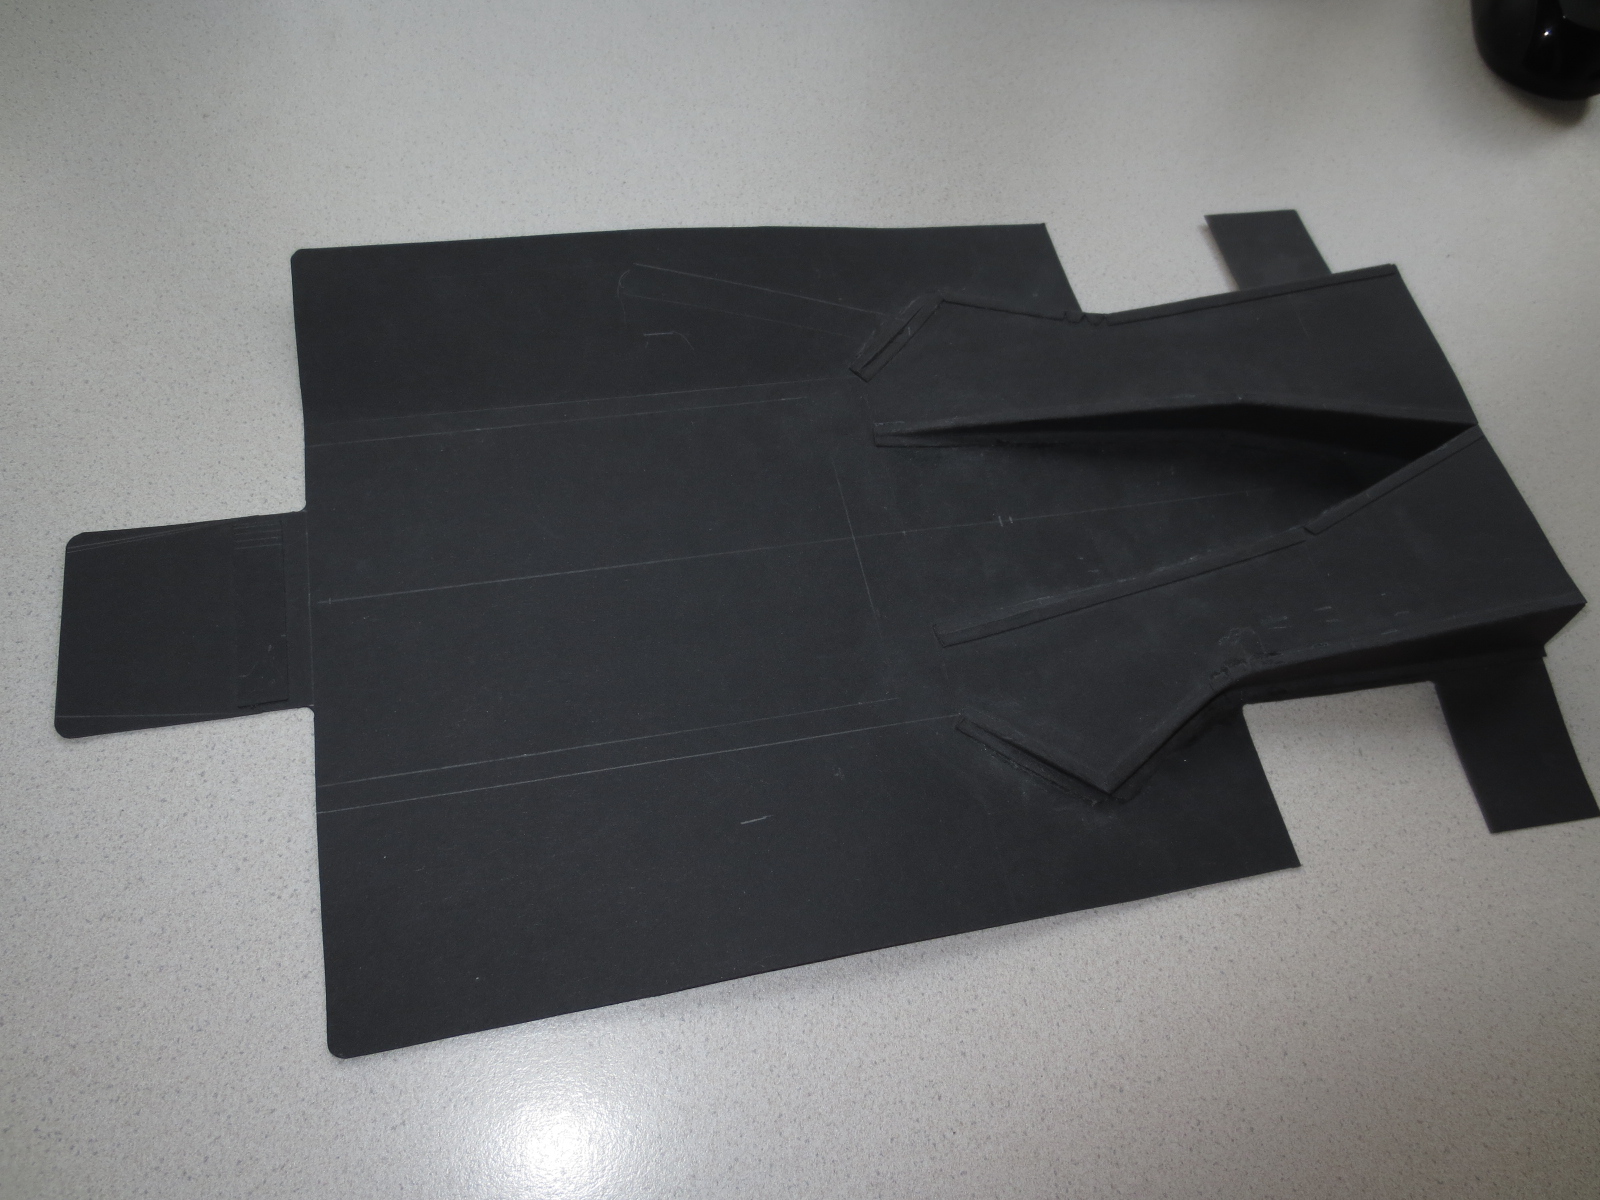
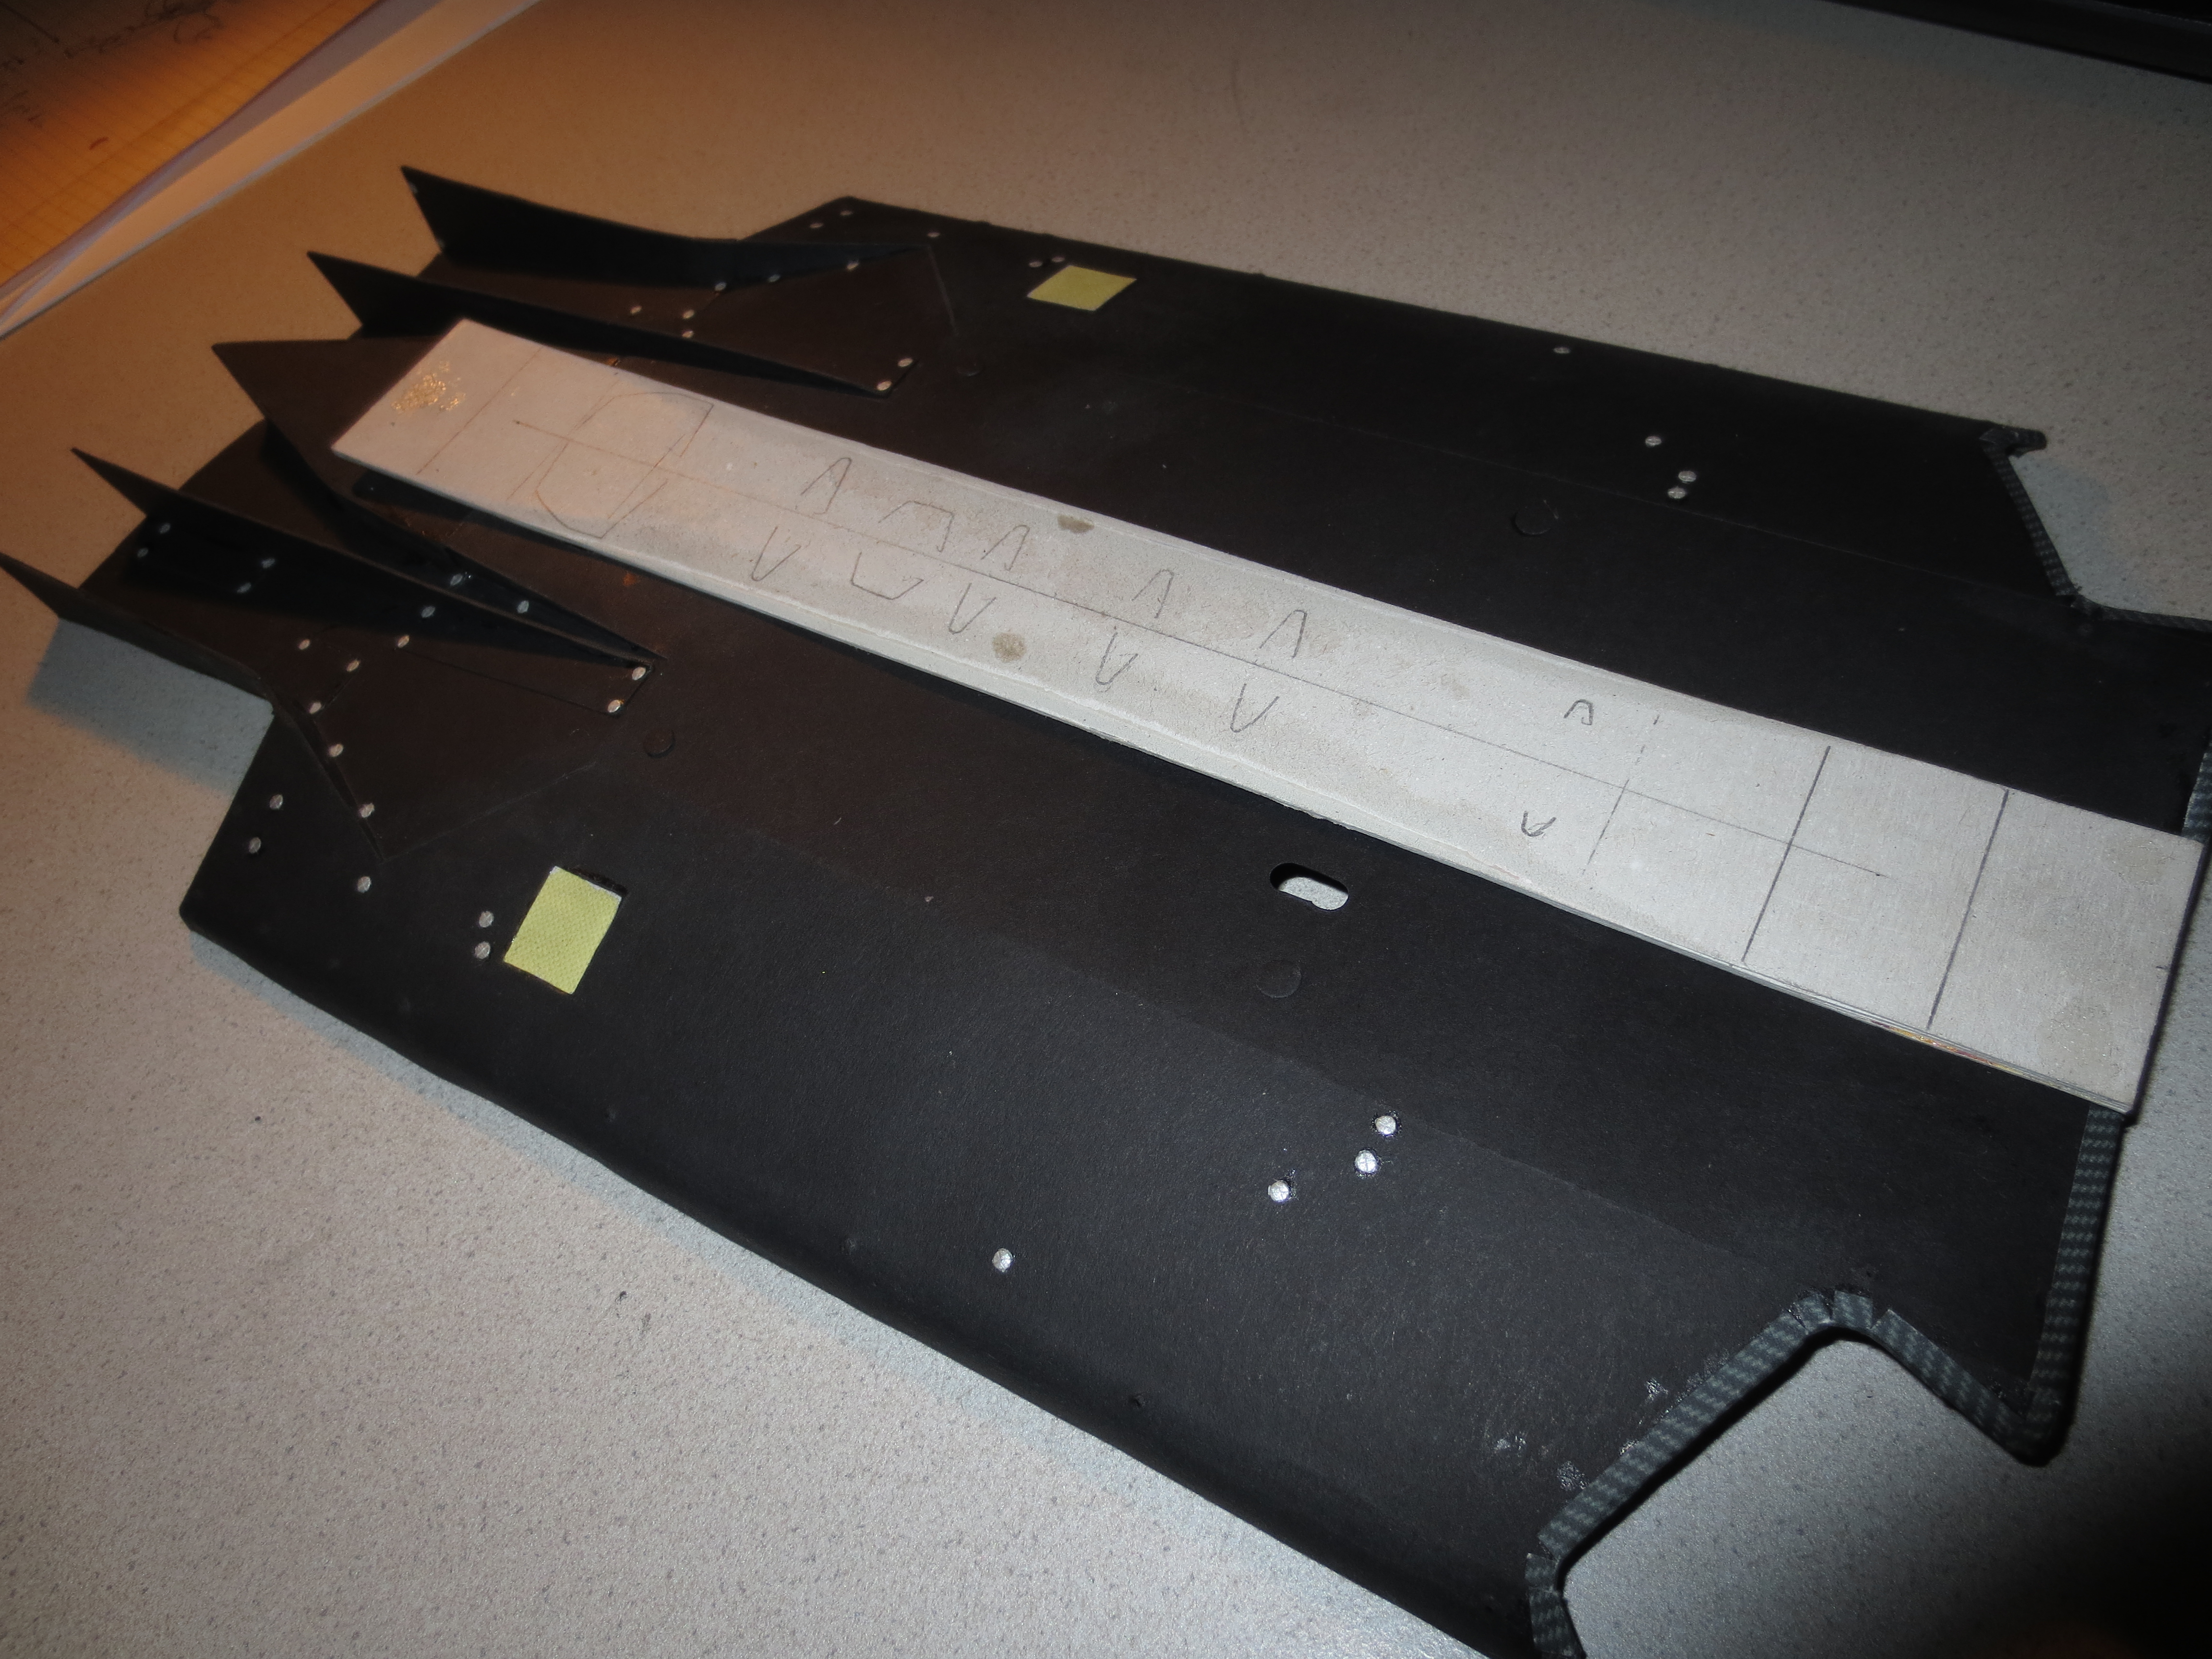
Now to the underbody: The underbody itself is separated into three parts. First for easier refit in case of a damage and secondly because the underbody is quite big. The regulations are very strict in this area, so you have no big space to variate your diffuser/underbody.

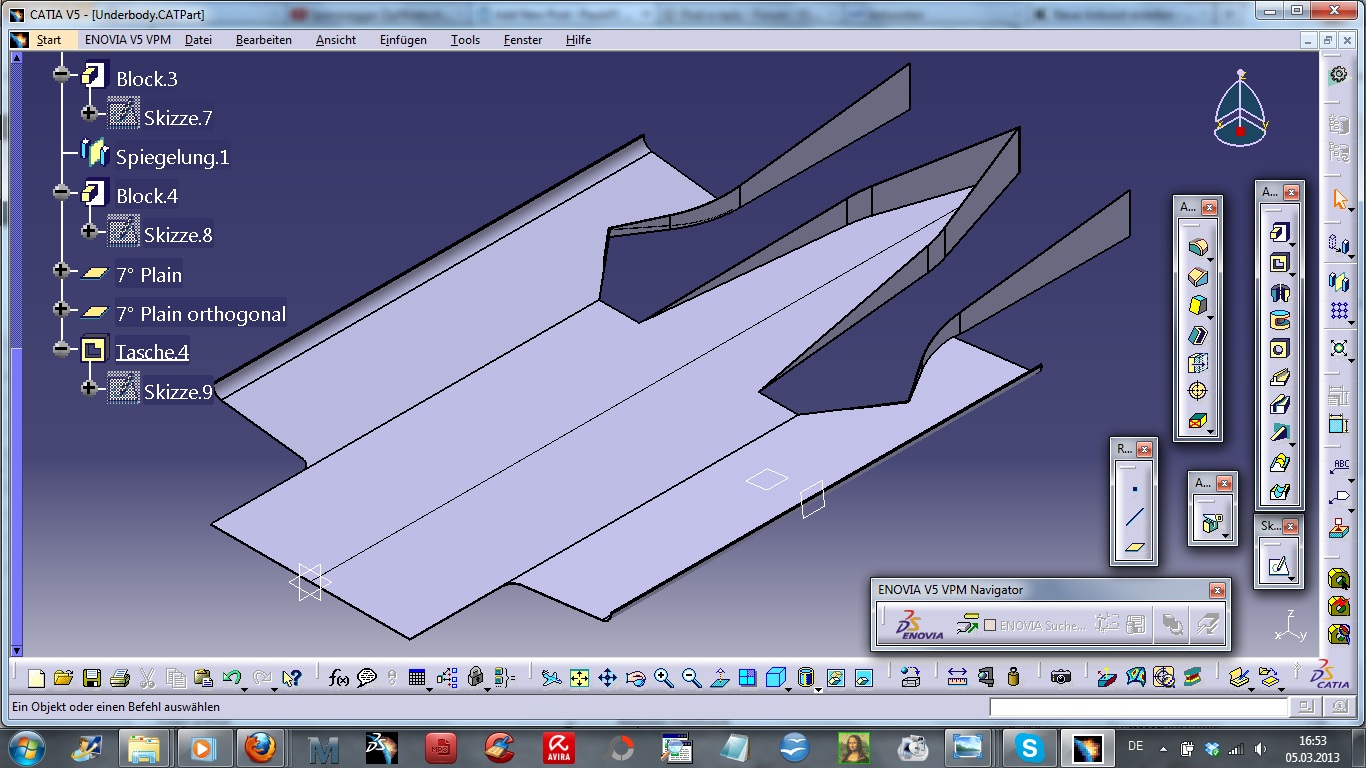
A few months ago, I built a "regulation underbody" for regulation tests to see how my chassis fit to the regulations. Due to a little error of me (as I wrote in the former post - the 7° mess) I additionally drew a "regulation underbody" in CAD to visualize it. Then I made a template to visualize the shape of the R18 underbody which differs a little bit from the "regulation underbody". The first layer (0.3mm paperboard) is already finished. Due to the high loads (downforce) of the underbody, I guess the thickness of the underbody should be around 10mm, so 1mm in my case (1:10 scale). So I will build the underbody with three layers of 0.3mm paperboard. One very helpful source was this video on YouTube: Audi R15 plus - Assembling (jump to min 3:34)

Page 45 of the ACO 2011 LMP1 technical regulations. Source: ACO Technical Regulations 2011 "LE MANS" PROTOTYPE ("LM"P1-"LM"P2) Technical Regulations for Prototype (2011)
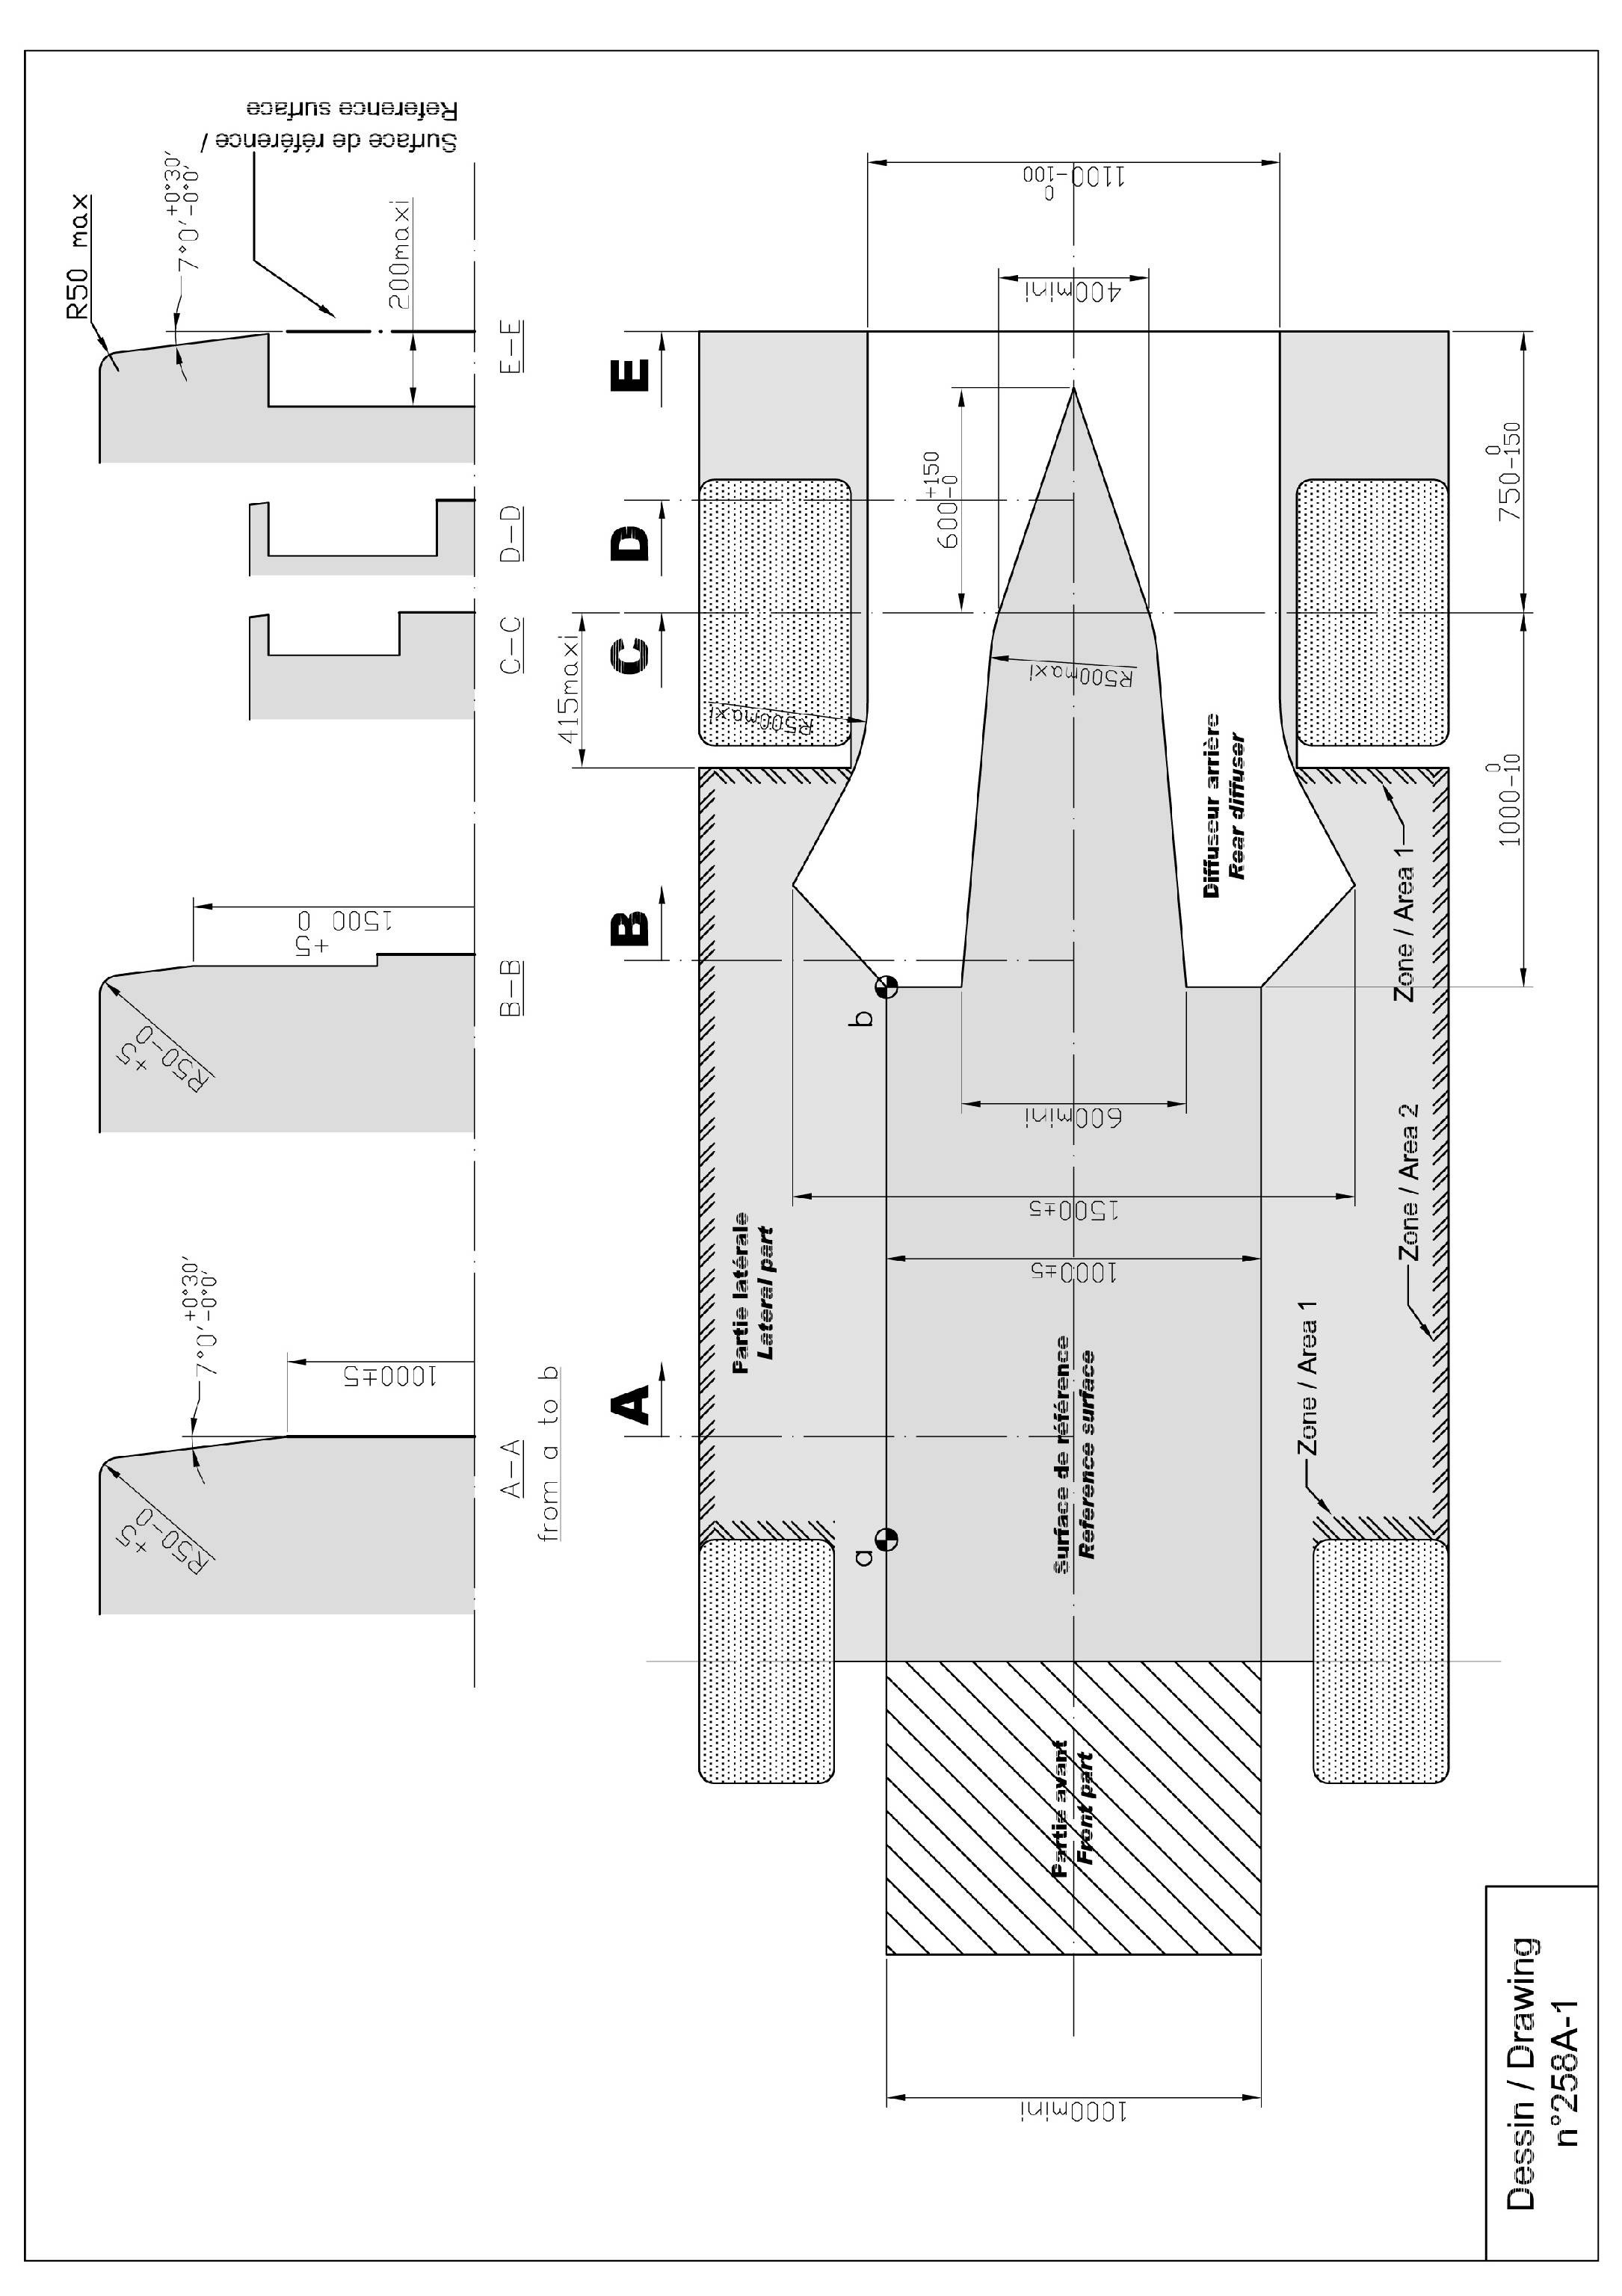
Image

My "regulation underbody".
Image

My CAD regulation underbody.
Image

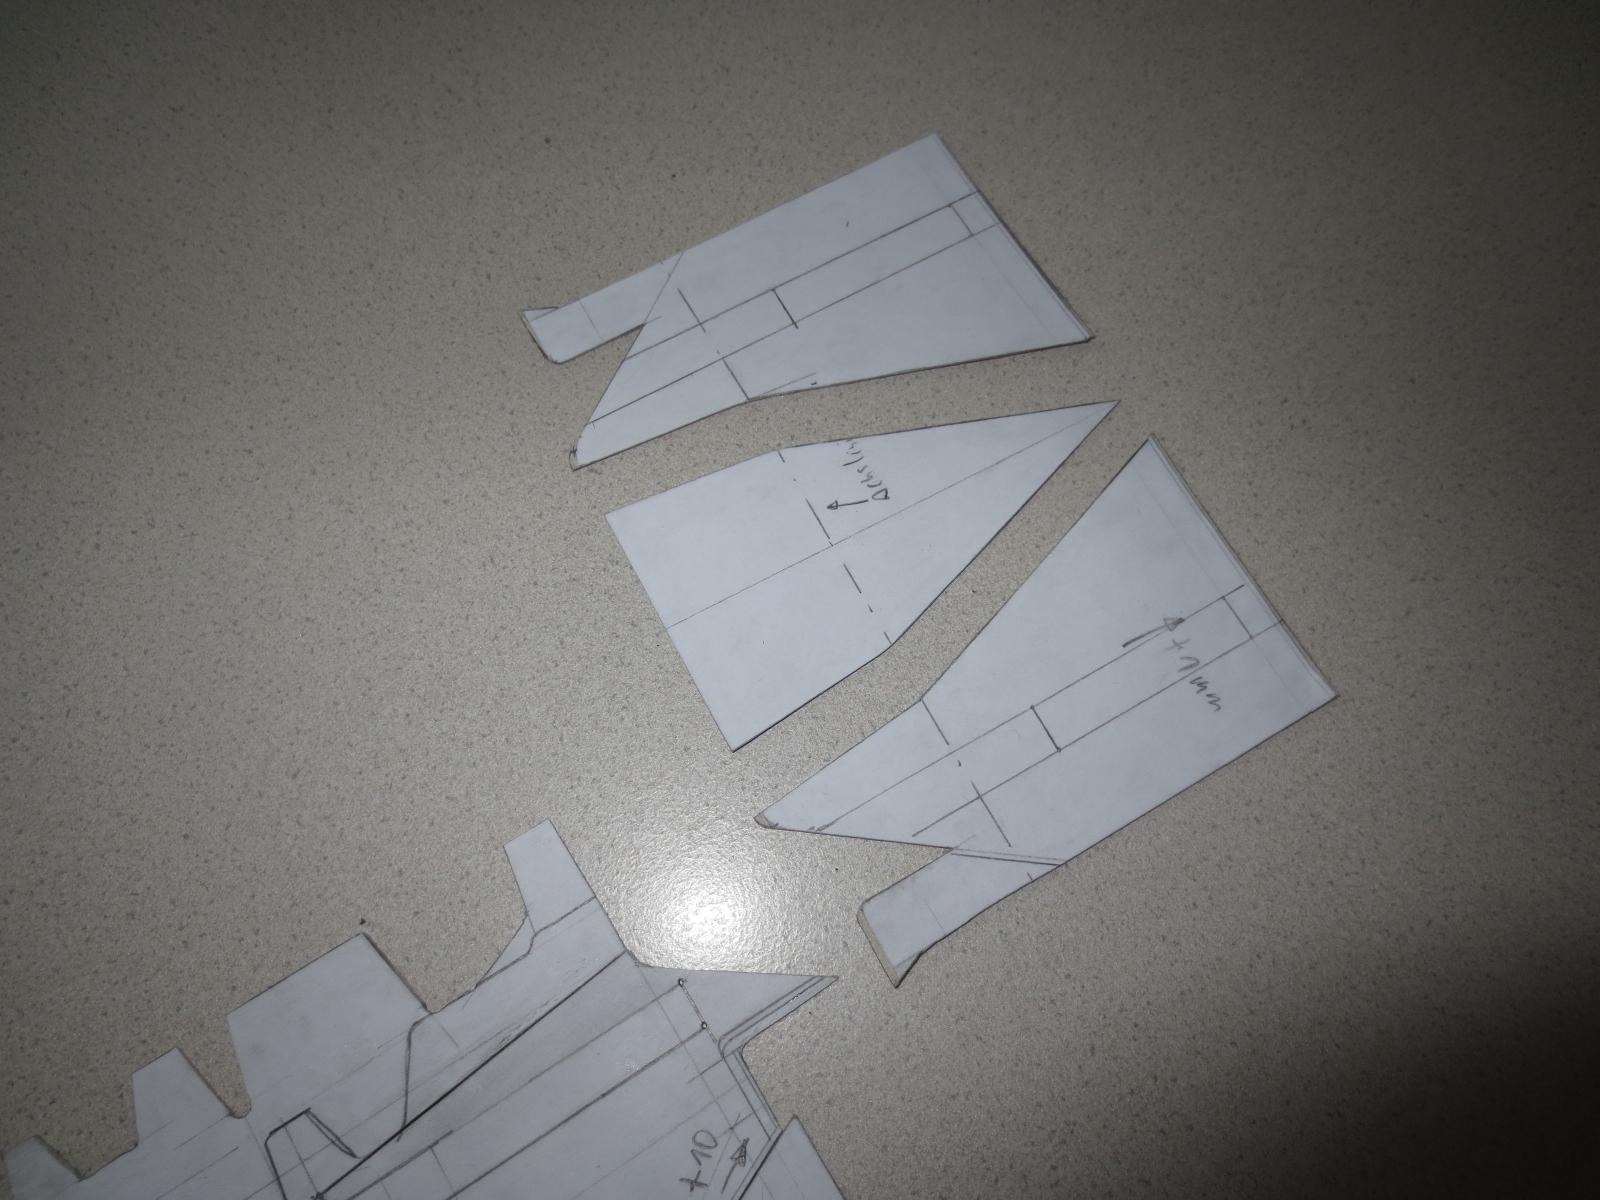
Template of the left main section of the underbody. The few cutouts at the inner edge are there for the skid block bolts.
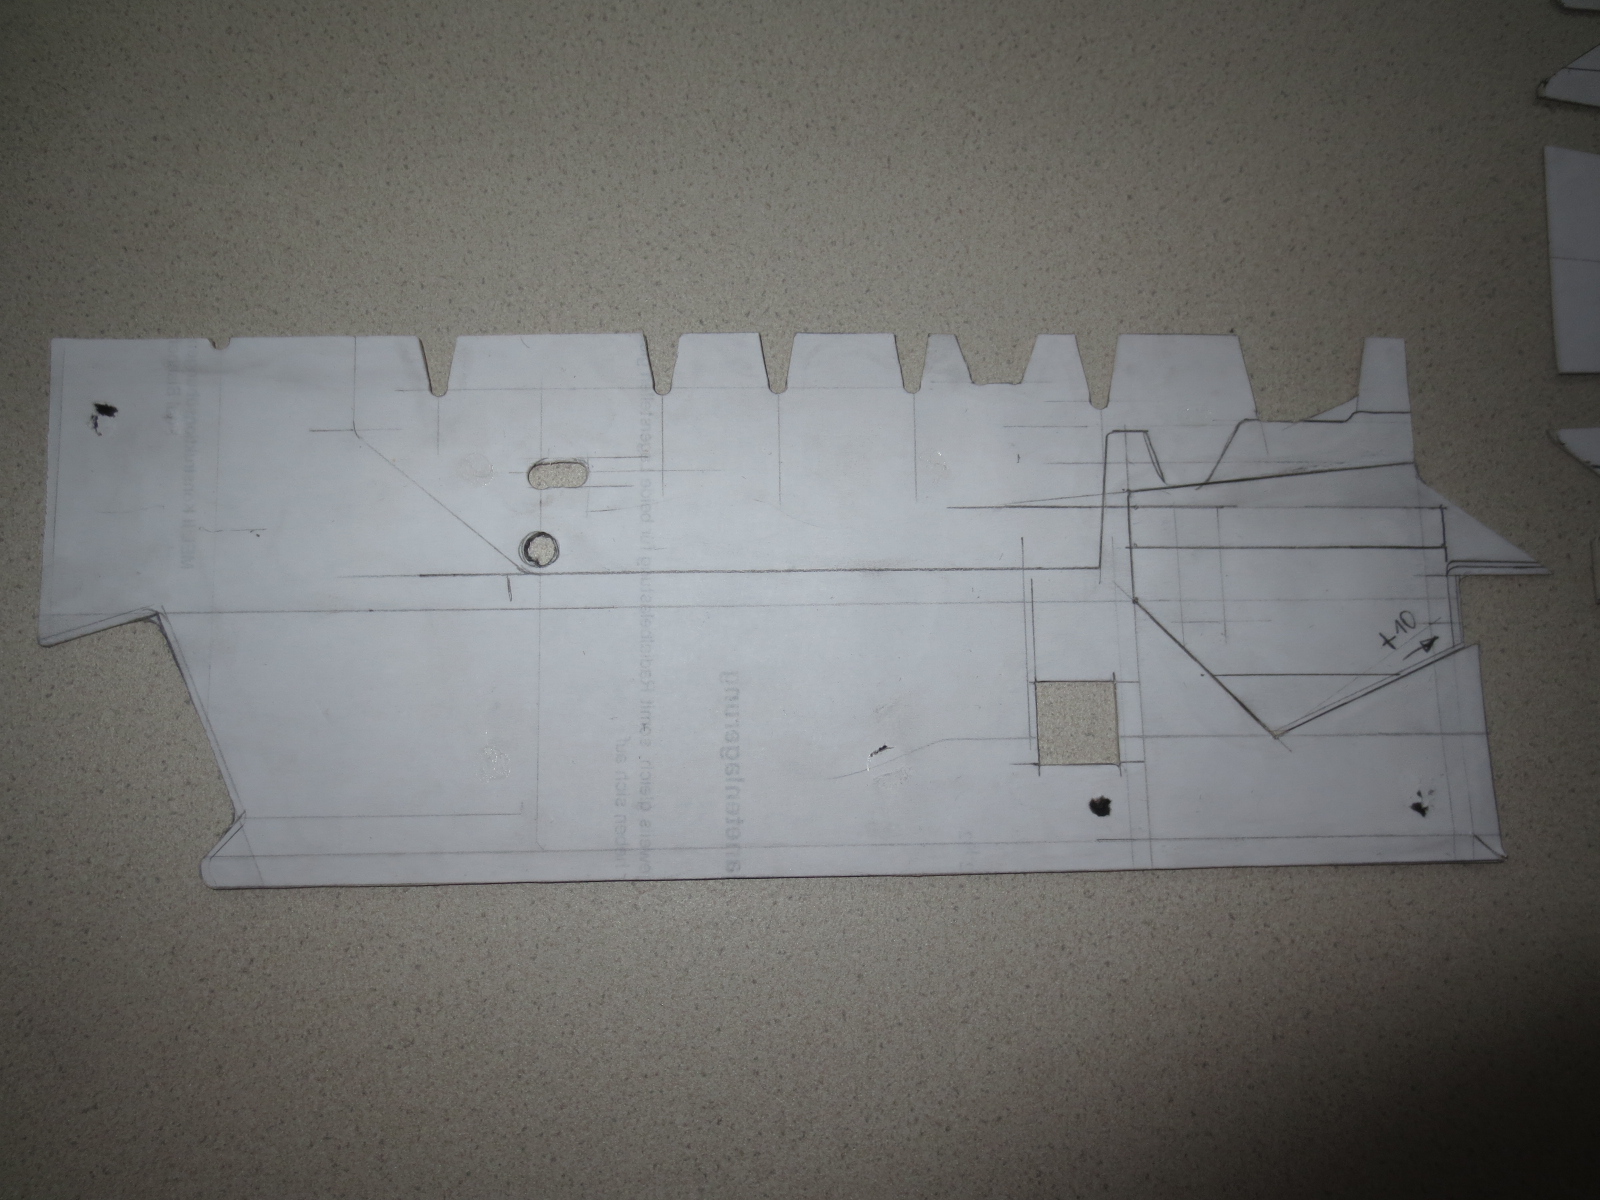
Image

The rear part template of the underbody (Diffuser).
Image

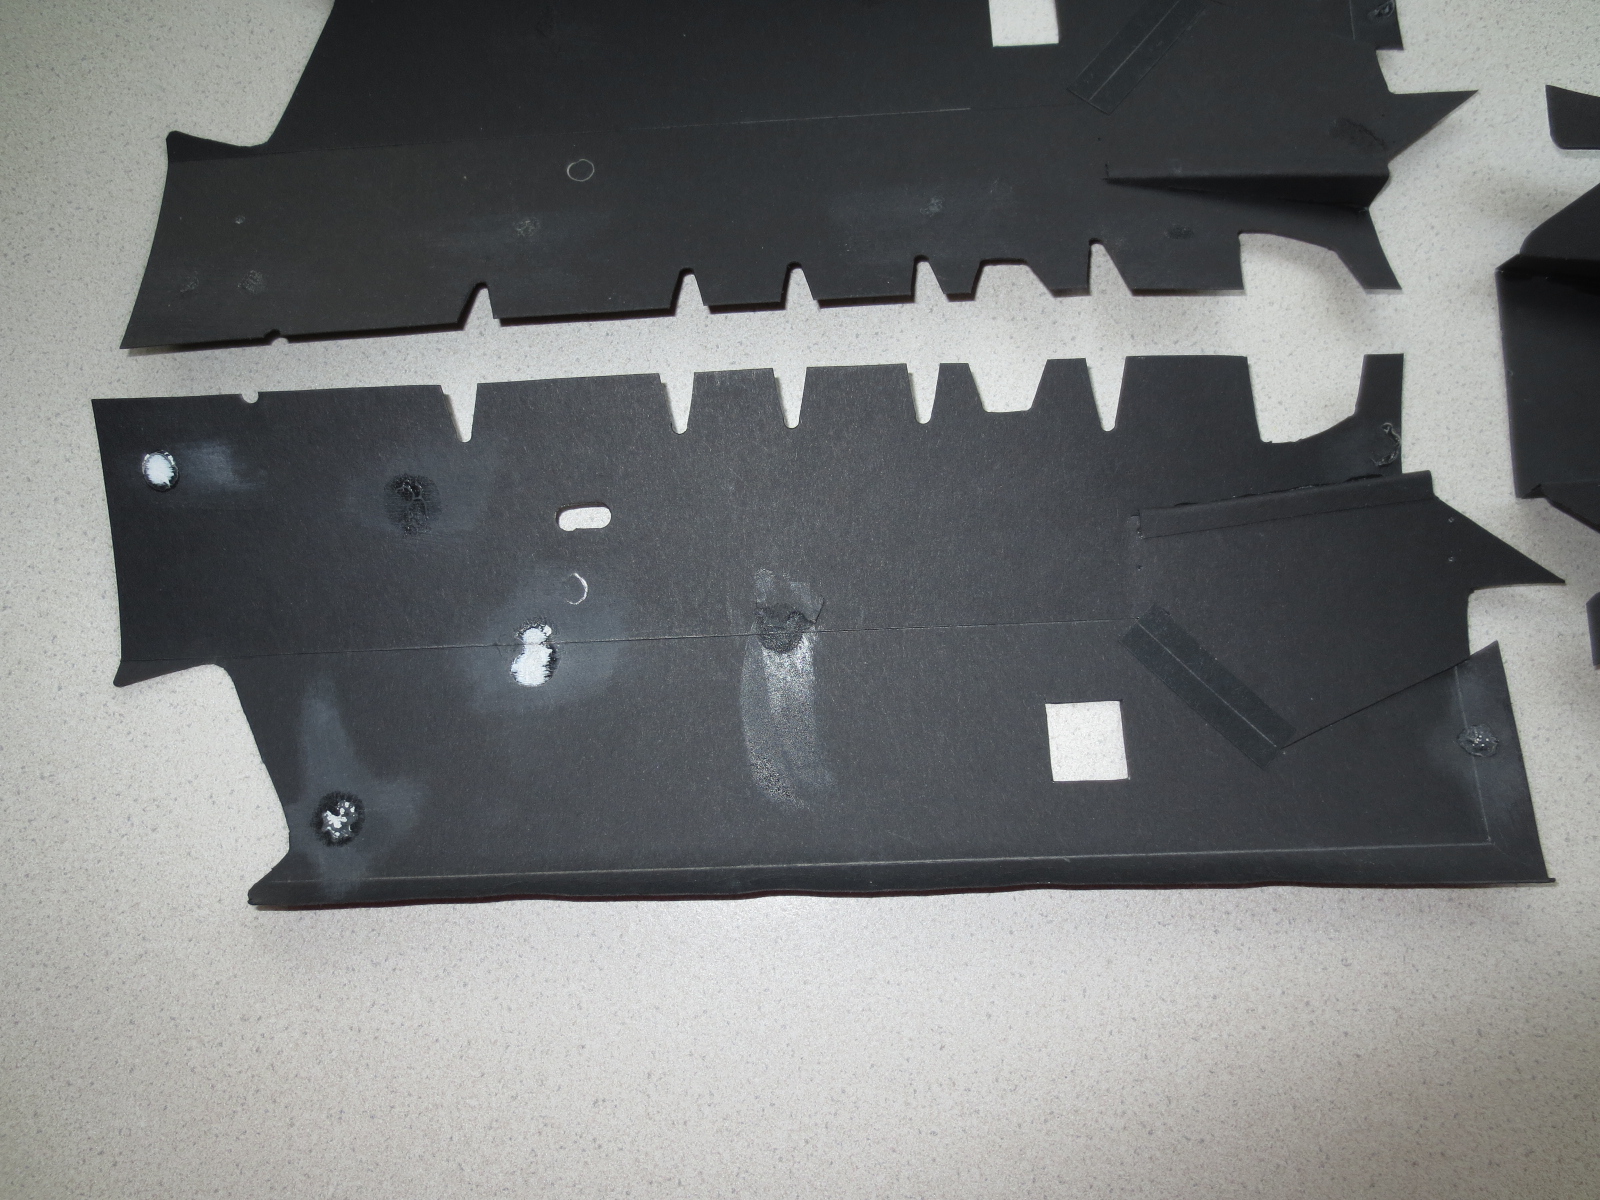
First layer of the underbody.
Image

I don't know yet exactly what for this rectangle cutout in front of the diffuser is. But few pics told me that, so I've to find out what function it has.
Image

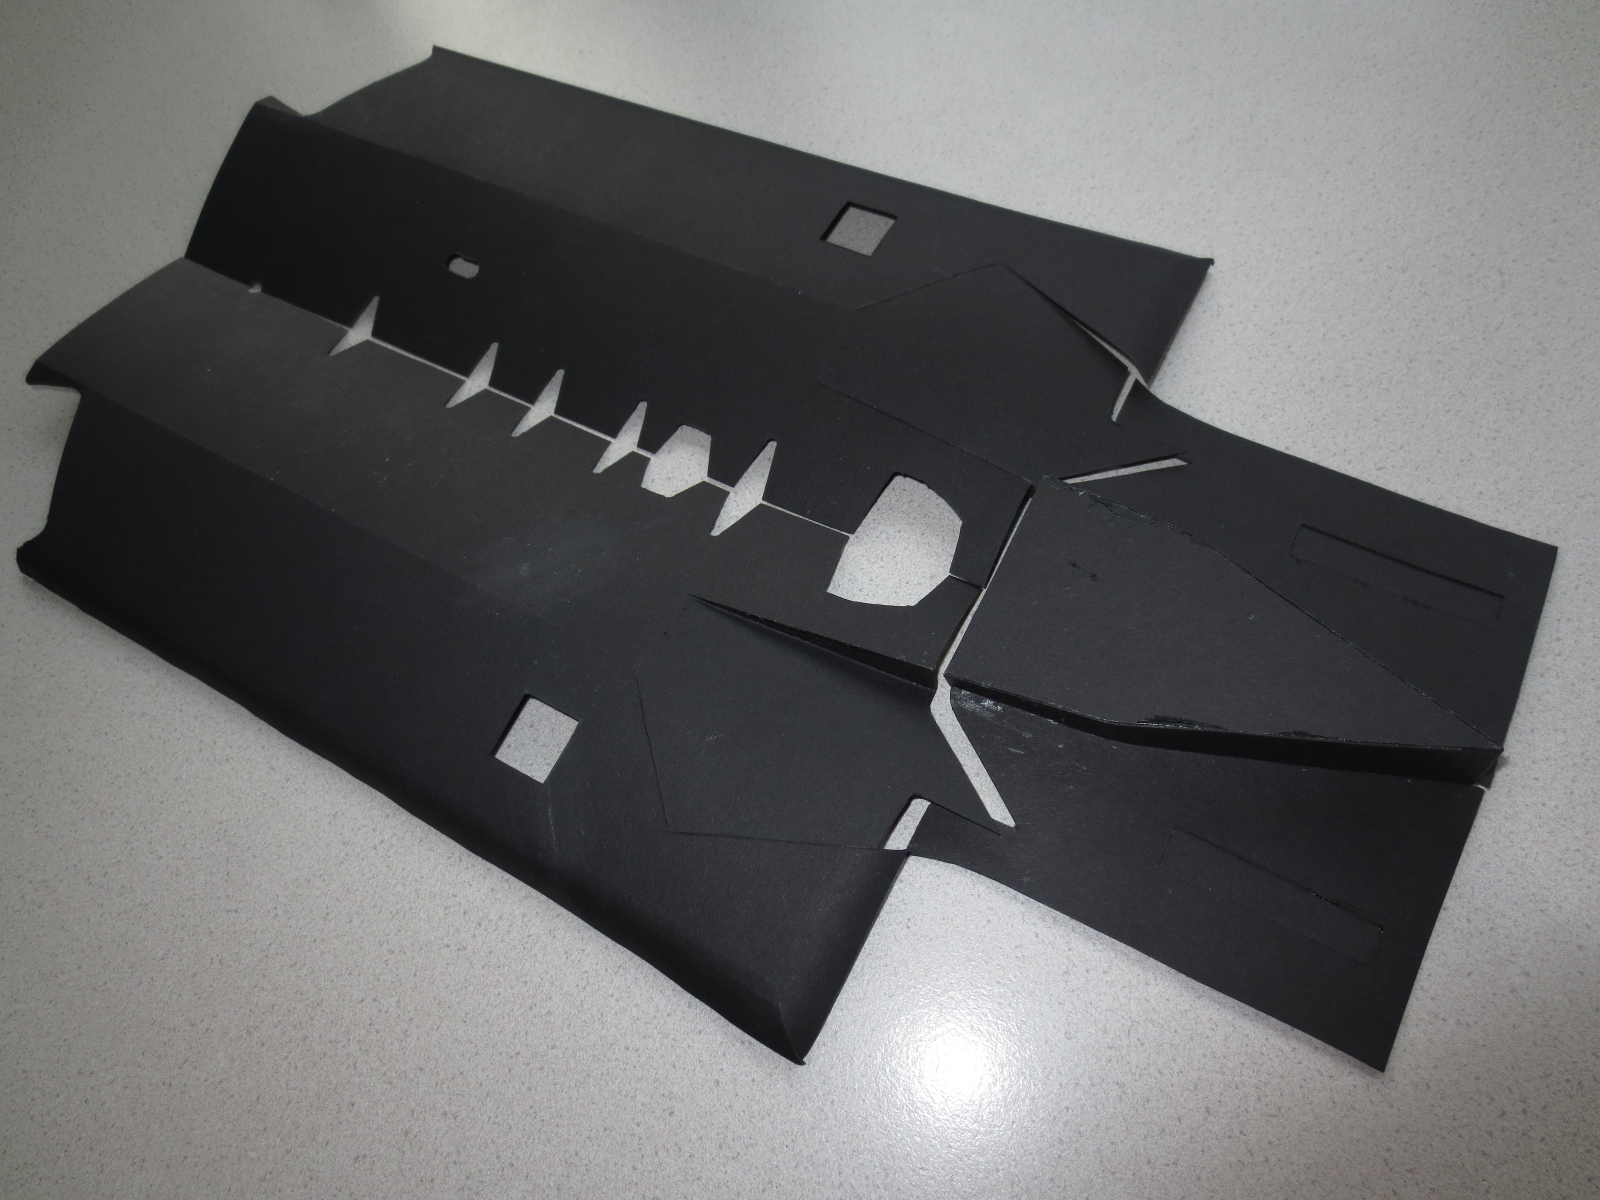
The underside of the underbody. The outer side panels of the diffuser are missing.
Image

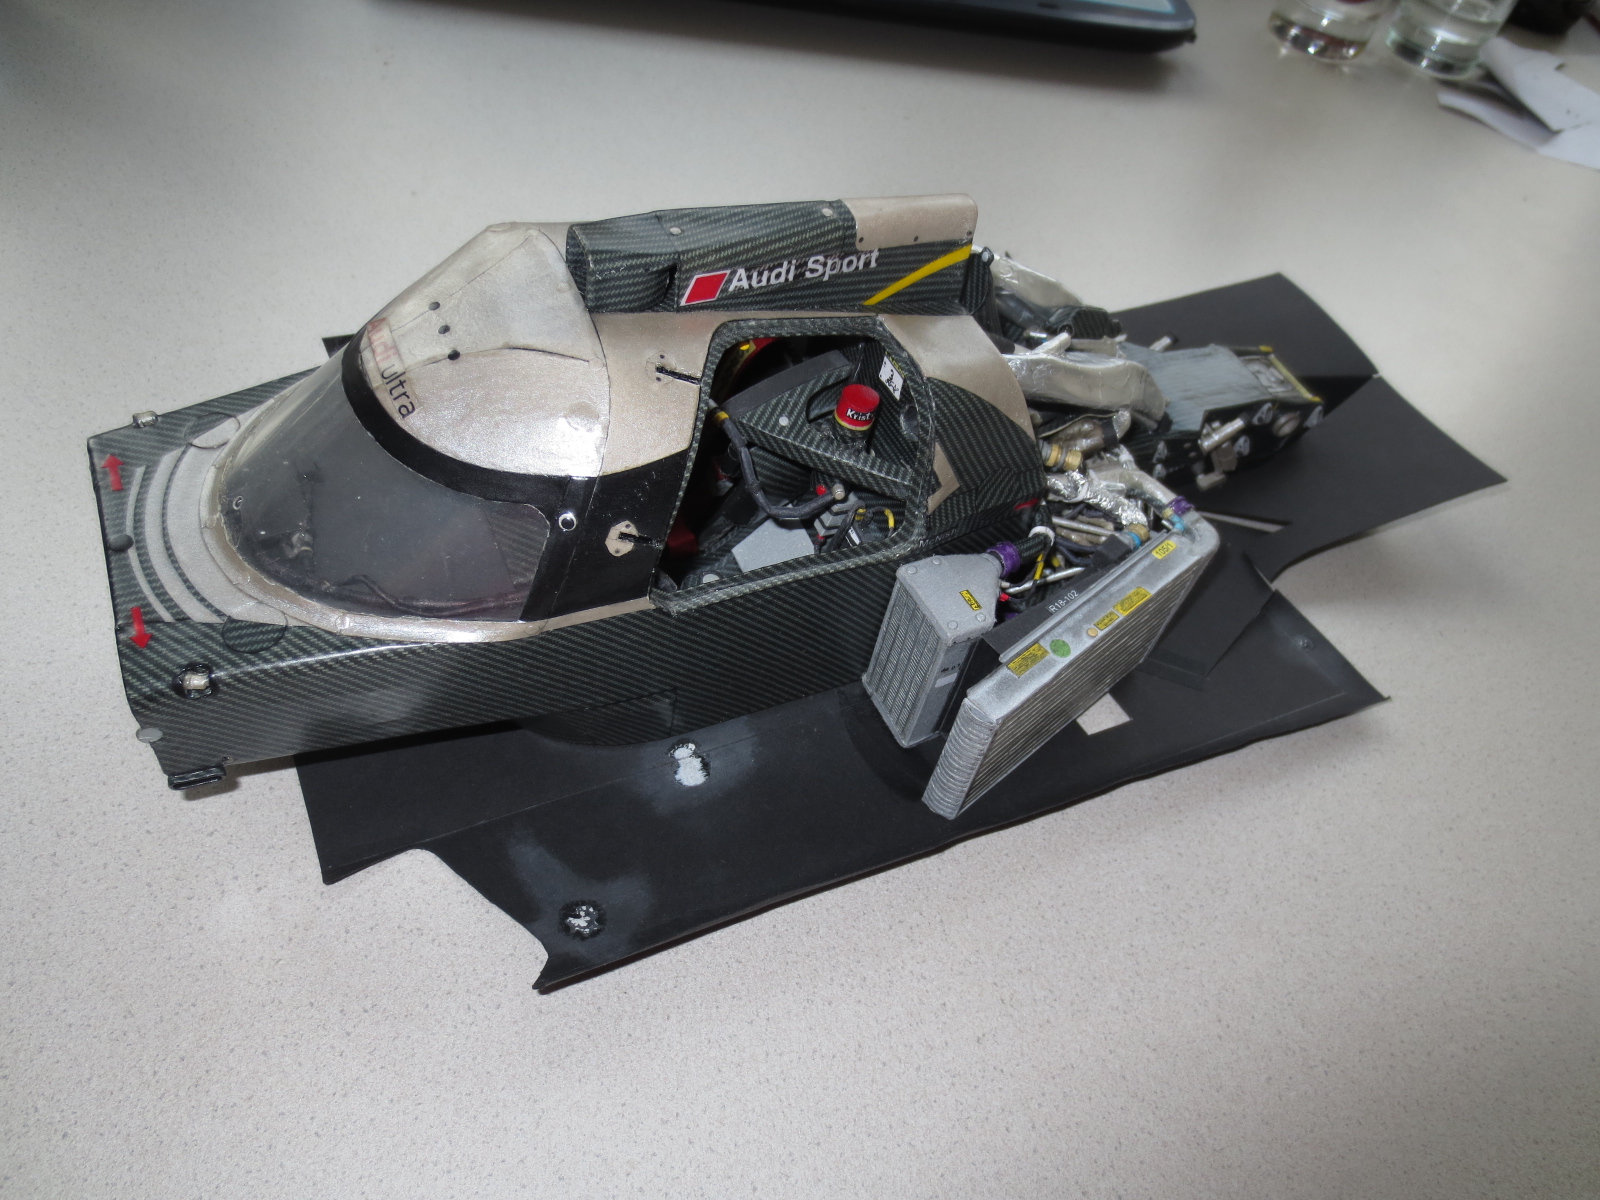
The current standing.
Image

Thanks for watching.
Cheers,

Paul
"Being second is to be the first of the ones who lose!" - Ayrton Senna

Paul Bischof
Milton Keynes, UK
MK2 2HL
http://paulsf1.wordpress.com/

Nando
Nando
2
Joined: 10 Mar 2012, 02:30

Re: A paperboard AUDI R18 TDI

Post

The level of detail is simply insane :)
"Il Phenomeno" - The one they fear the most!

"2% of the world's population own 50% of the world's wealth."

User avatar
amouzouris
105
Joined: 14 Feb 2011, 20:21

Re: A paperboard AUDI R18 TDI

Post

It is astonishing! Well done! I mean...WOW...

lukeaar
lukeaar
0
Joined: 01 Feb 2012, 23:09

Re: A paperboard AUDI R18 TDI

Post

holy ---

User avatar
PaulB
72
Joined: 17 Oct 2010, 09:52
Location: Graz/Austria

Re: A paperboard AUDI R18 TDI

Post

Hi folks!

Today there's a small documentation about how I do manufacture the last of three layers of the left hand side R18 TDI underbody.
In the last post, you could have read the starting of the underbody with manufacturing of the few templates for the two main parts and the diffuser of my Audi. Working time per layer is about 2.5 hours.

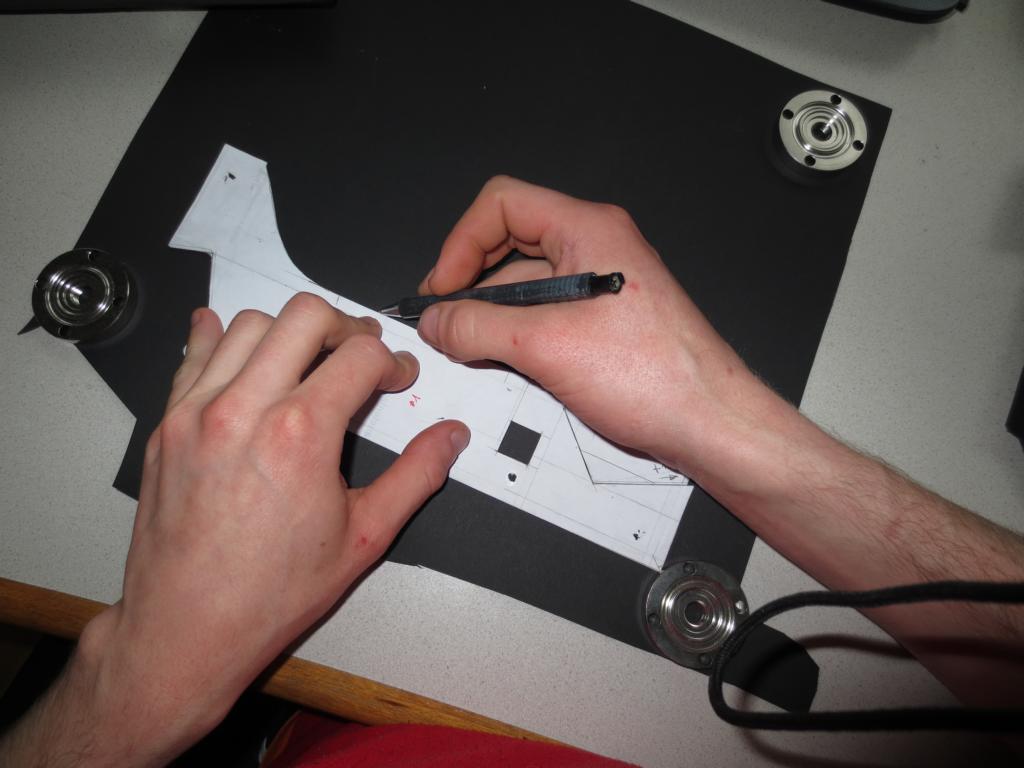
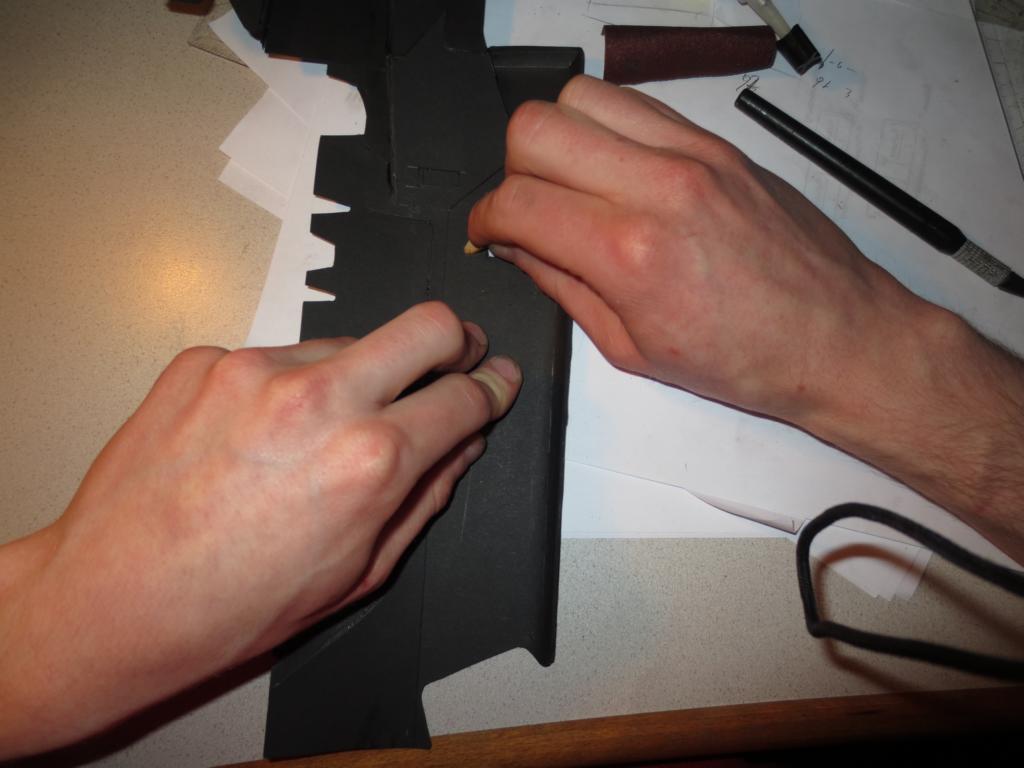
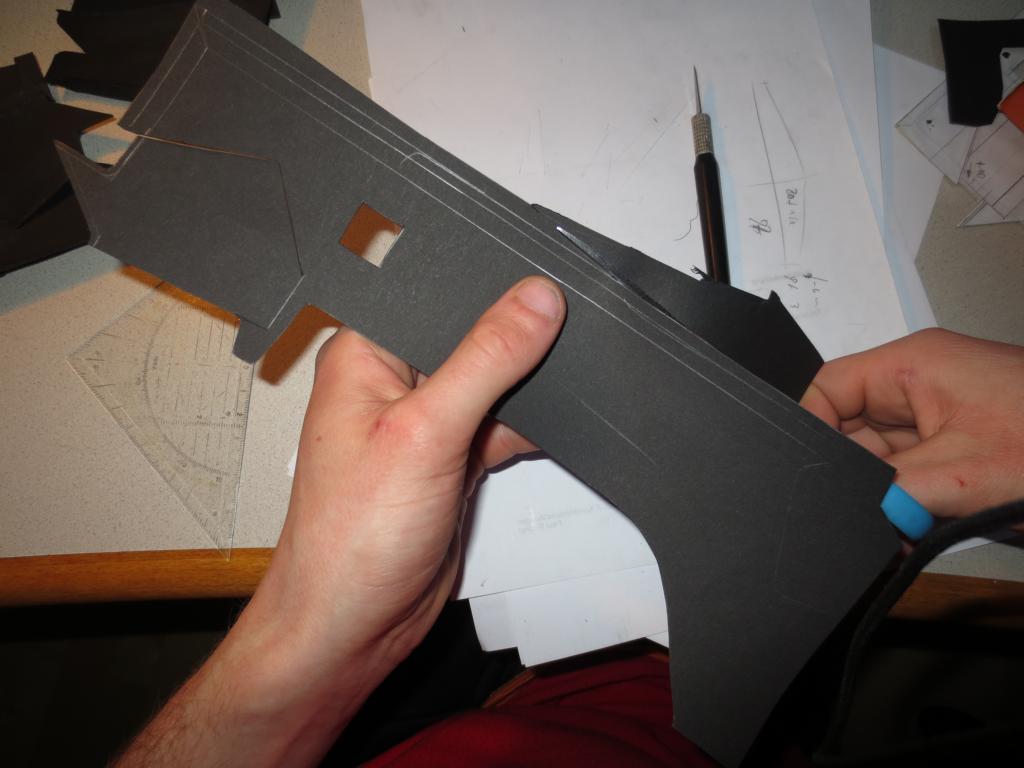
First I have to transfer the shape of my template to black cardboard sheet (0.3mm thick). If you wonder what's that for a ribbon in the pic, it's from my camera. I took my harmonica support and clamped my camera in it an took it around my neck. :)
Image

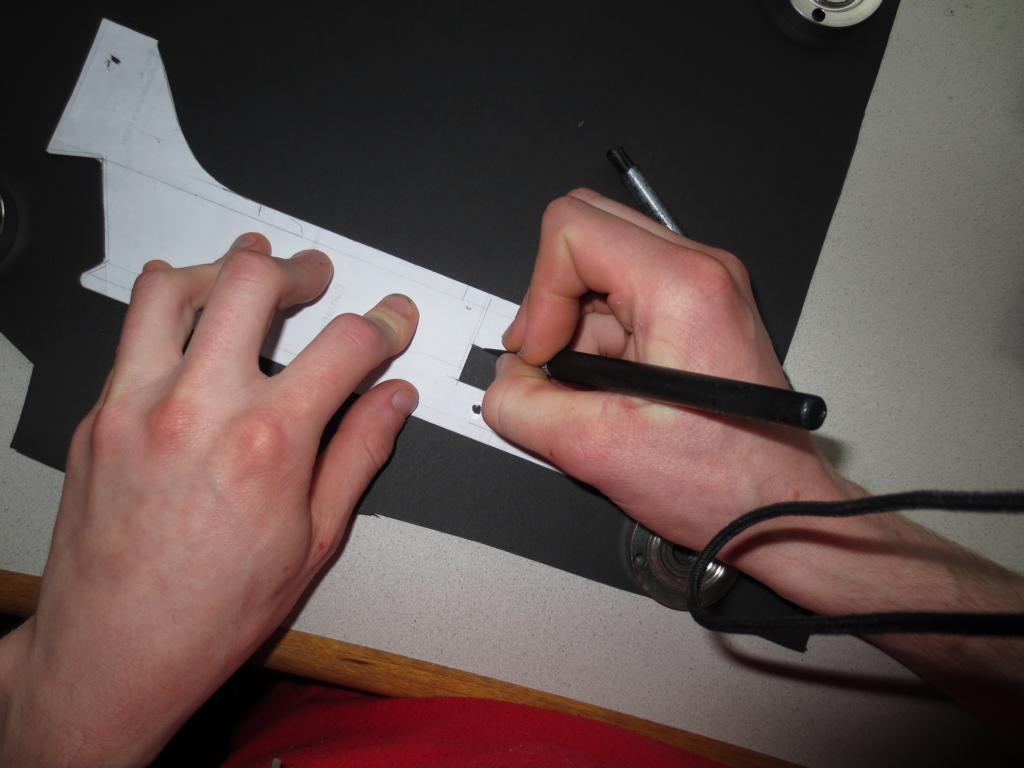
The small cutout is cutted out after transferring the shape to the cardboard.
Image

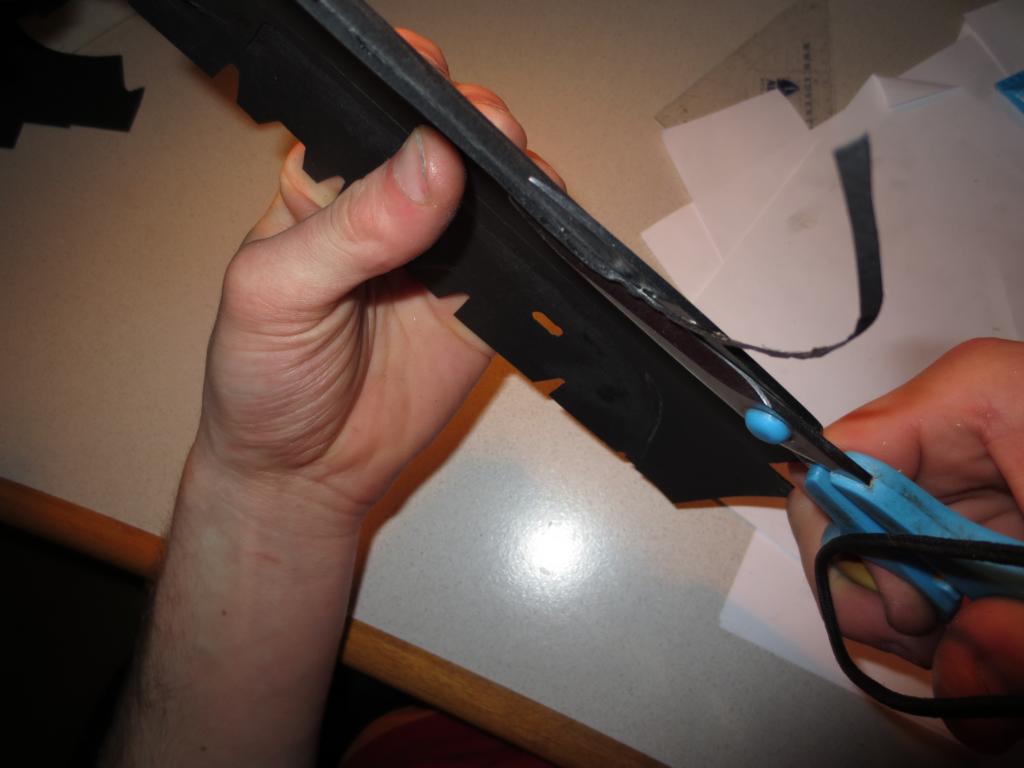
Then I have to cut the part out. A few small modifications have to be done to the shape, because with increasing thickness of the underbody after each layer, the shape changes a bit.
Image

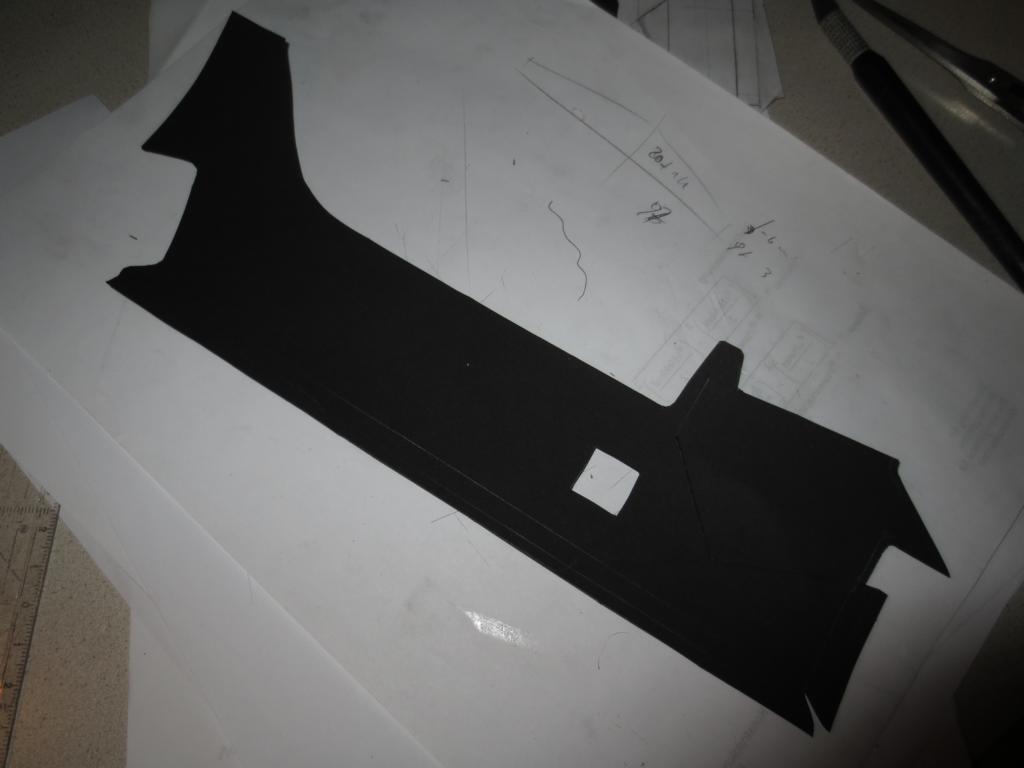
That's the raw part after cutting it out.
Image

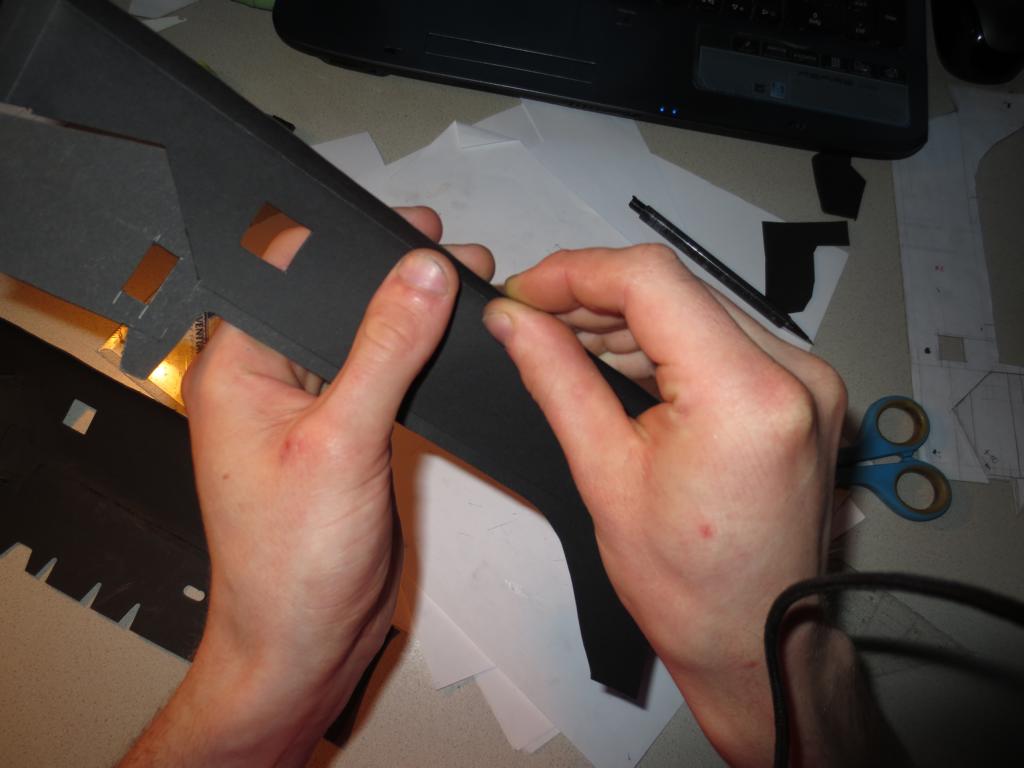
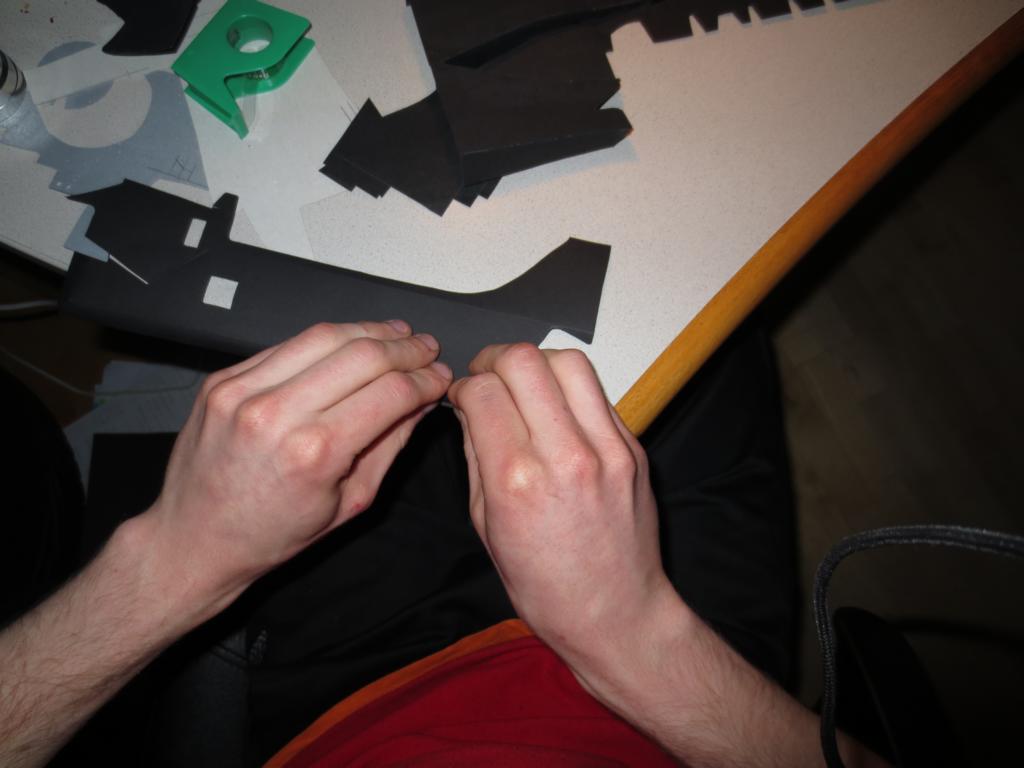
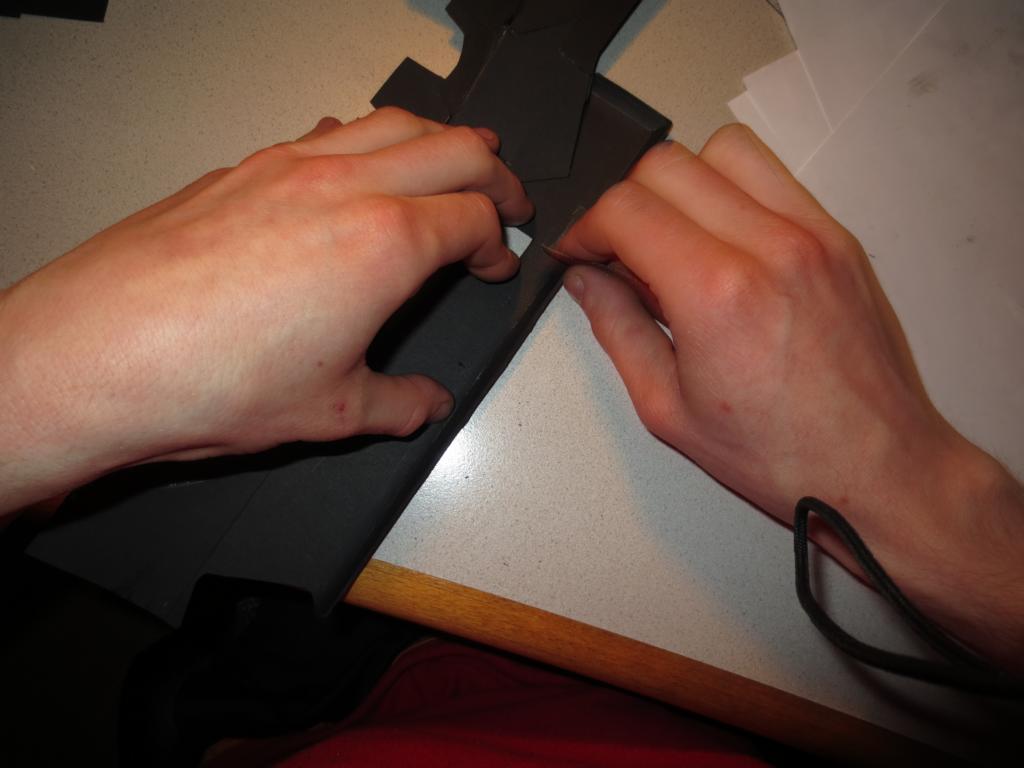
Then I have to give the part it's shape. That is done by hand and with help of a ruler and...
Image

...my rounded desk edge.
Image

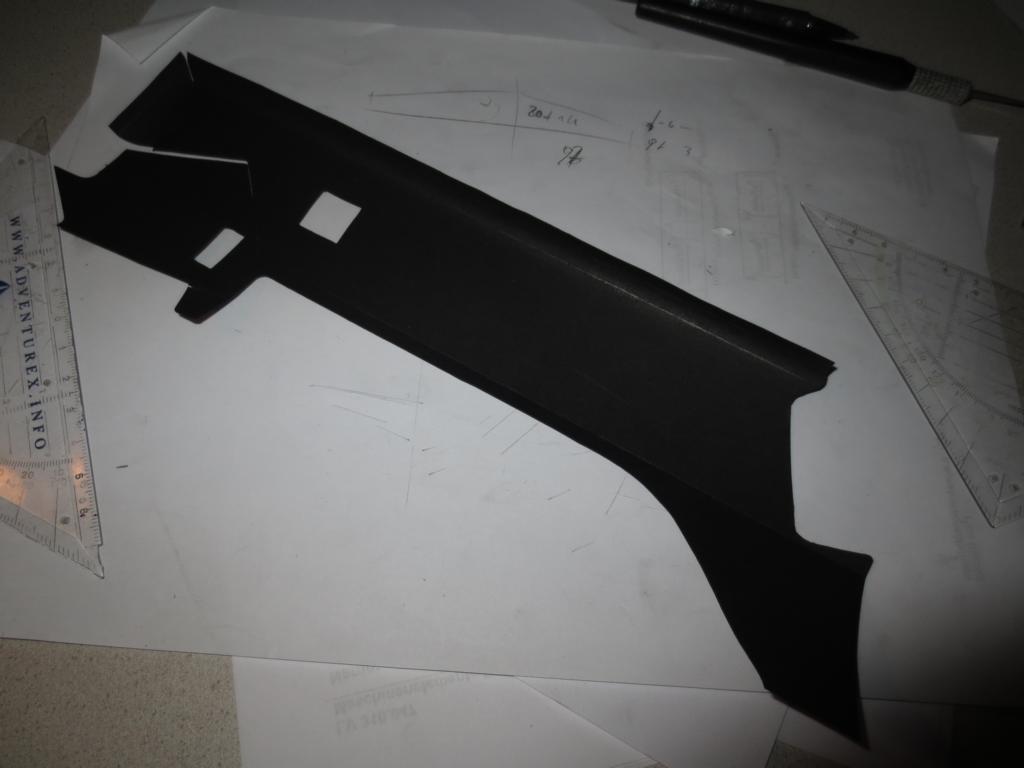
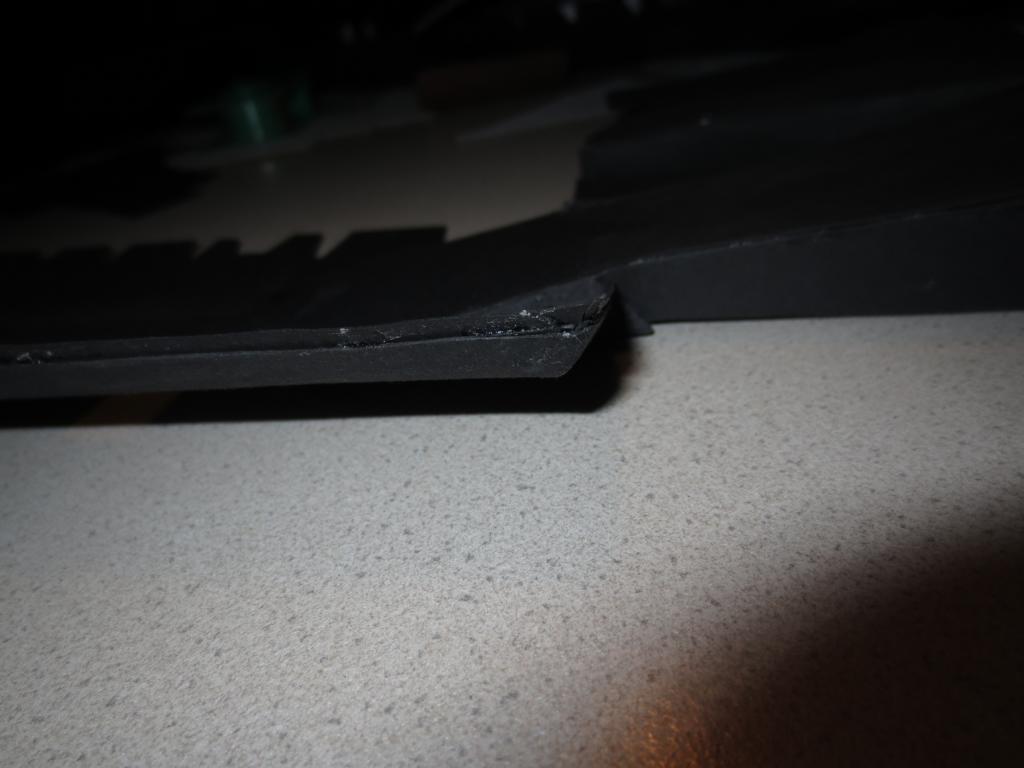
That's the preformed part. At the 7° bend at the underbody I made a light cut with my scalpel and bent it up with a ruler.
Image

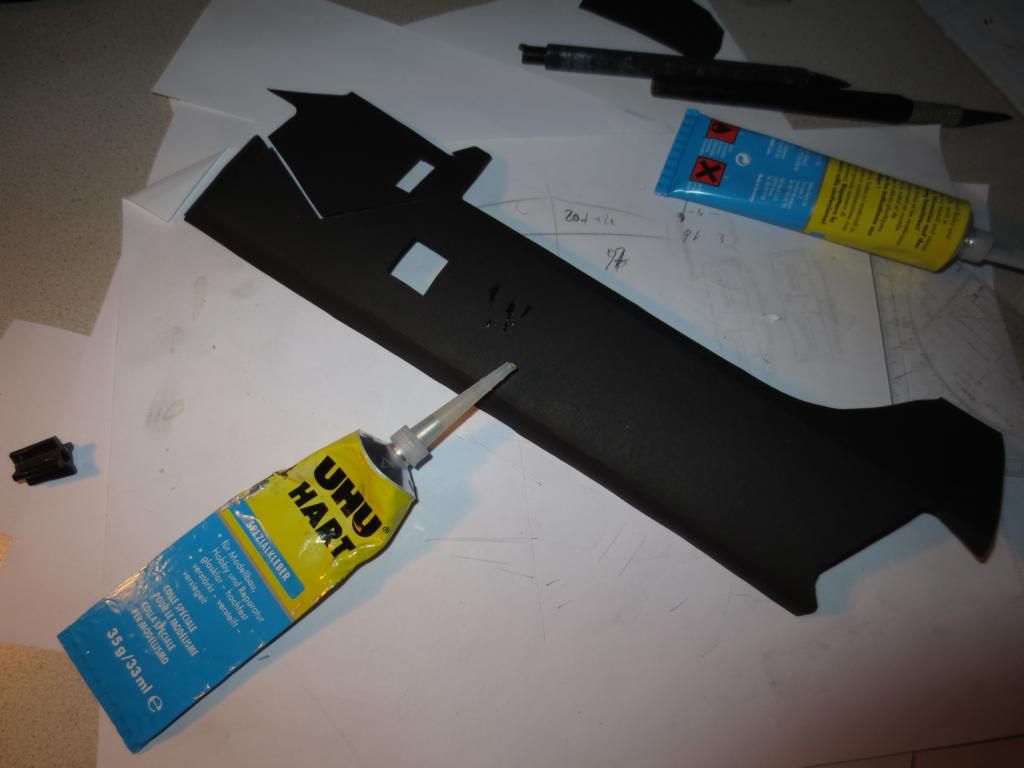
Adding glue. That has to happen very quickly, because my glue harden very fast - about 2 min.
Image

When gluing the layer on the underbody, I had to be very careful, that the shape is highly conform with the underbody itself.
Image

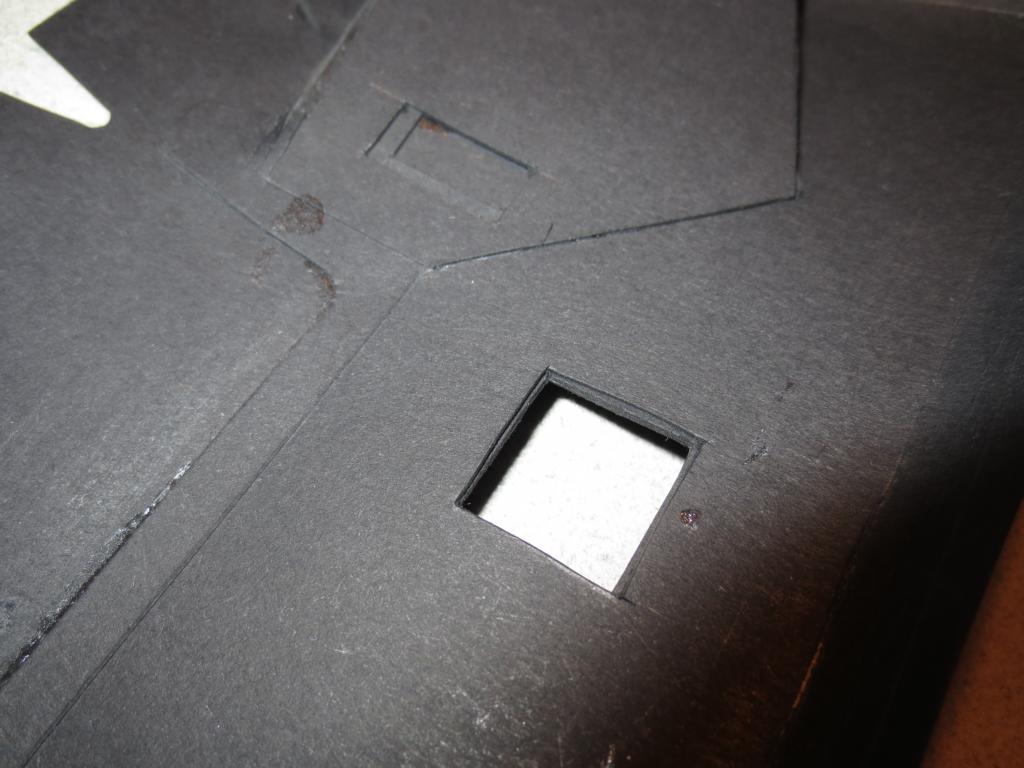
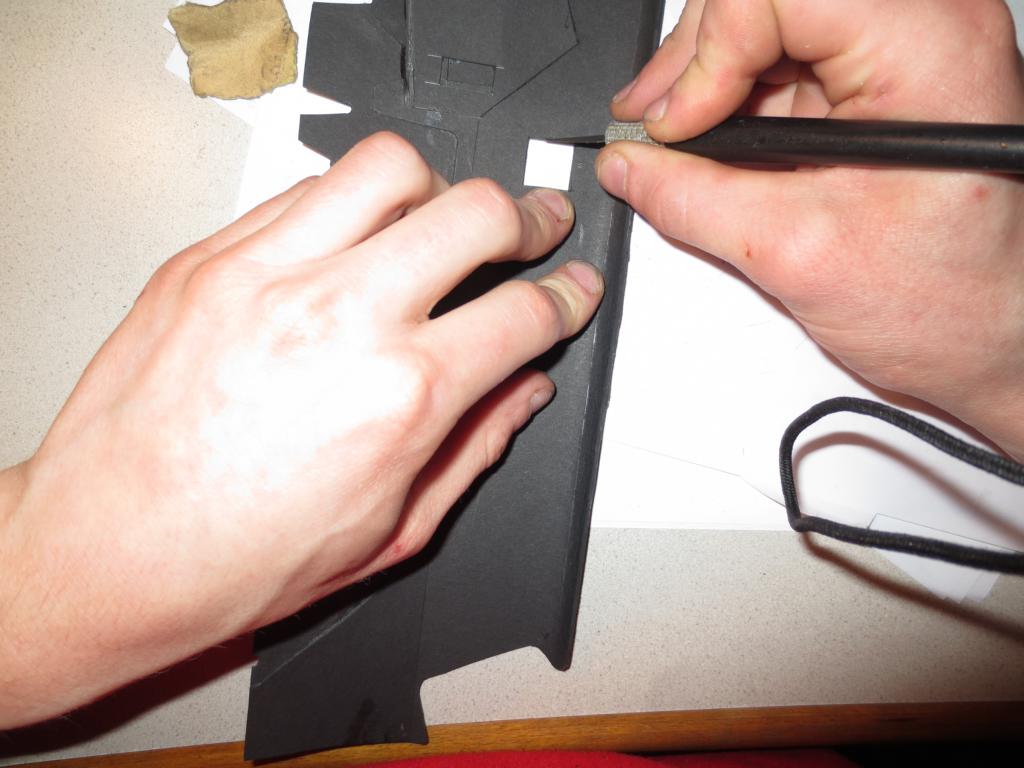
Then the post treatment of the underbody starts. The hole for example has to be cutted and sanded.
Image

The outer edge is intentionally made a bit wider as it should be, that I can cut it down to the shape of the underbody.
Image

First I have to cut the edge and then...
Image

...sand it to satisfying surface quality.
Image

Adaption of the hole.
Image

Of course also the hole has to be sanded after adapting.
Image

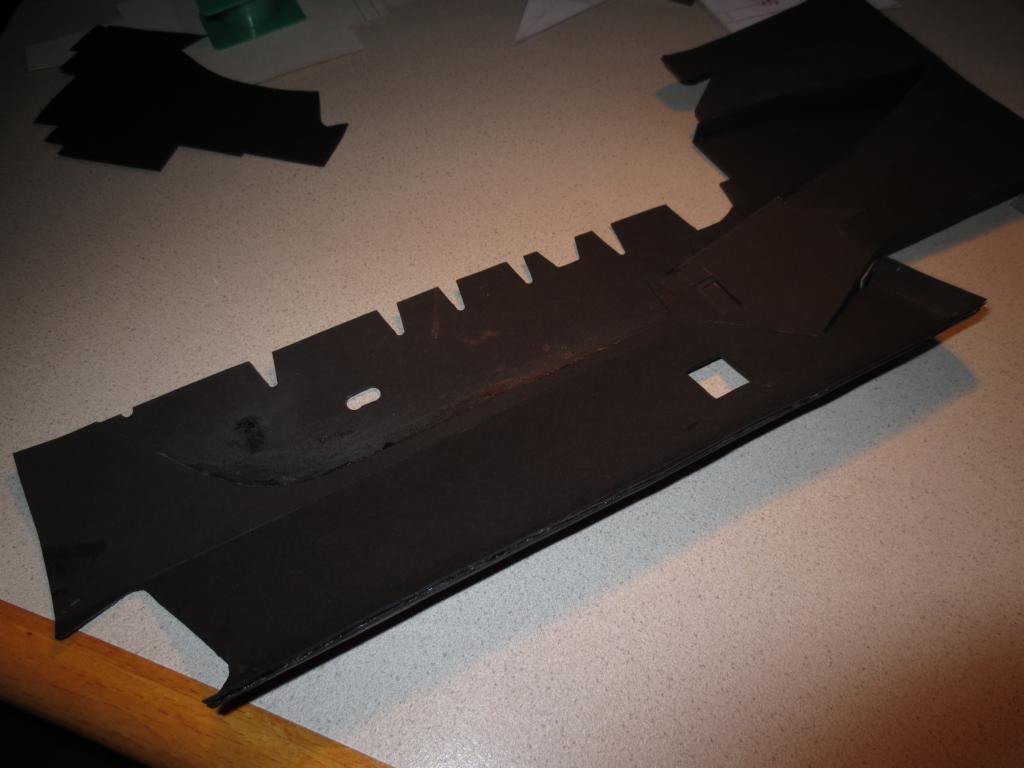
And that's how it should looks like after finishing. Of course there are a few small things to do, such as sanding the glue dots, adding some small stuff and heat shields.
Image

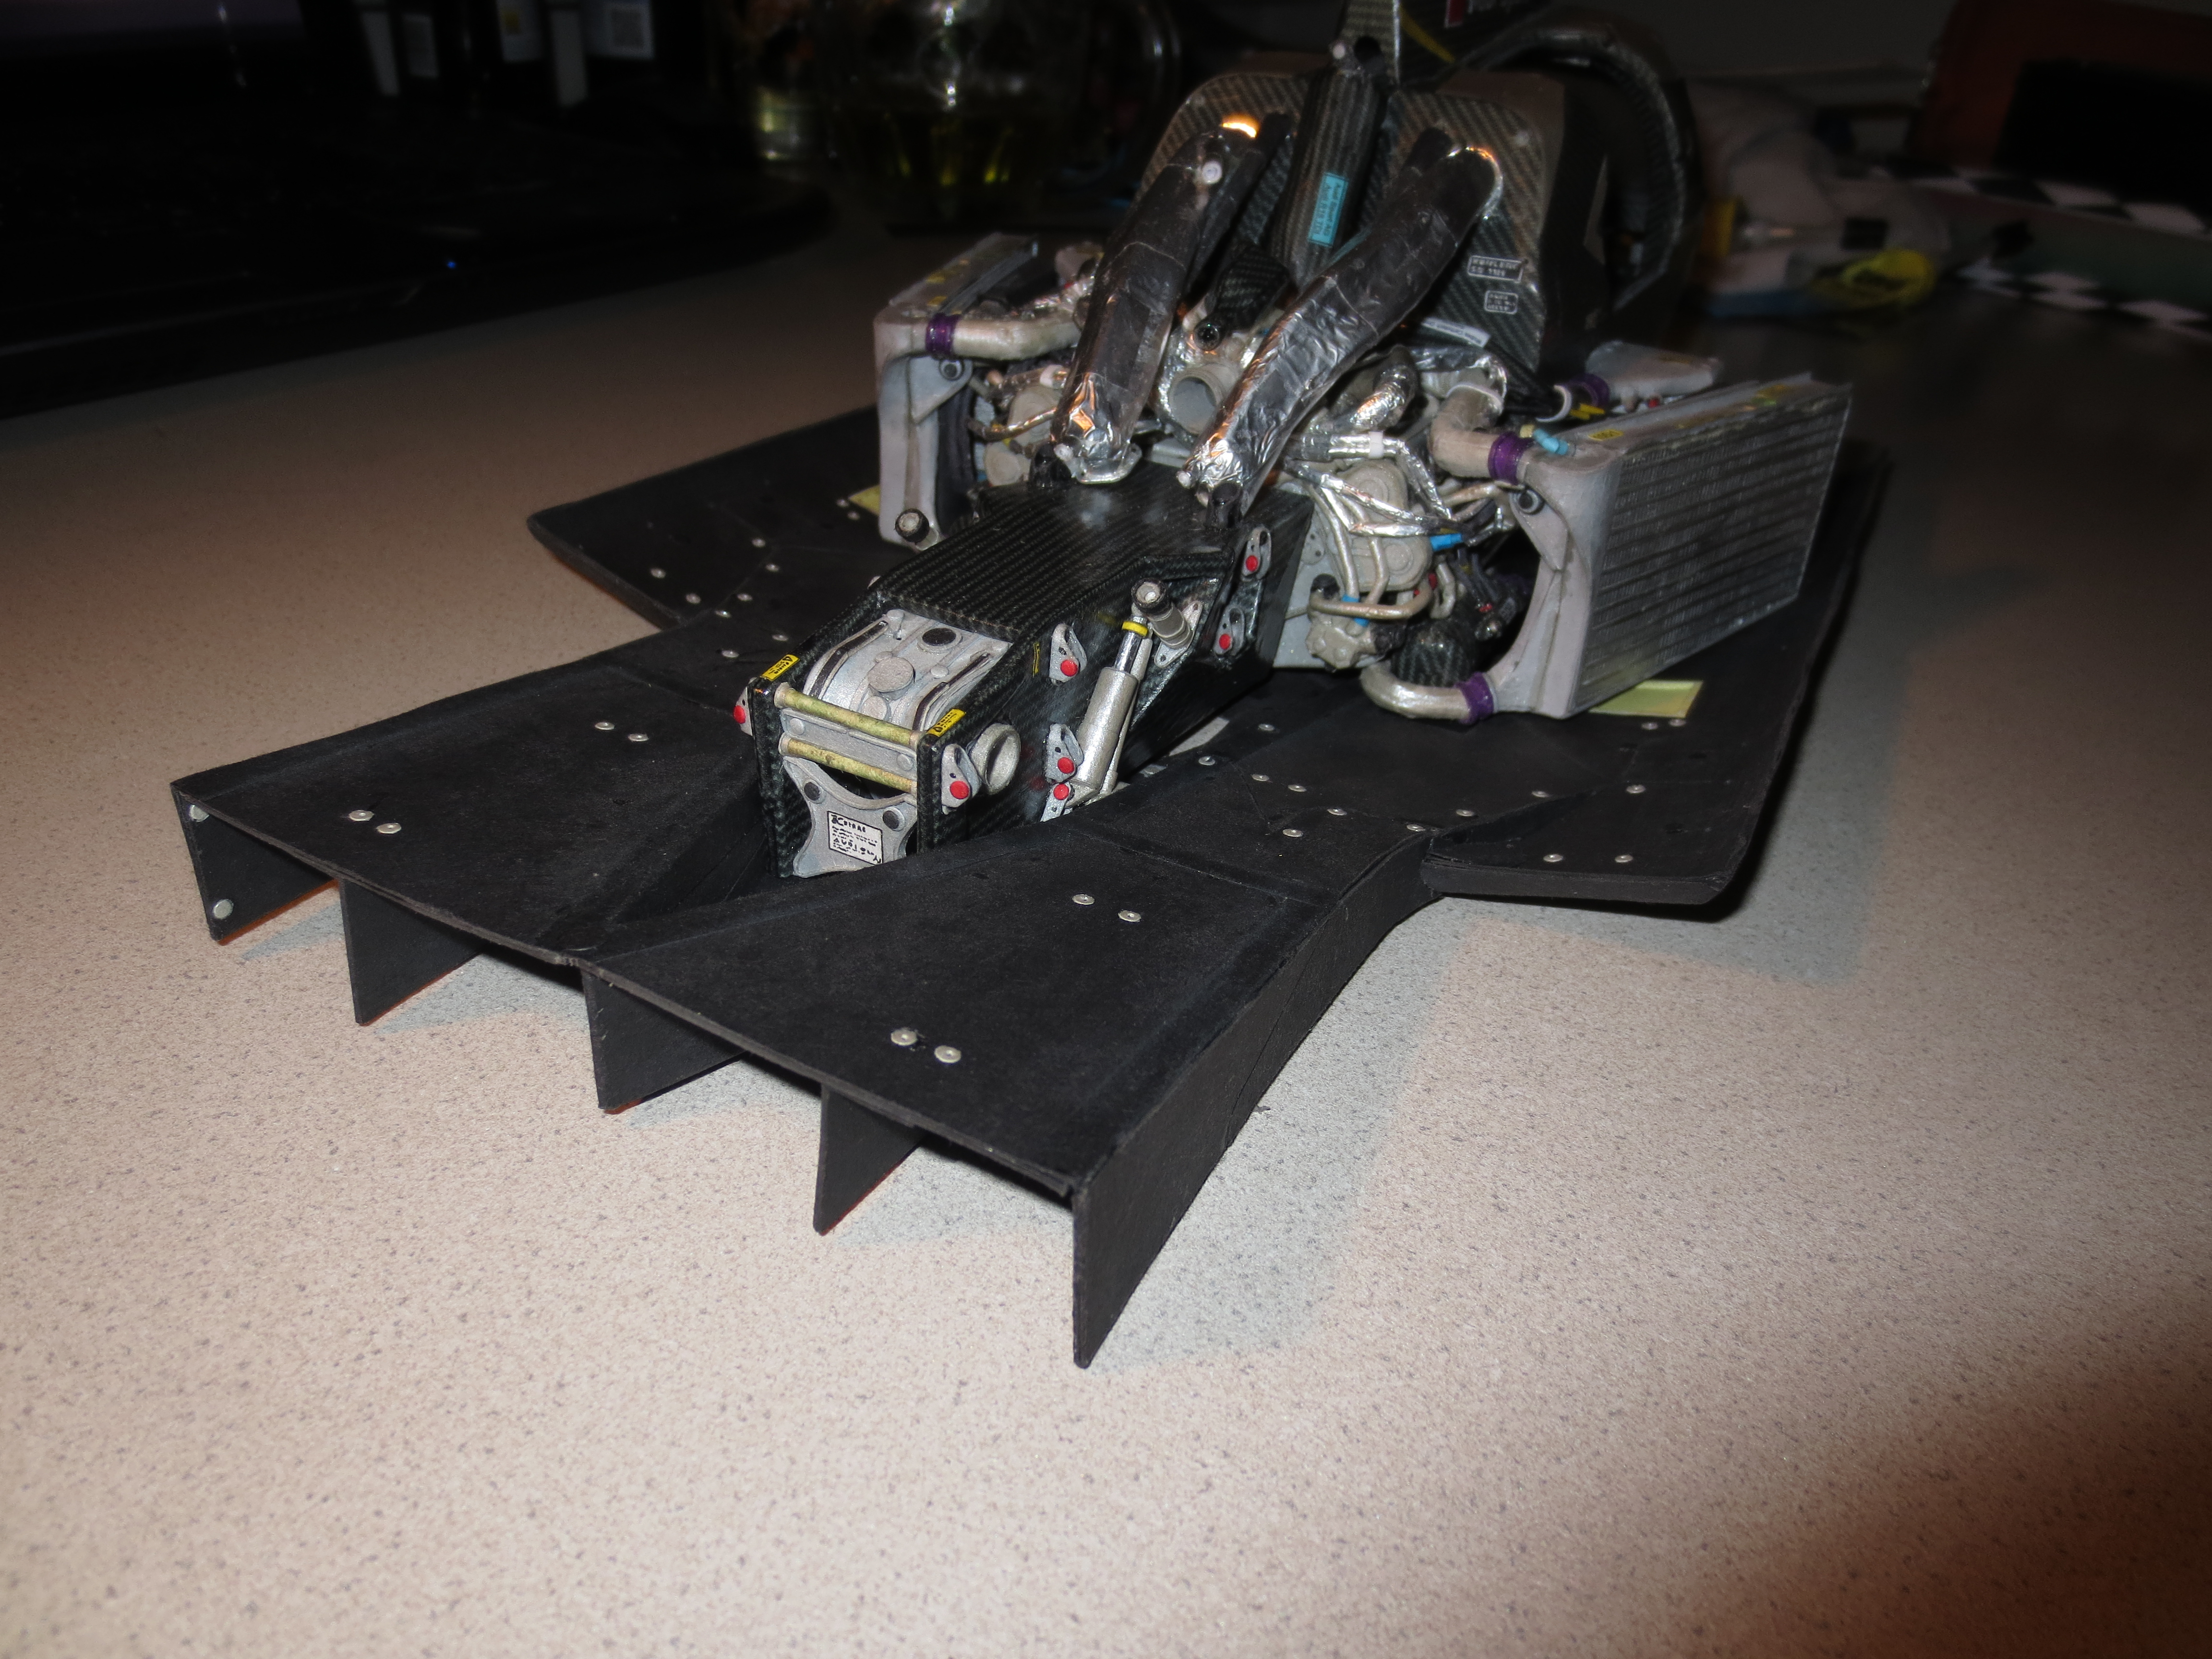
Fitted to the chassis.
Image

This hole, where I do not know it's function, should be a controlling opening for the radiators. That's my imagination when I look on this pic.
Image

Yeah, thats the way, how I do manufacture my underbody.

Cheers,
Paul
"Being second is to be the first of the ones who lose!" - Ayrton Senna

Paul Bischof
Milton Keynes, UK
MK2 2HL
http://paulsf1.wordpress.com/

User avatar
PaulB
72
Joined: 17 Oct 2010, 09:52
Location: Graz/Austria

Re: A paperboard AUDI R18 TDI

Post

Hi folks,

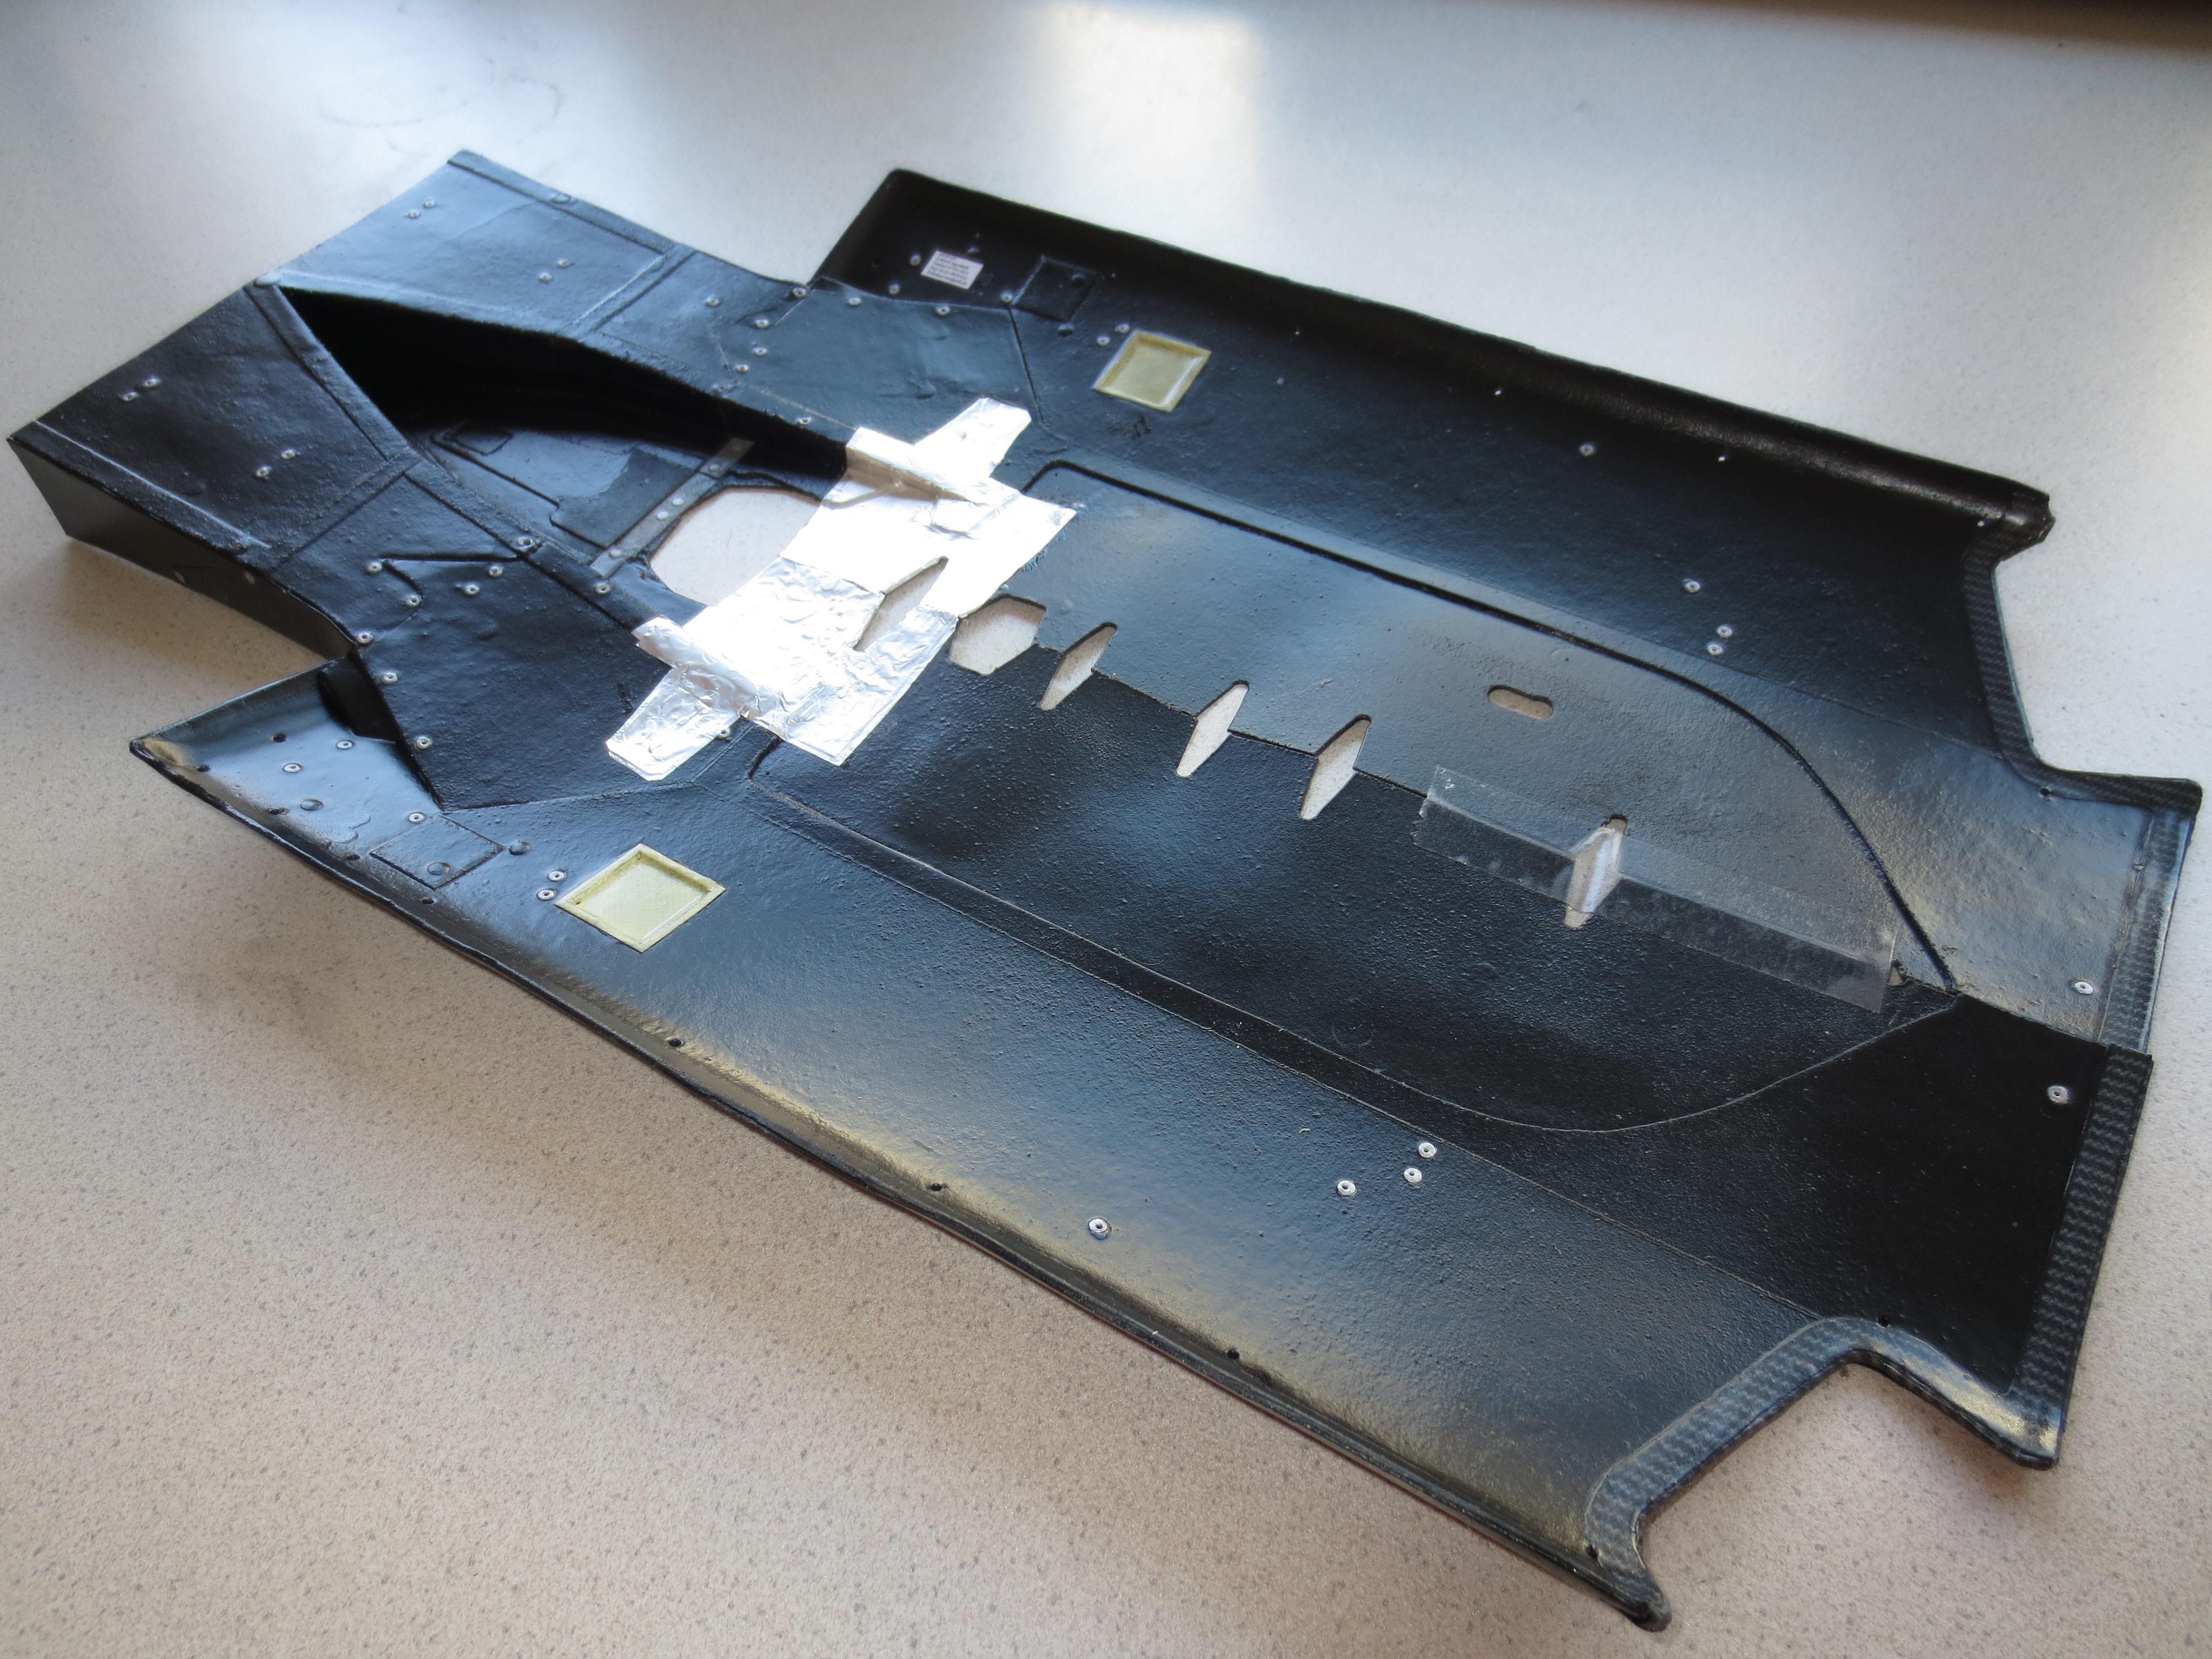
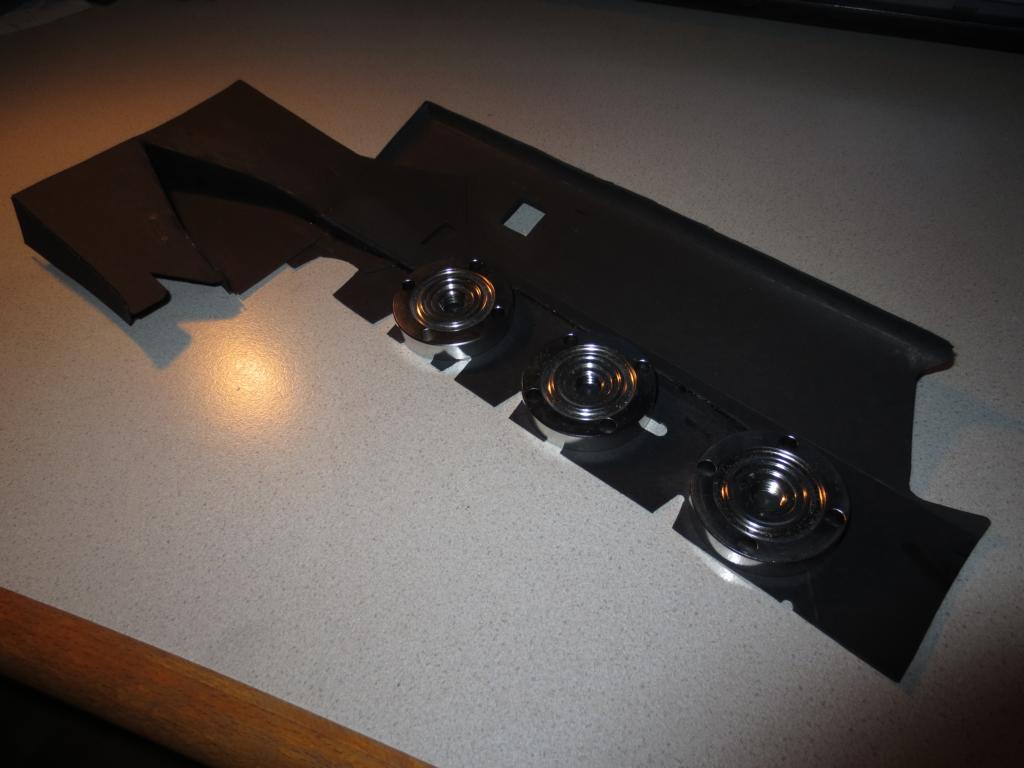
A very small update on the underbody progress. In very small steps, I was able to finish the underbody in the last days. Now it is waiting to get finished with a clear lacquer.

The upper side of the underbody.
Image

The lower side of the underbody panel.
Image

The lines of the water radiators are a bit to low. They collide a bit with the diffuser. But with a little pressure, the chassis fits quite well on the underbody.
Image

That's it for the mo, thanks for watching.

Cheers, Paul
"Being second is to be the first of the ones who lose!" - Ayrton Senna

Paul Bischof
Milton Keynes, UK
MK2 2HL
http://paulsf1.wordpress.com/

User avatar
PaulB
72
Joined: 17 Oct 2010, 09:52
Location: Graz/Austria

Re: A paperboard AUDI R18 TDI

Post

He folks,

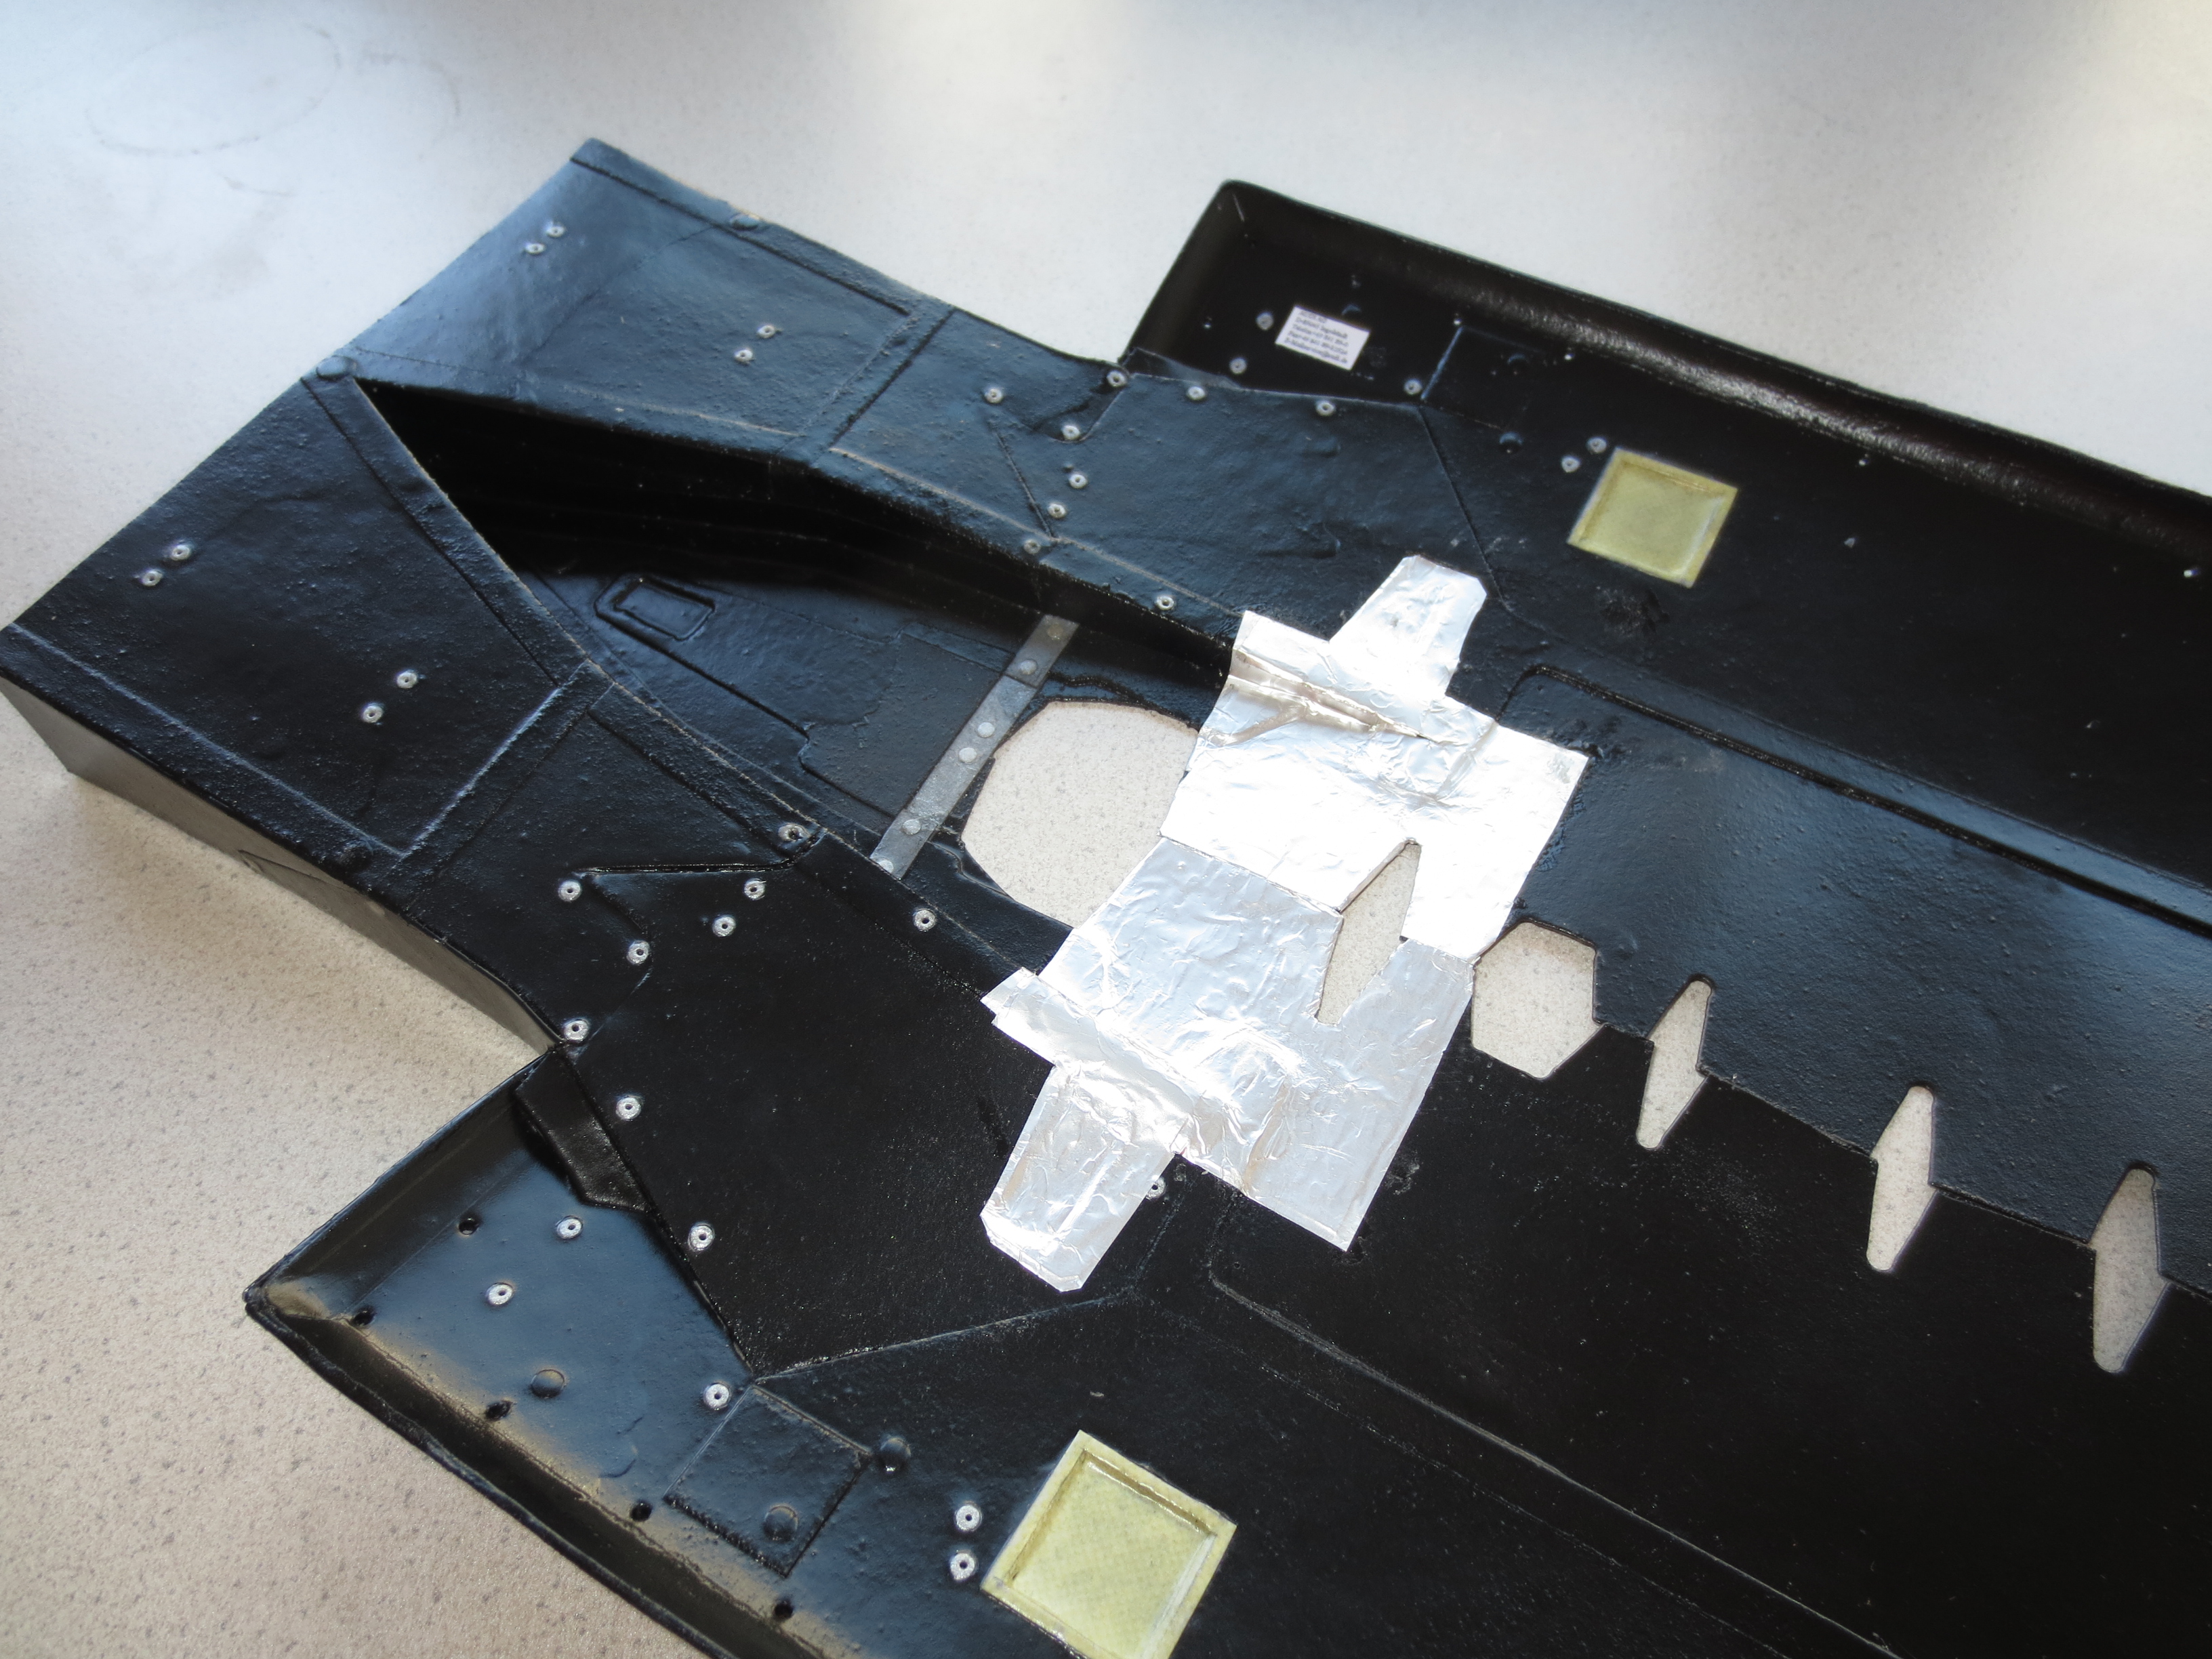
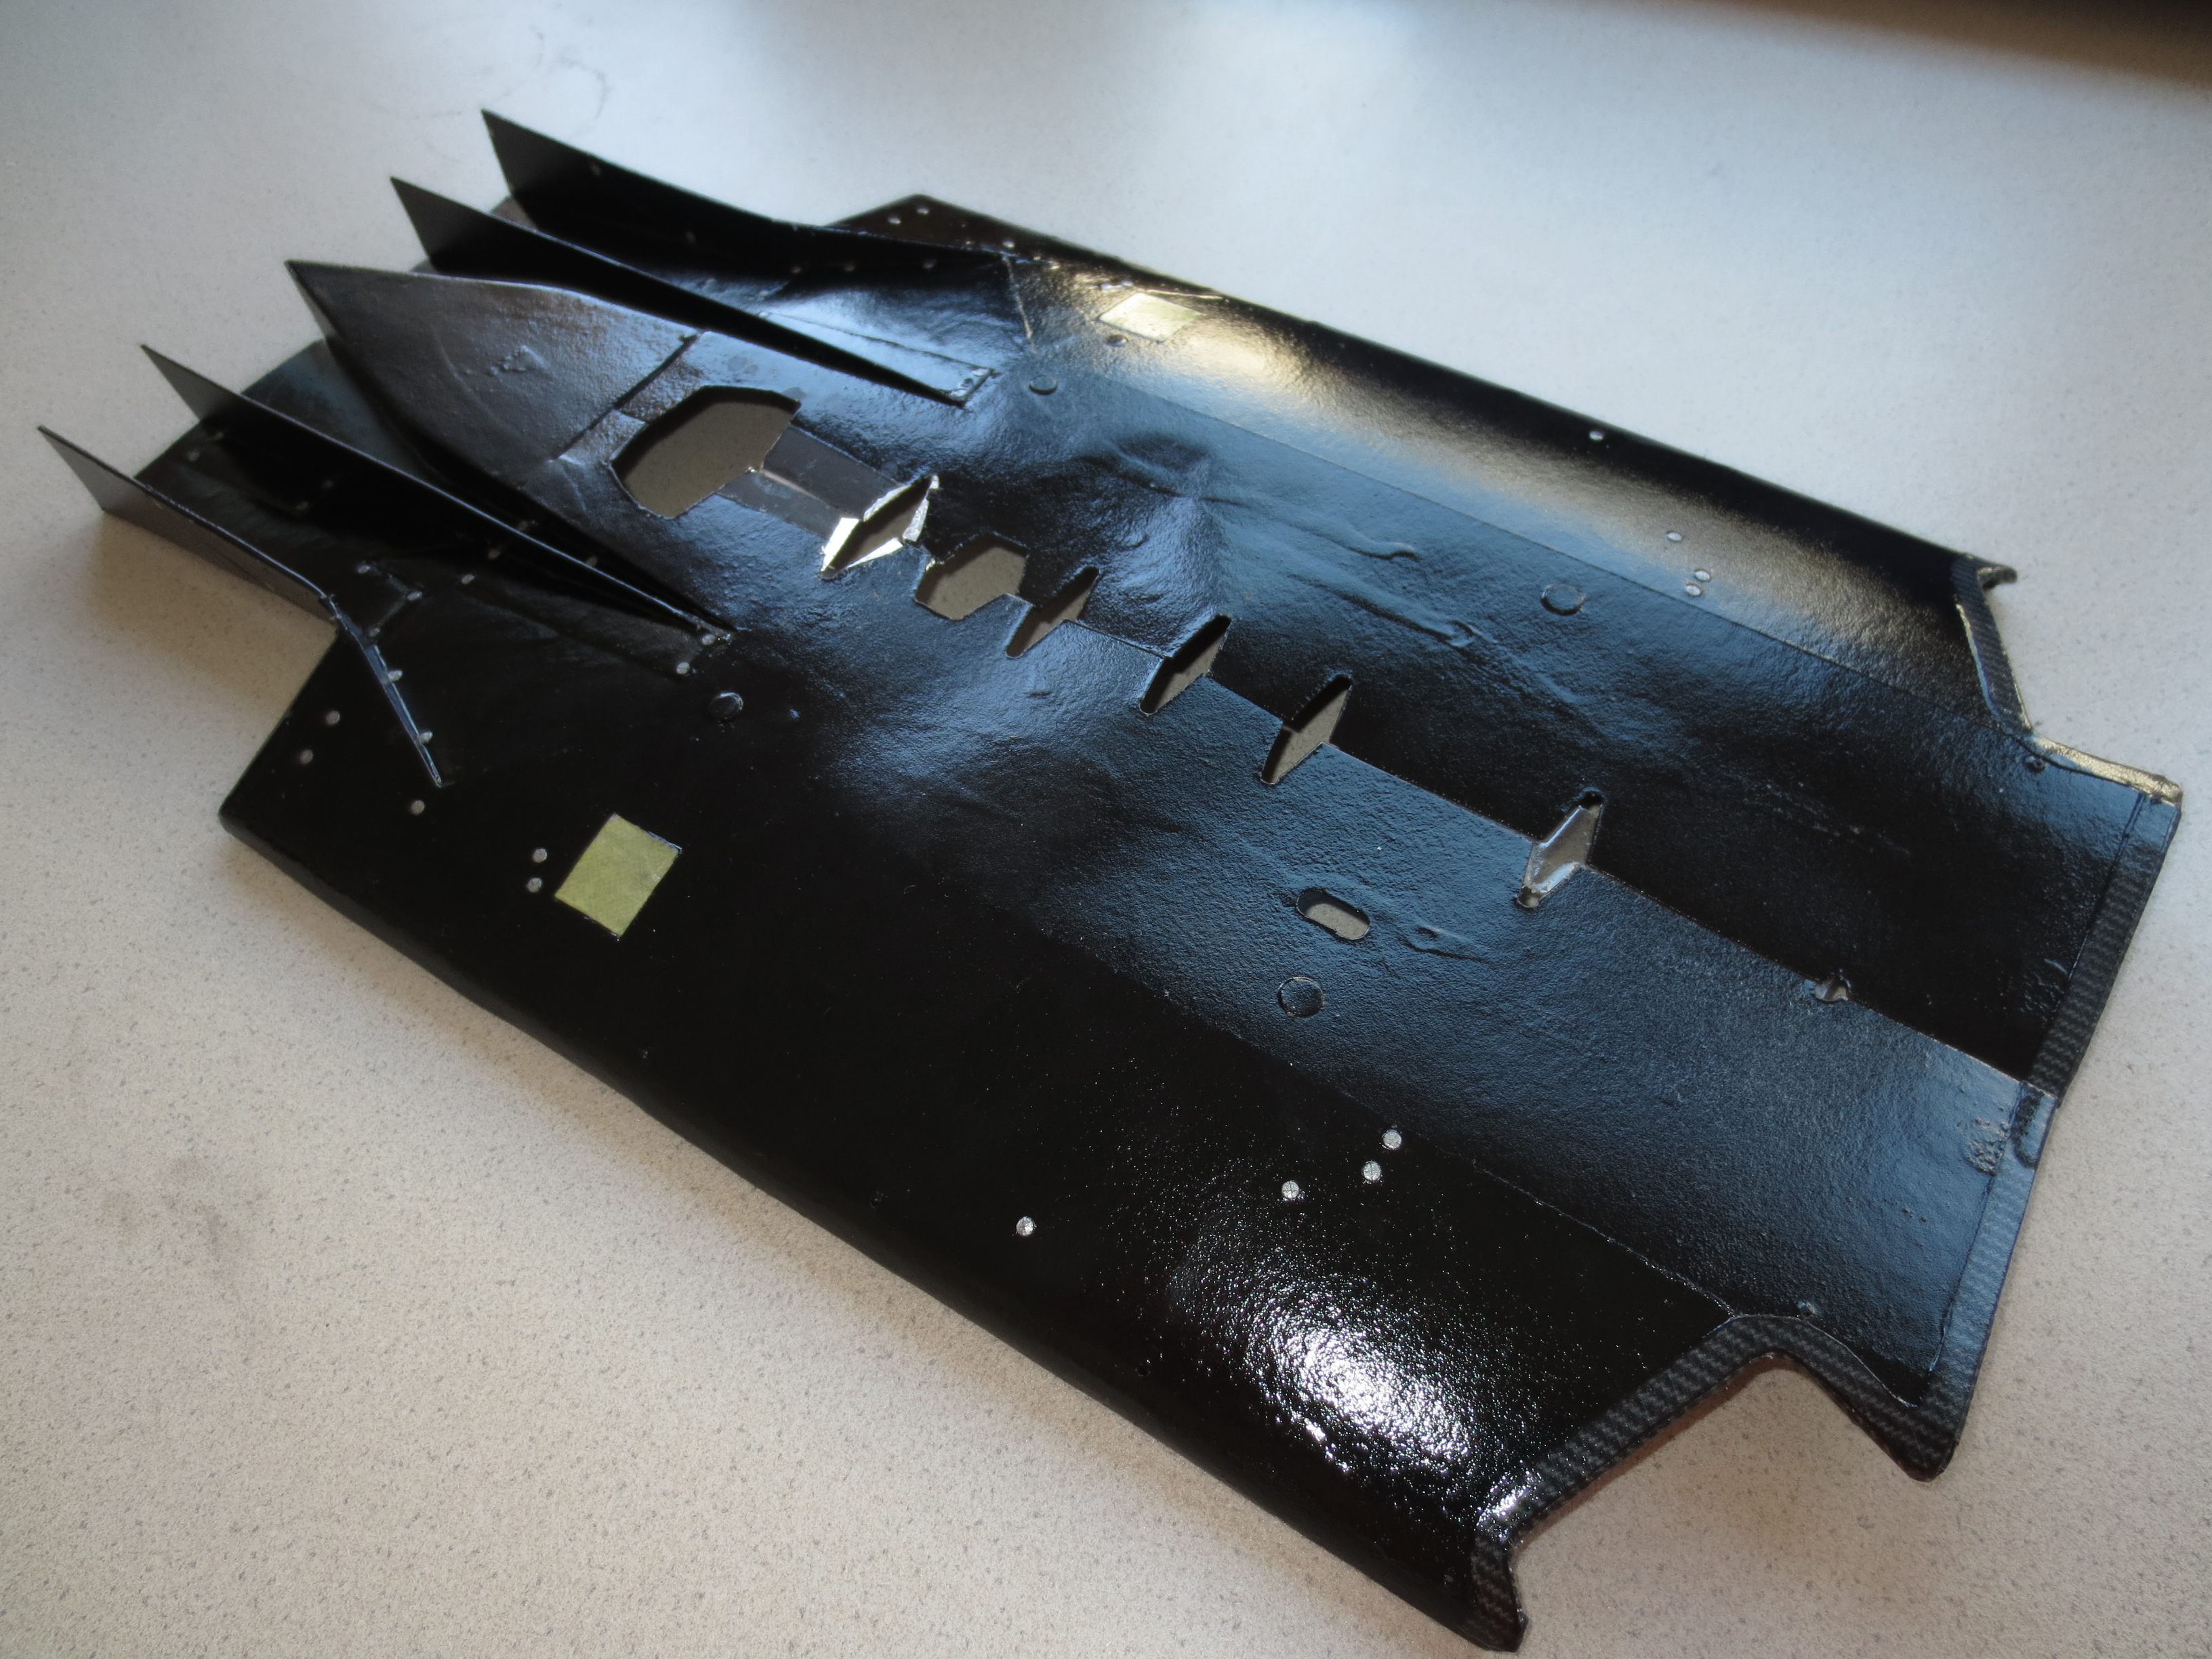
The last two days I was busy with lacquering the underbody. The fact, that my big last paint job (the monocoque) dates back somewhere in June 2012, was responsable, that the underbody didn't got perfect because I was a bit too less patient. A few times, the lacquer runed away a bit and made a bit an irregular surface. But not much.

If someone detects a difference between this and the real underbody (except the size) the person should tell me. ;)
Image

Regarding the heat shieldings I have almost no reference. In my opinion, also the area under the radiators should be heat protected, but at my pics of the engine cover, there is no heat shielding at the radiators area.
Image

Underside of the underbody.
Image

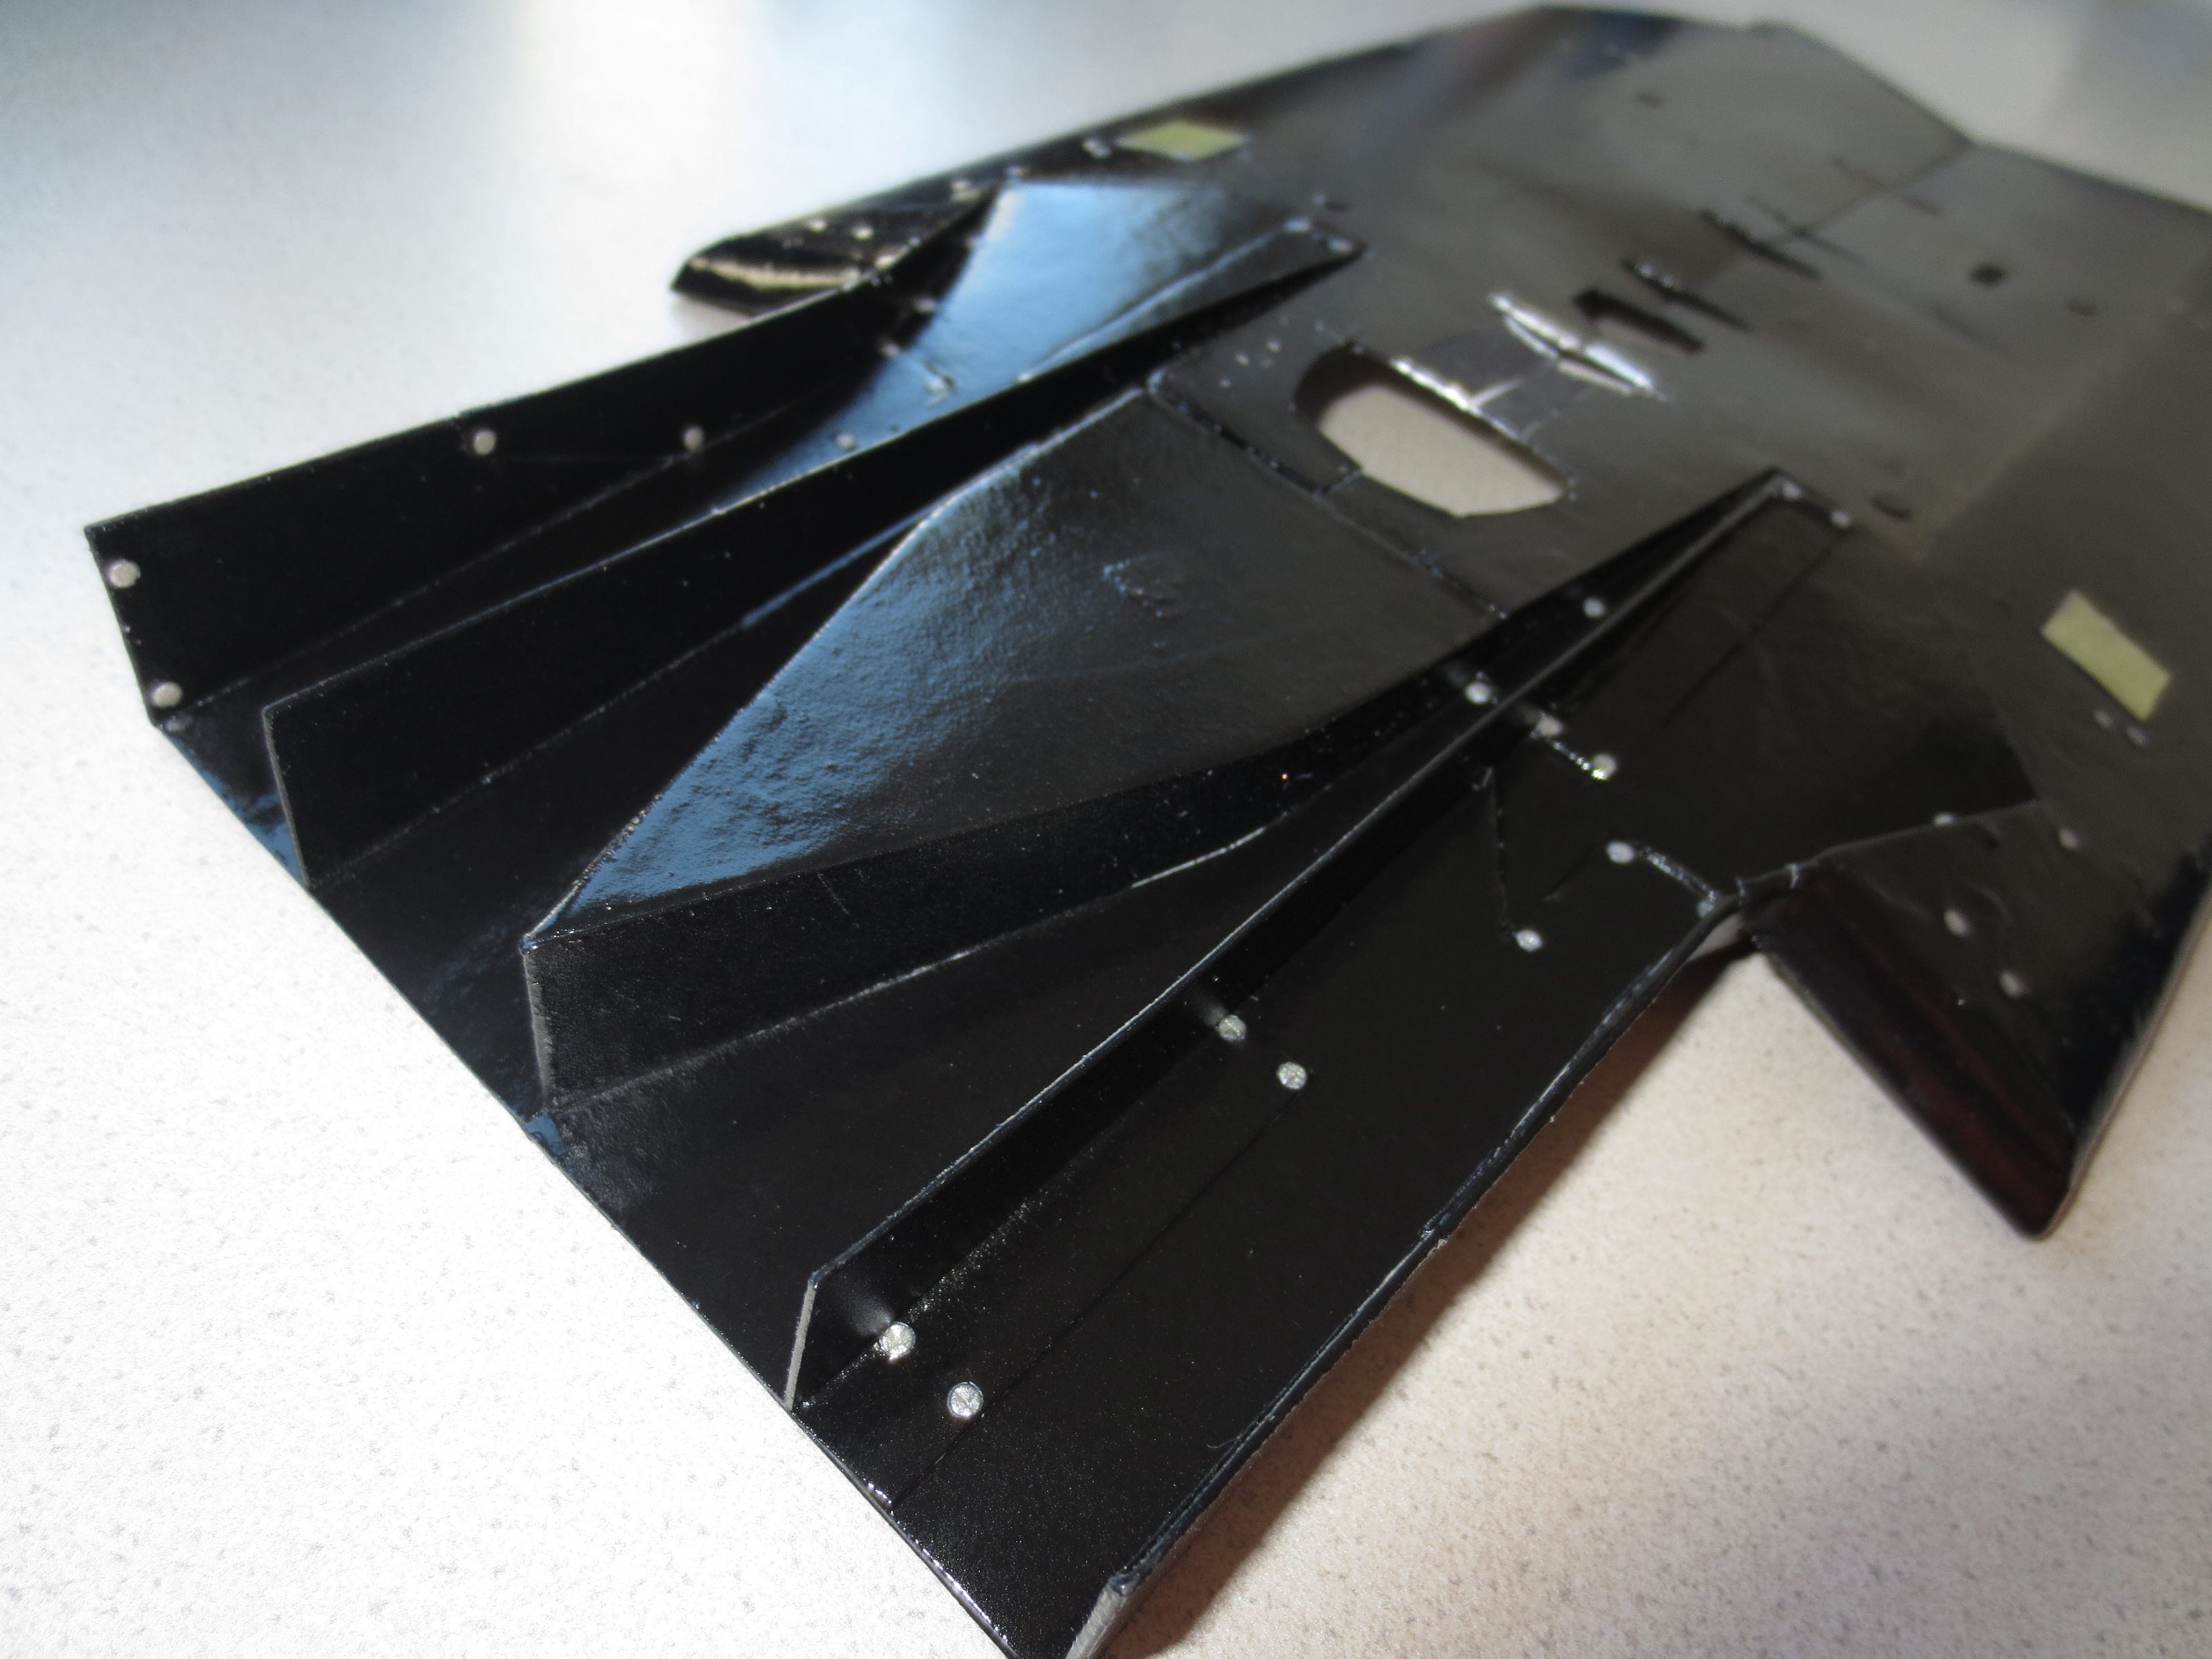
Diffuser...
Image

With the heat shields I covered the area under the engine and the lower line to the water radiator.
Image

That's it for the mo.

Cheers,
Paul
"Being second is to be the first of the ones who lose!" - Ayrton Senna

Paul Bischof
Milton Keynes, UK
MK2 2HL
http://paulsf1.wordpress.com/

User avatar
amouzouris
105
Joined: 14 Feb 2011, 20:21

Re: A paperboard AUDI R18 TDI

Post

I am trying to find a word to describe your work that someone hasn't already used..but i failed miserably...simply OUTSTANDING job!!

User avatar
Alonso Fan
10
Joined: 06 Apr 2013, 18:21

Re: A paperboard AUDI R18 TDI

Post

amouzouris wrote:I am trying to find a word to describe your work that someone hasn't already used..but i failed miserably...simply OUTSTANDING job!!
phenomenal!! that's the word. i'm not sure if anyone's used it before, but it's the best i can think of. it's fantastic!

i wouldn't be able to get that much detail on a model if i made one, especially with my rubbish art skills and lack of equipment.
you're right, it's just simply outstanding!!

can't wait to see the finished result
SHR Modding
Youtube
Twitter
Discord

Sound Developer for Reiza Studios
Sound Modder for Assetto Corsa