In this thread I will be unlocking a few secrets hidden within this part - The F1 Throttle Actuator, mainly its construction, operation, and some other features.
The part below is from the Cosworth TJ V10 Engine.
In a normal road car these days the throttle butterflies are directly controlled by a small stepper/servo motor, in earlier years they were cable control. In the case of many F1 cars these methods of control have been replaced for many years by electronically controlled hydraulic actuators. Hydraulic actuation has many benefits over cable or electronic control in F1 environments for many reasons - lightness, response time, and durability being a few.
On the V10 there are two machined magnesium throttle barrels housed inside two carbon fiber tubes bonded into the carbon fiber intake superstructure. Holes in these carbon fiber pipes correspond with holes in the magnesium throttle barrels - turning the barrels 90 degrees from the idle position causes the holes in the carbon tubes and holes in the throttle barrels to line up thus giving wide open throttle.
The magnesium throttle barrels require moderate force to turn from the idle position since they are under considerable vacuum. The area in which such actuation methods would reside in is also a pretty hostile and cramped one.
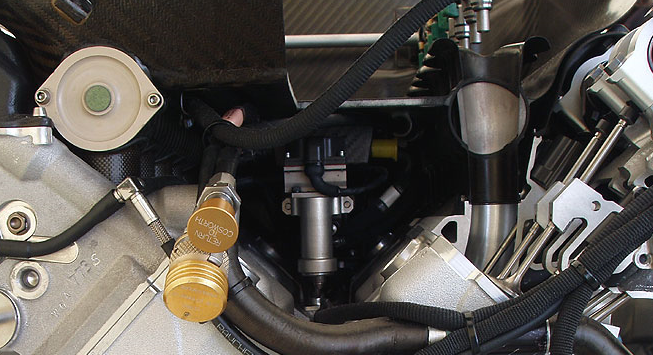
Below is the F1 Throttle Actuator in question in its fitted position, if you look closely you can just about see it lying over the valley area of the engine block and under the main intake superstructure, its flow and return caps exiting also and capped off,
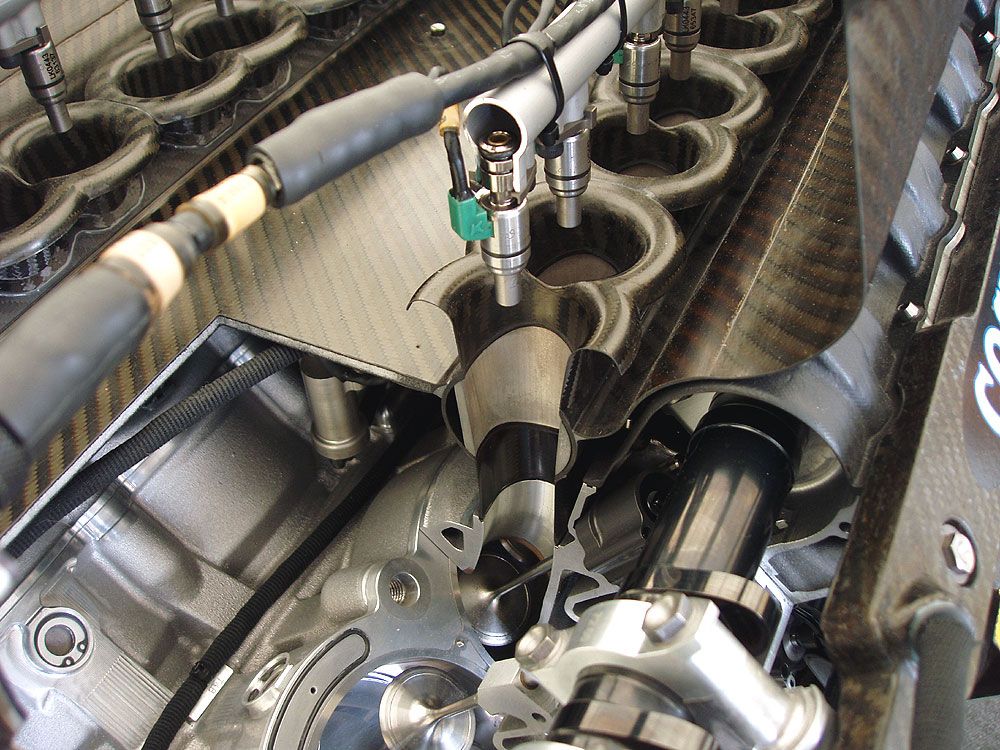
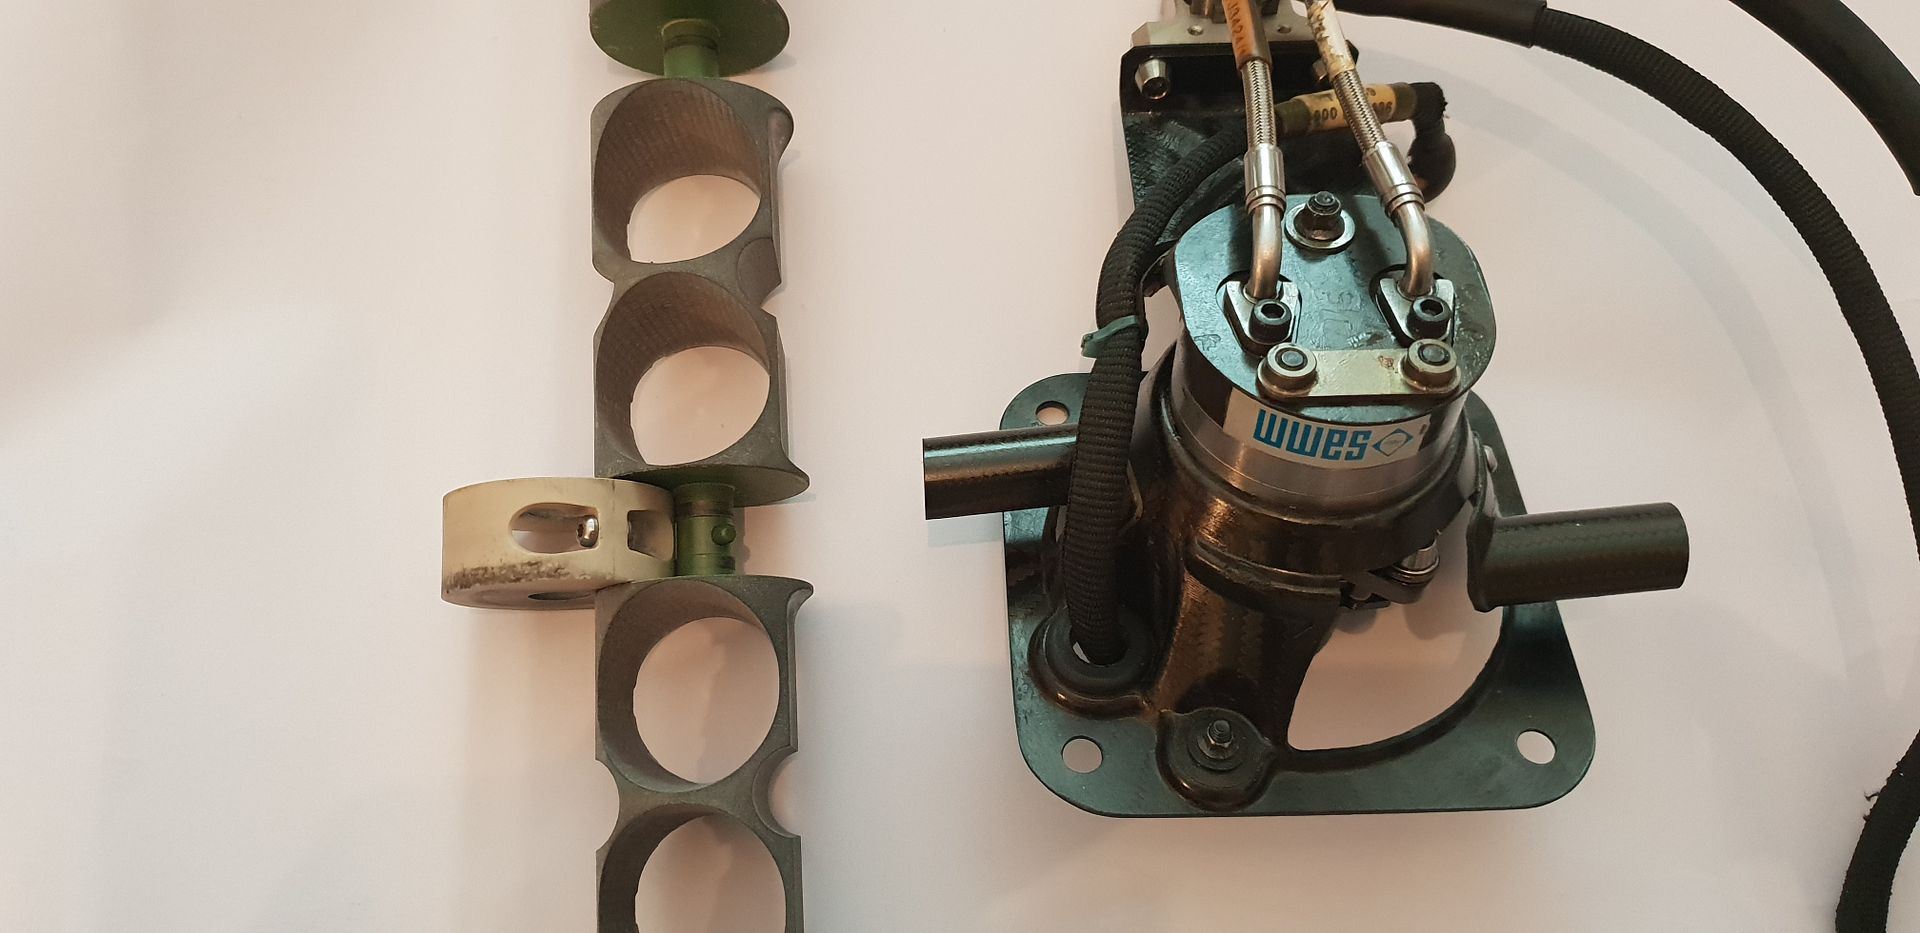
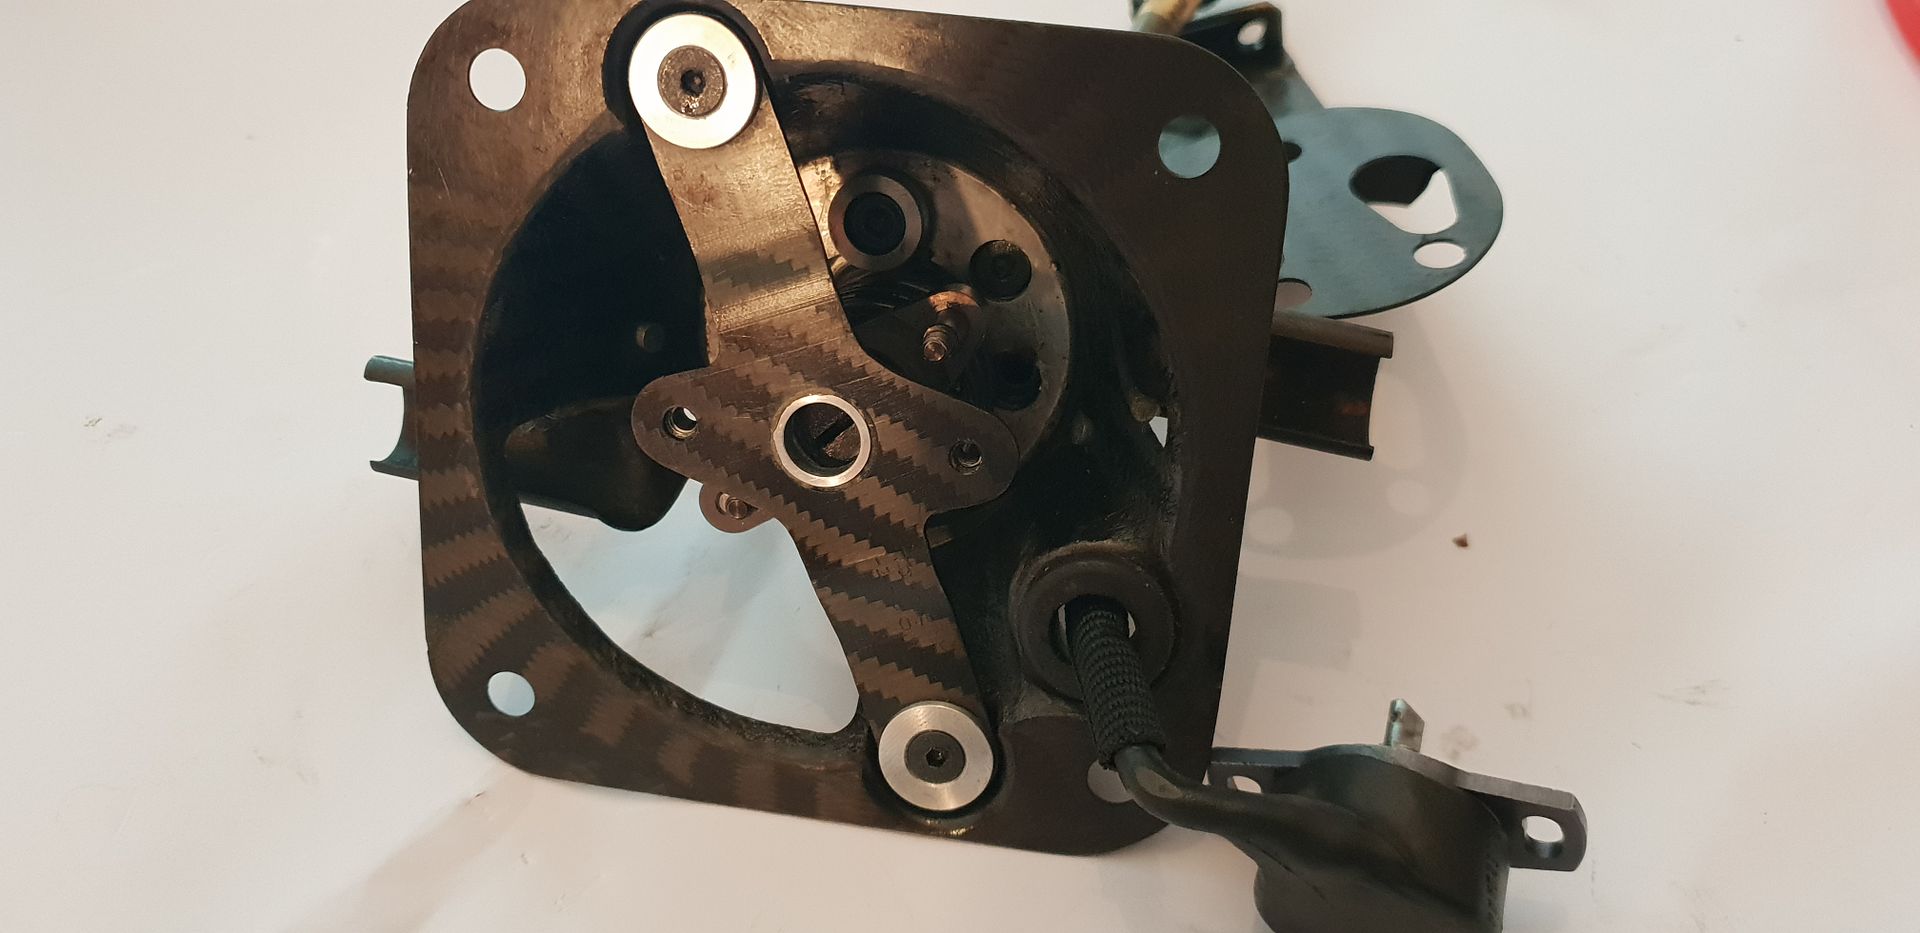
The Throttle Actuator removed below - two linkages not pictured exit from the actuator bell crank and attach to crank arms on the magnesium throttle barrel central bushings - the bushings made from PEEK.
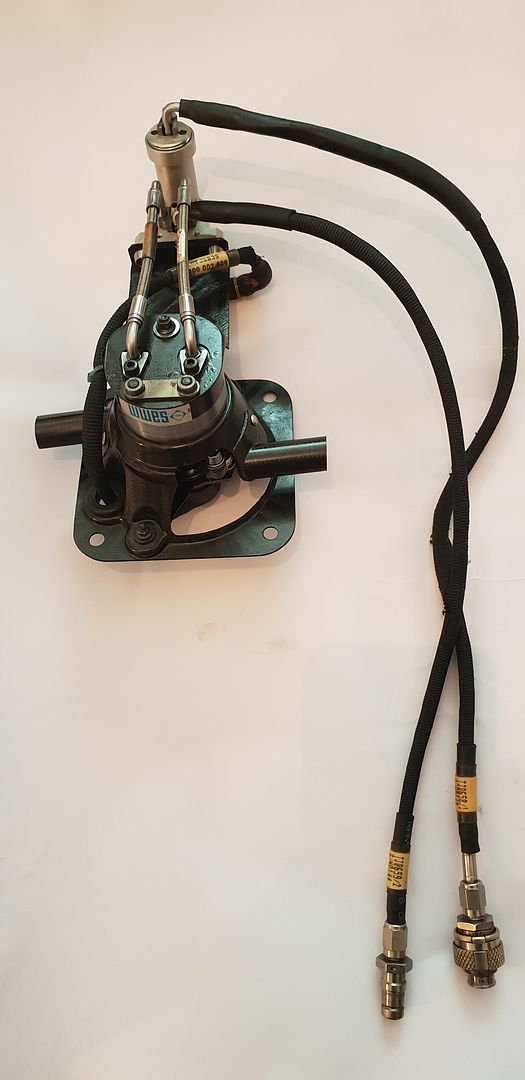
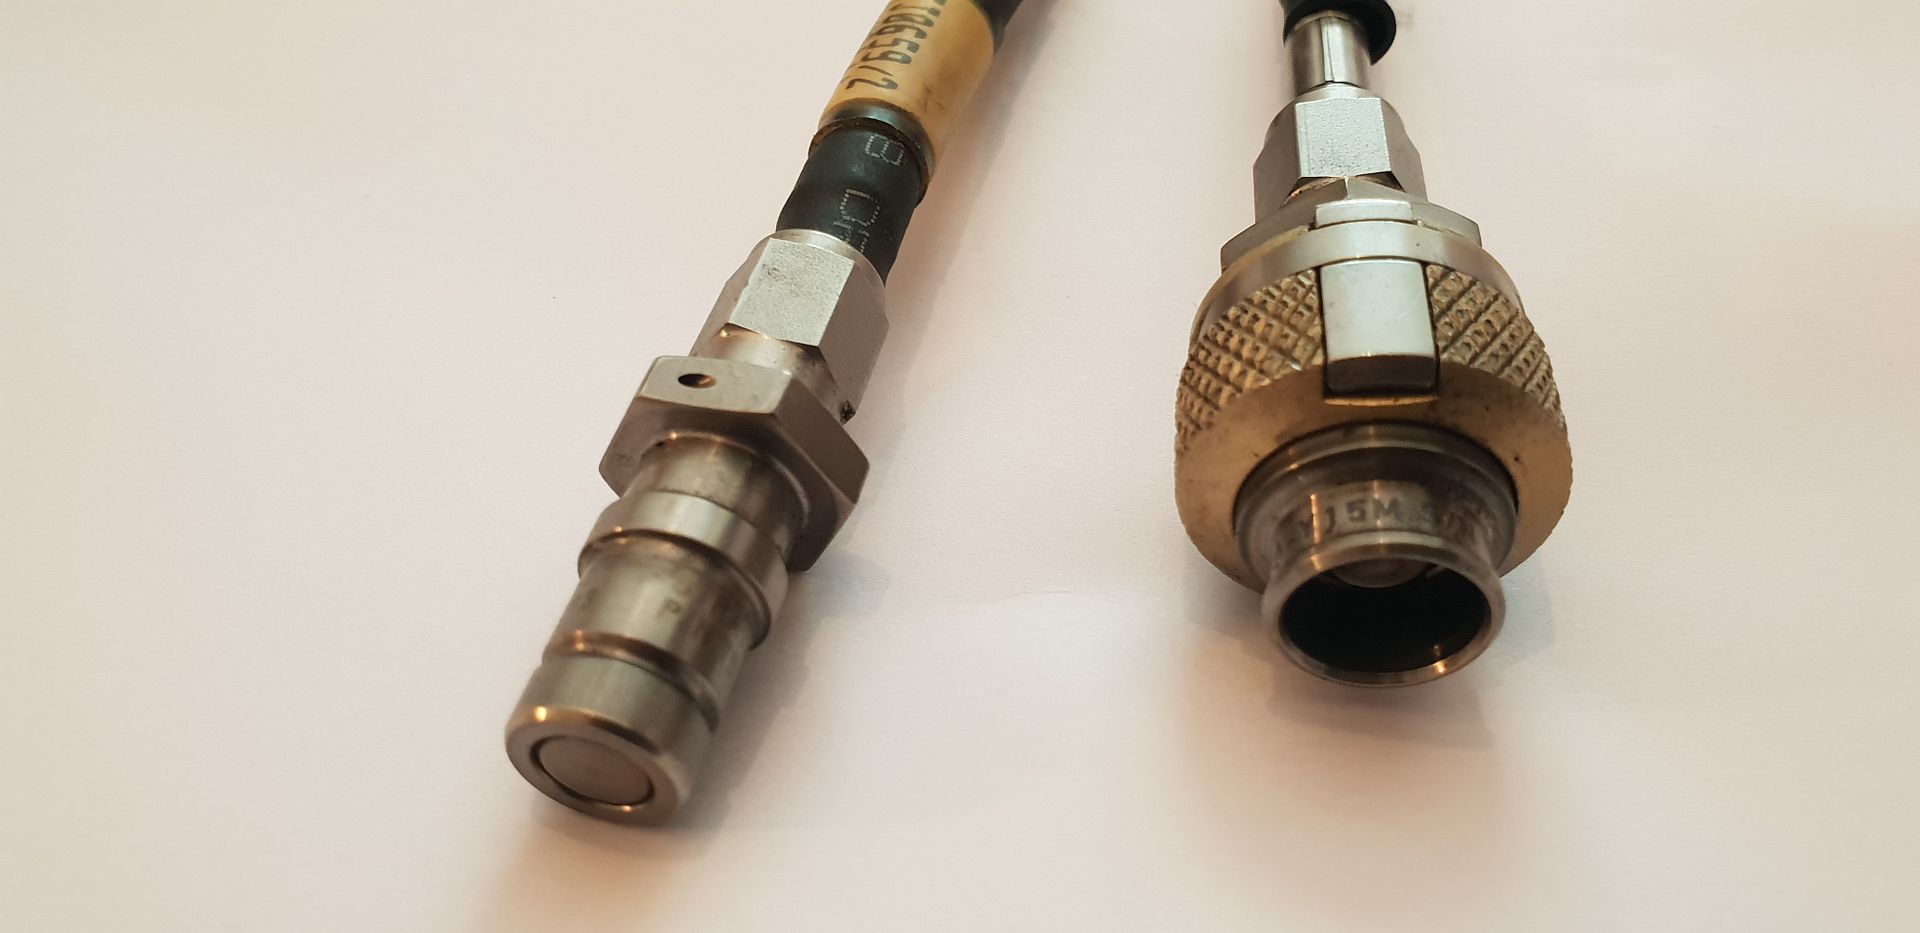
The dry break connections,
The left hand throttle barrel in its approximate position showing the central PEEK crank bushing - you can just make out the small indexing pin on the throttle barrel axis to provide positive angular location for the PEEK bushing,
Turned over, you can see the rotary encoder for positioning monitoring,
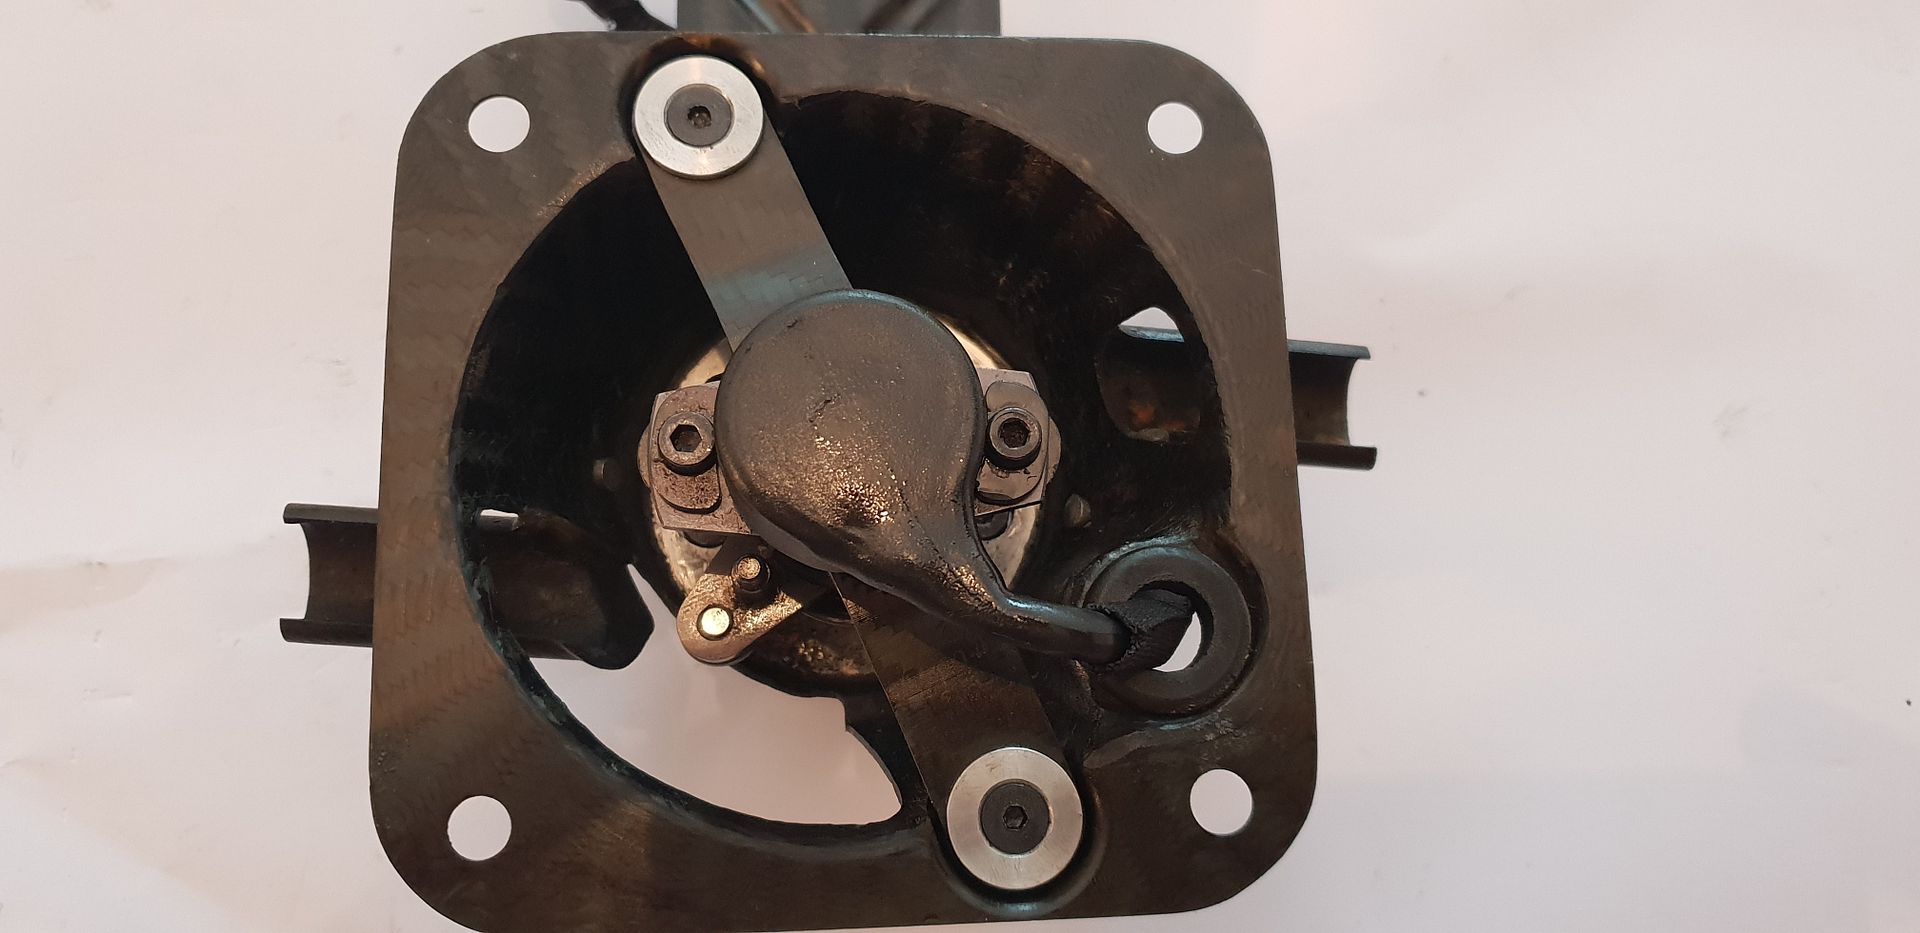
Notice too the upstands on the bell crank for connecting the link bars out to the barrel bushings,
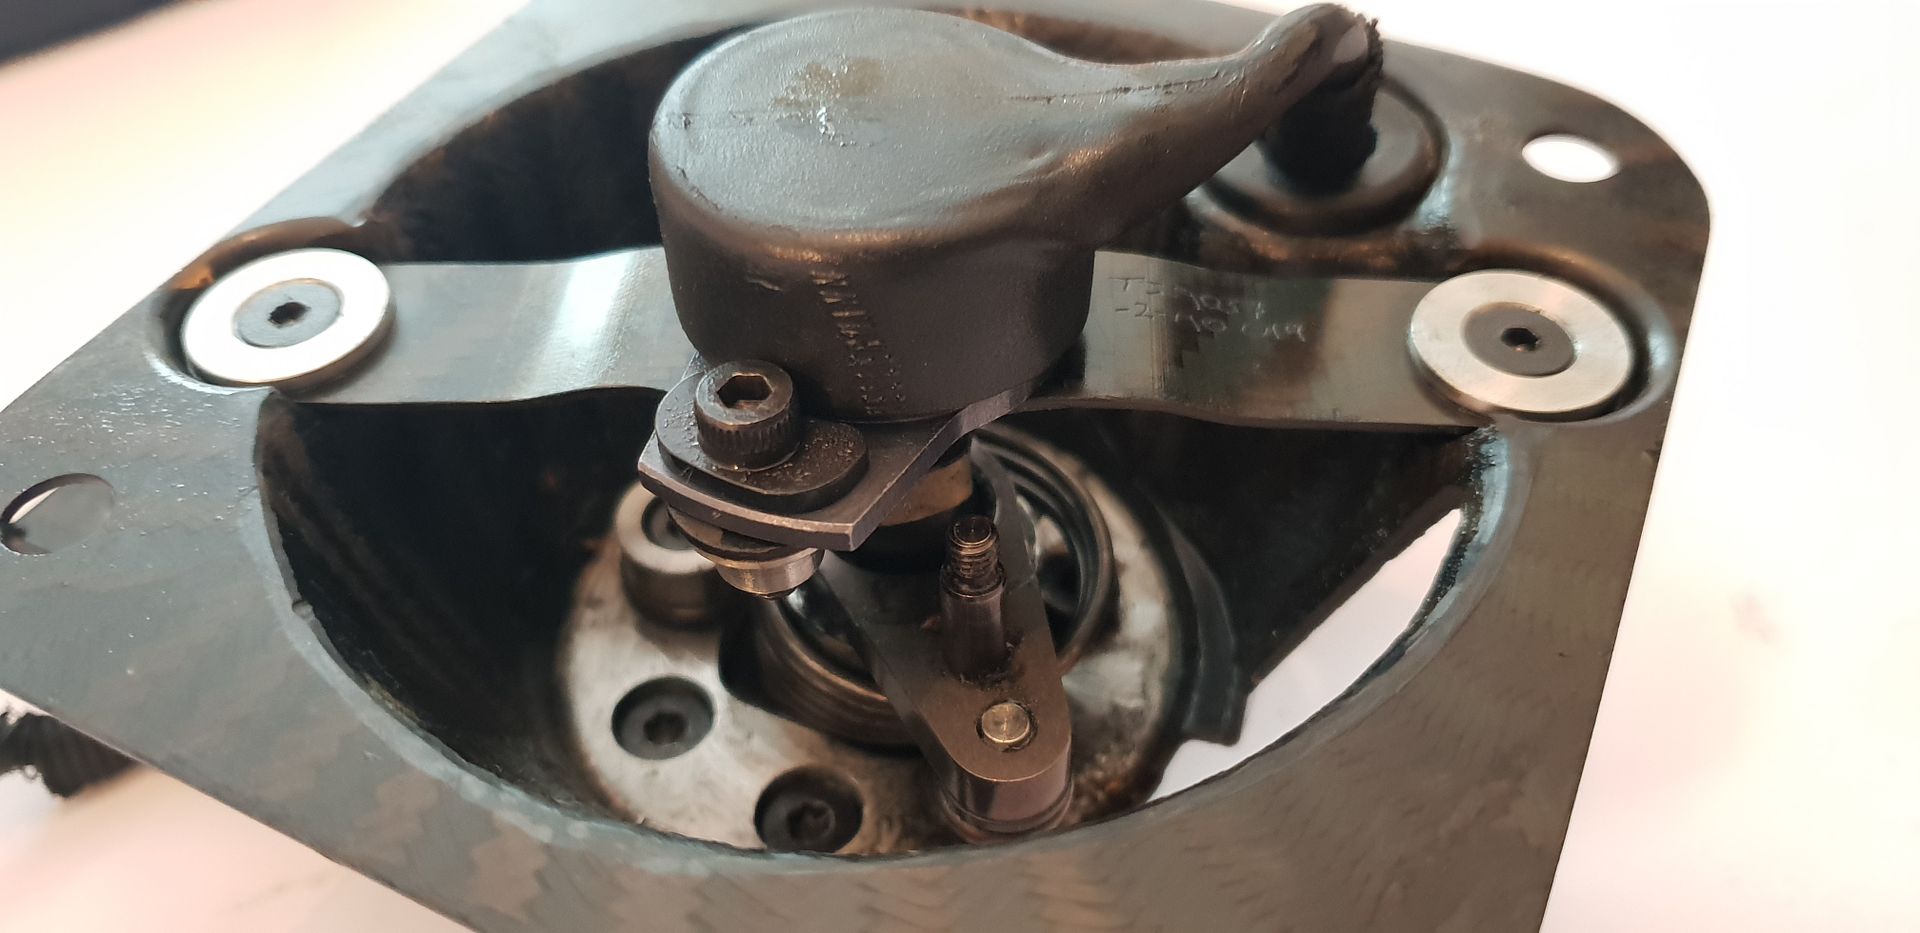
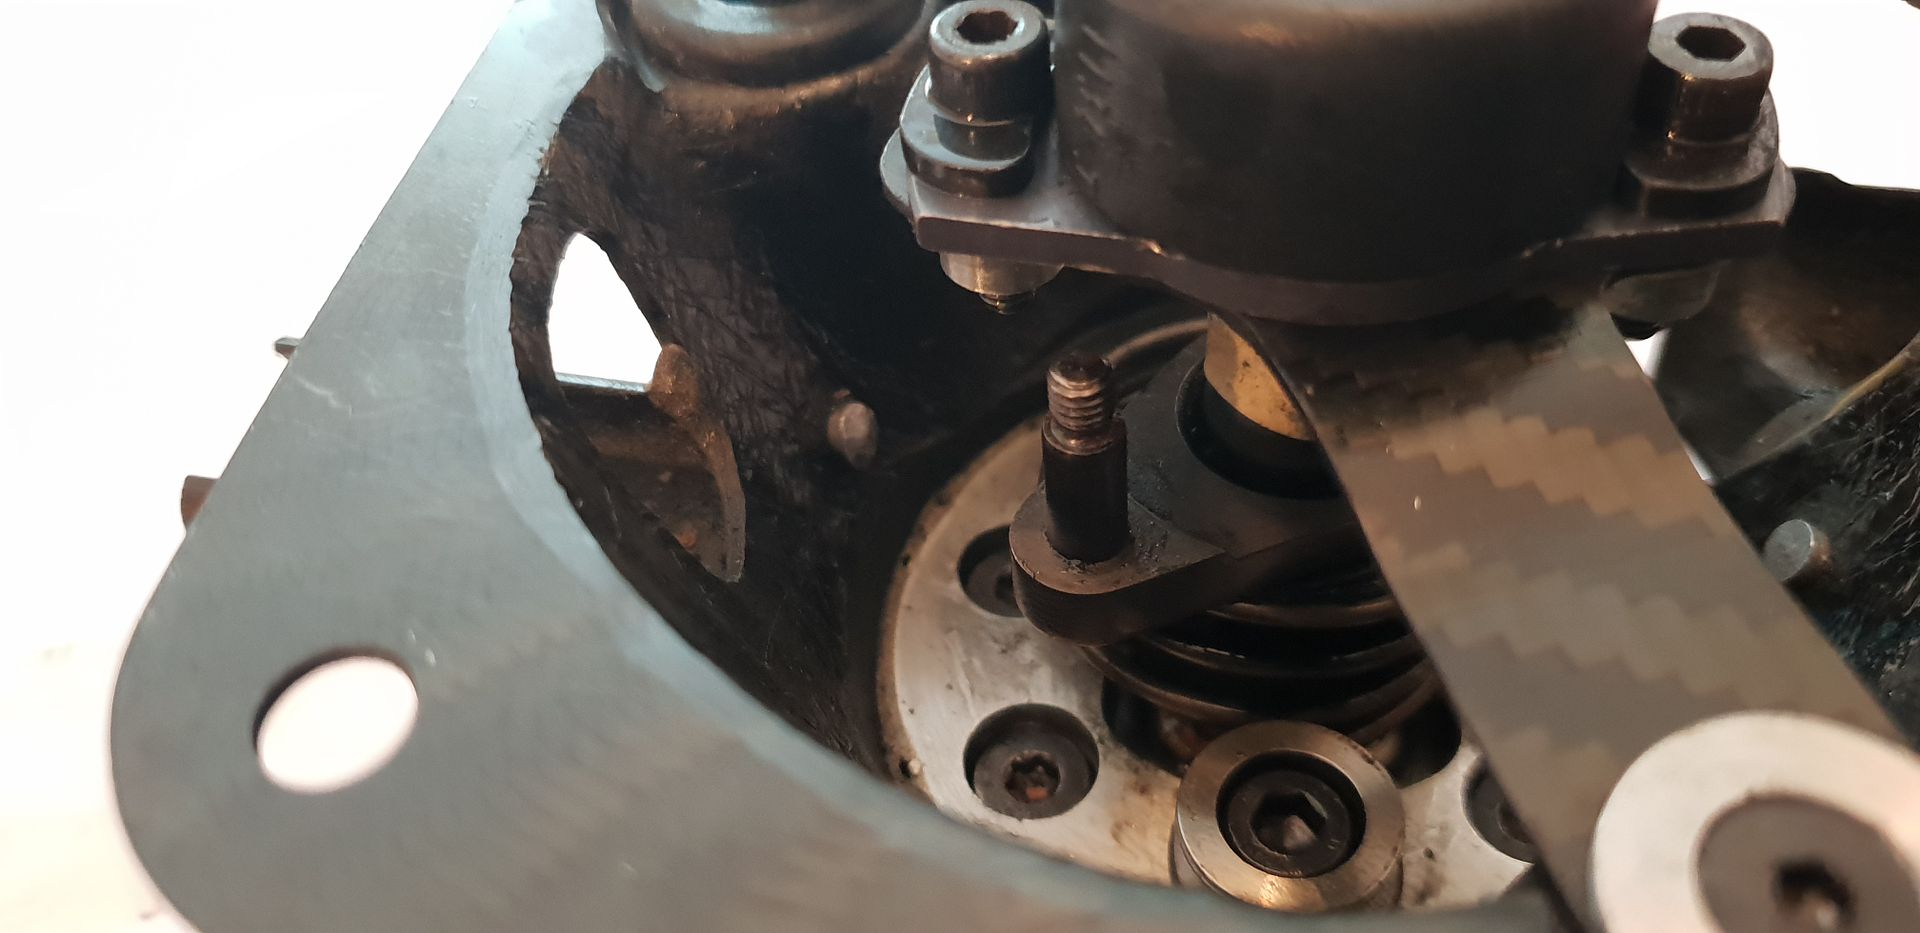
Removing the encoder uncovers the bracket and coupler which it mounts to,
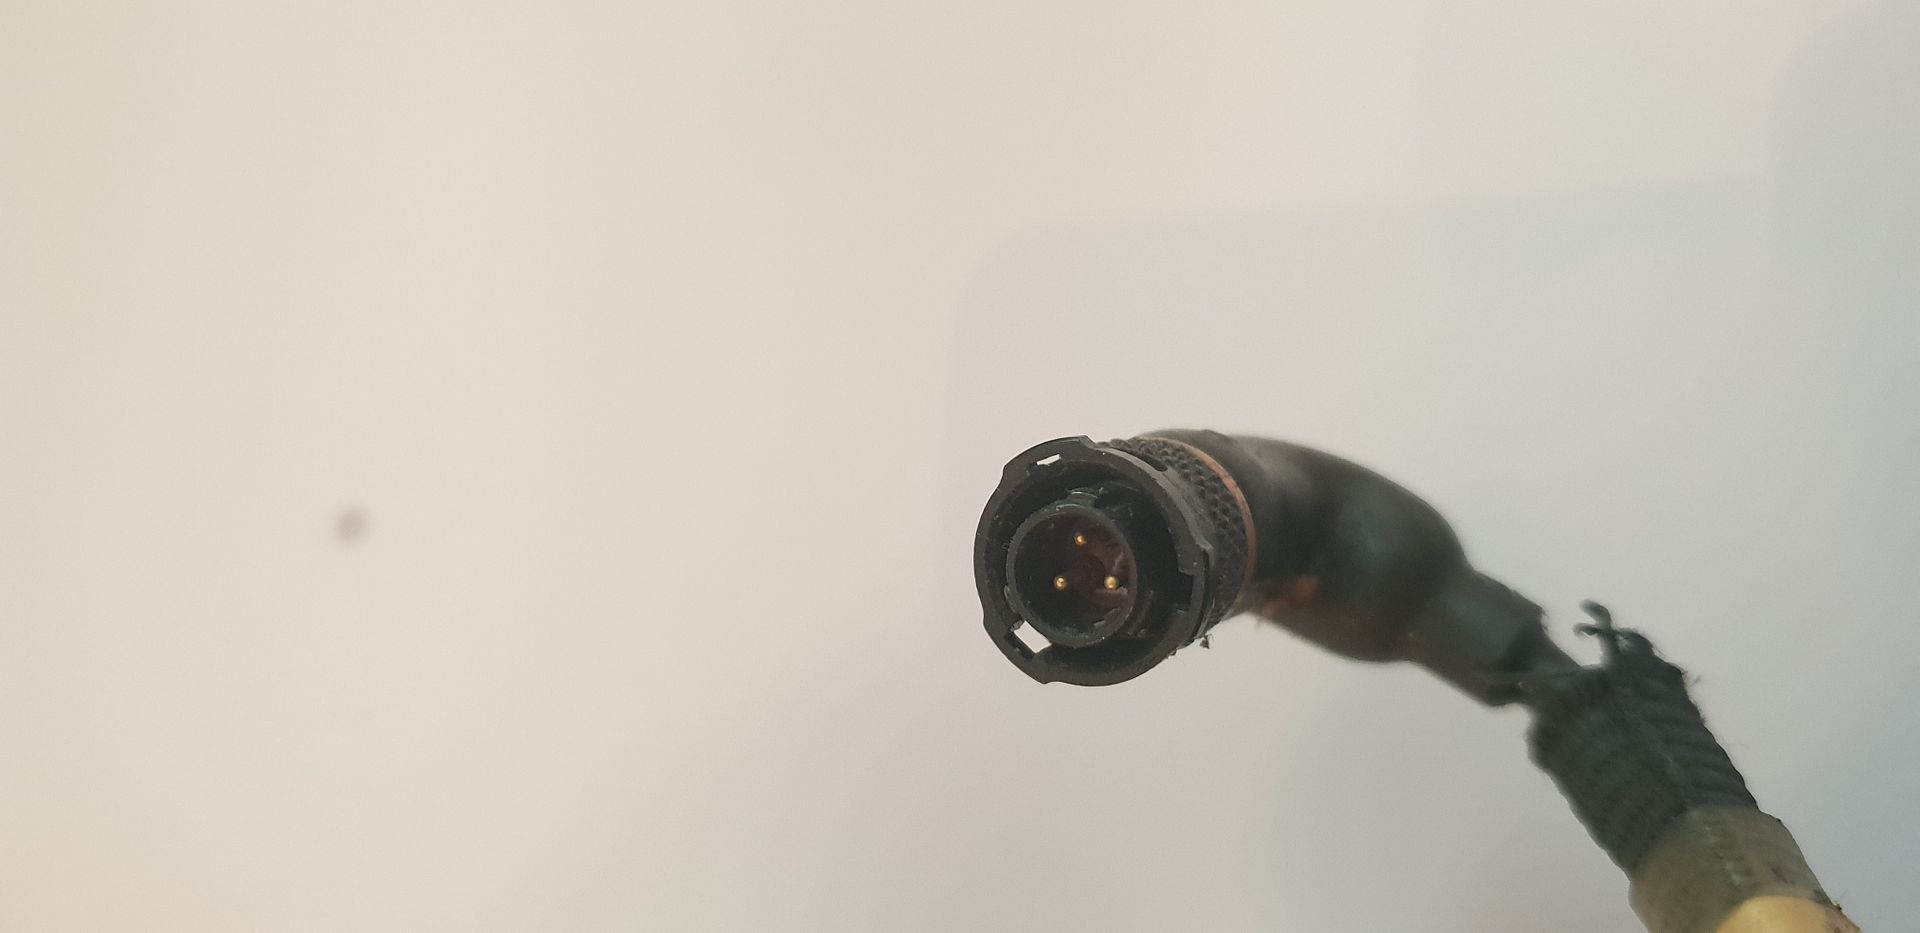
The encoder cable has three conductors,
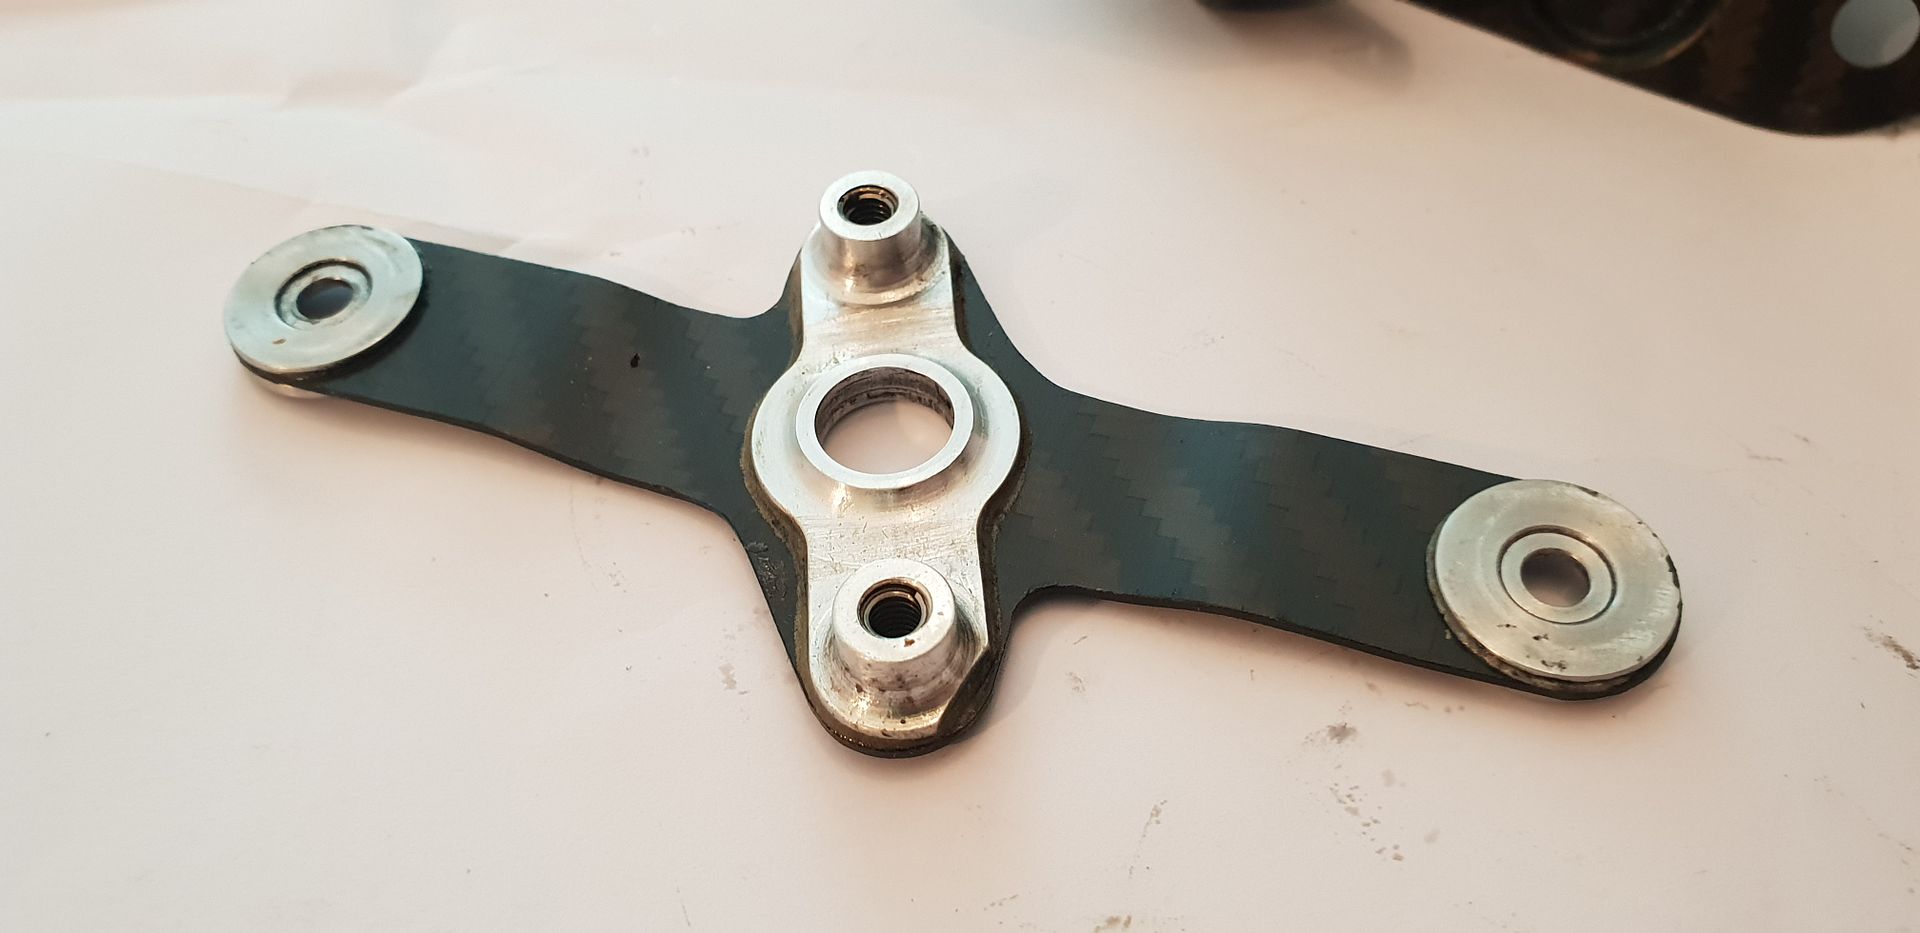
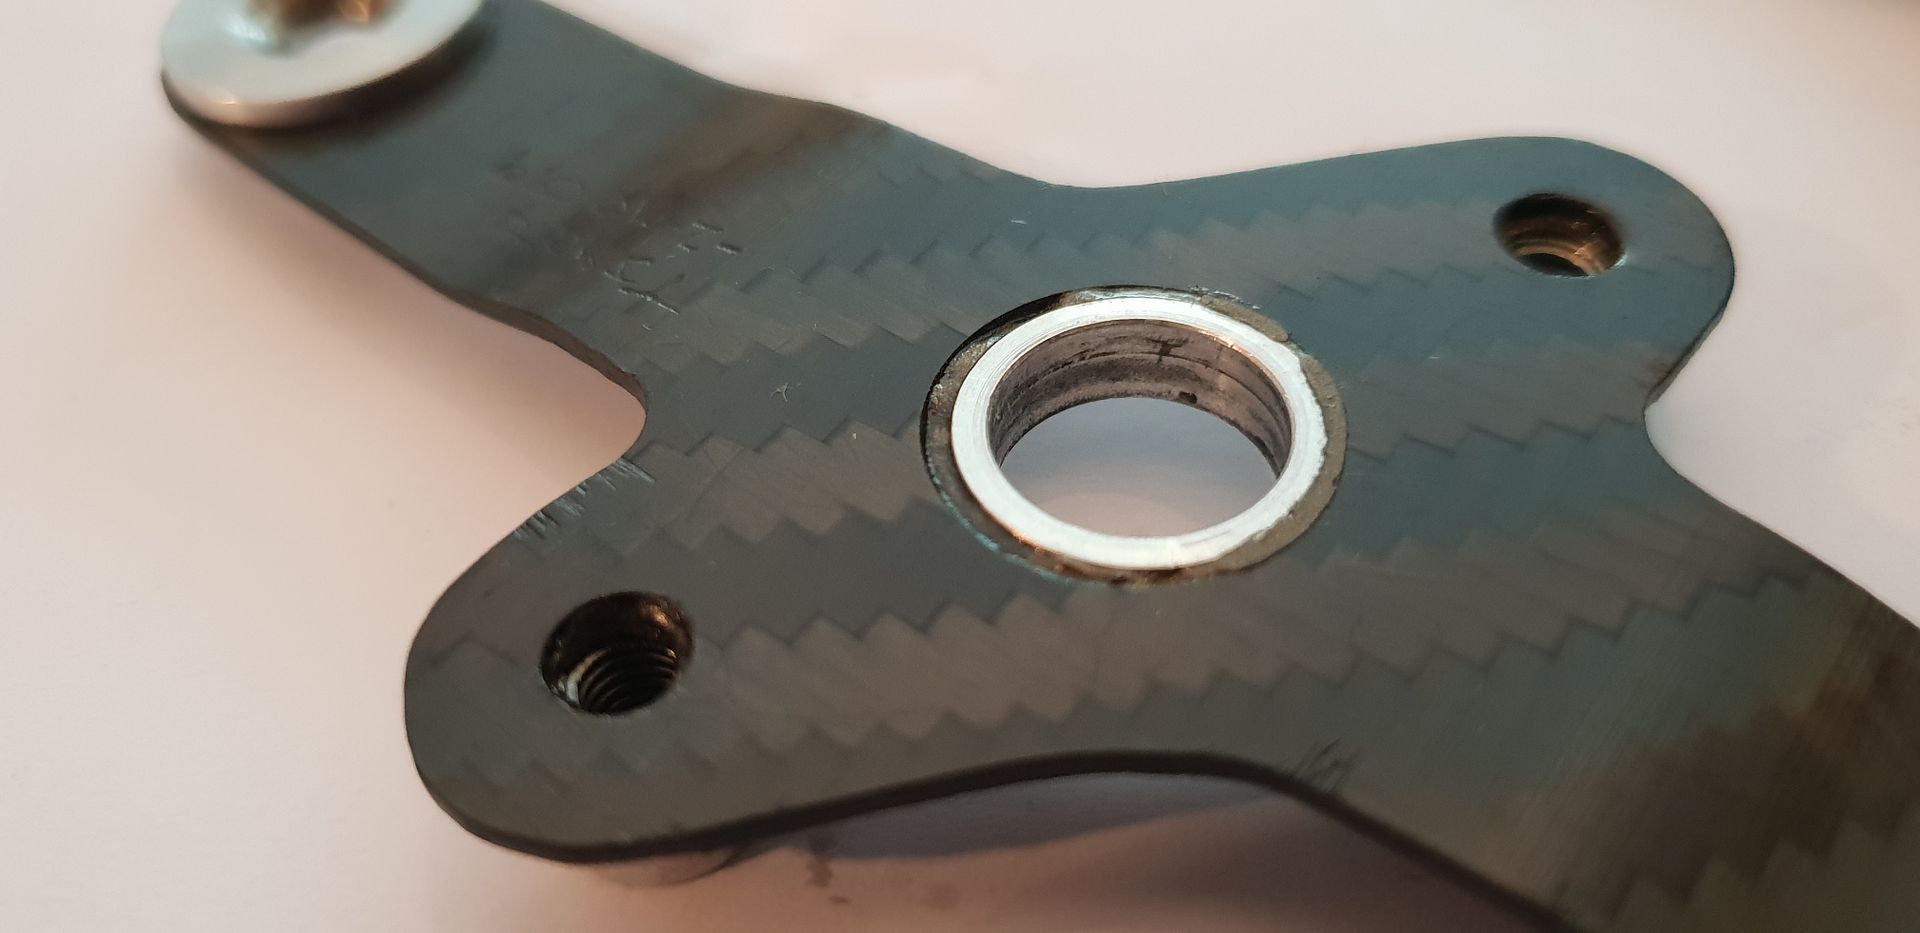
Encoder mount piece removed, fastener load spreading inserts are titanium and the outer ones two piece and bonded from both sides, threaded holes in titanium are tapped to M5 and heli-coiled down to M4 which is standard practice in titanium and aluminium as the fasteners can cold weld and gall on removal otherwise. Heli-coiling is also used on smaller hole callouts for deep threads and is an often overlooked solution if tap breakage is an issue. An M3 threaded hole callout is instead tapped to M4 and Heli-coiled back down to M3 - the M4 tap being superior in terms of chip evacuation and strength.
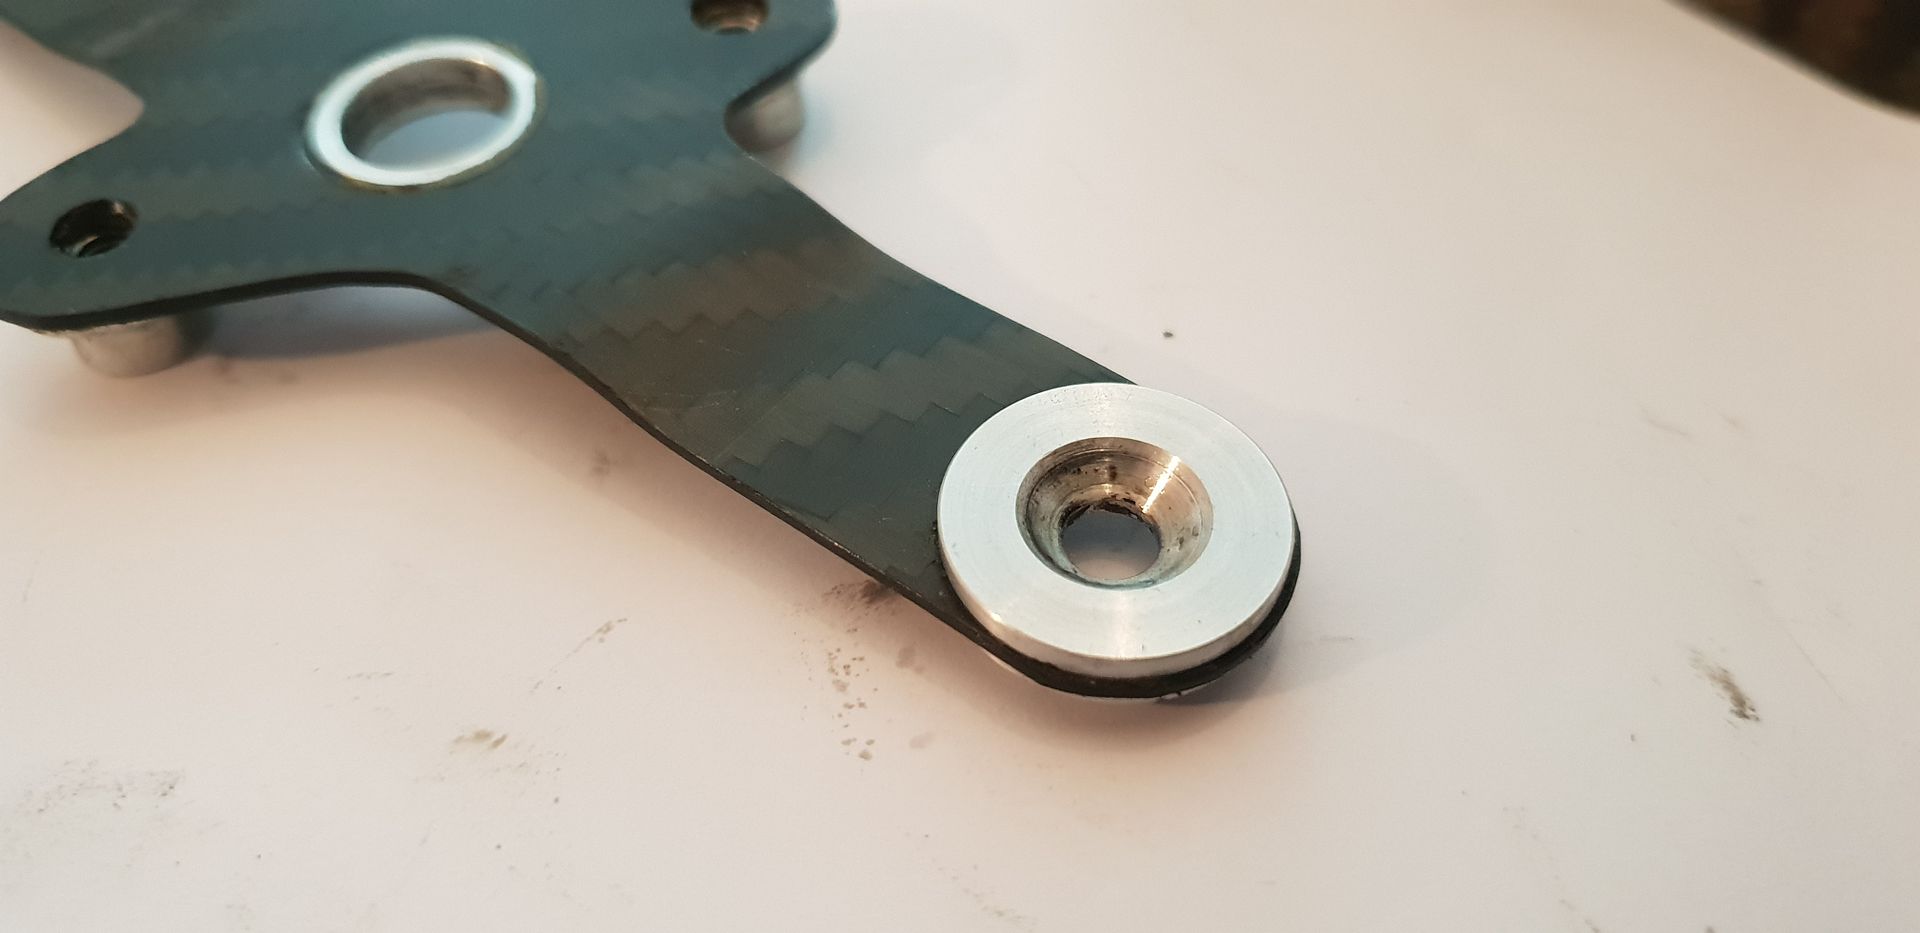
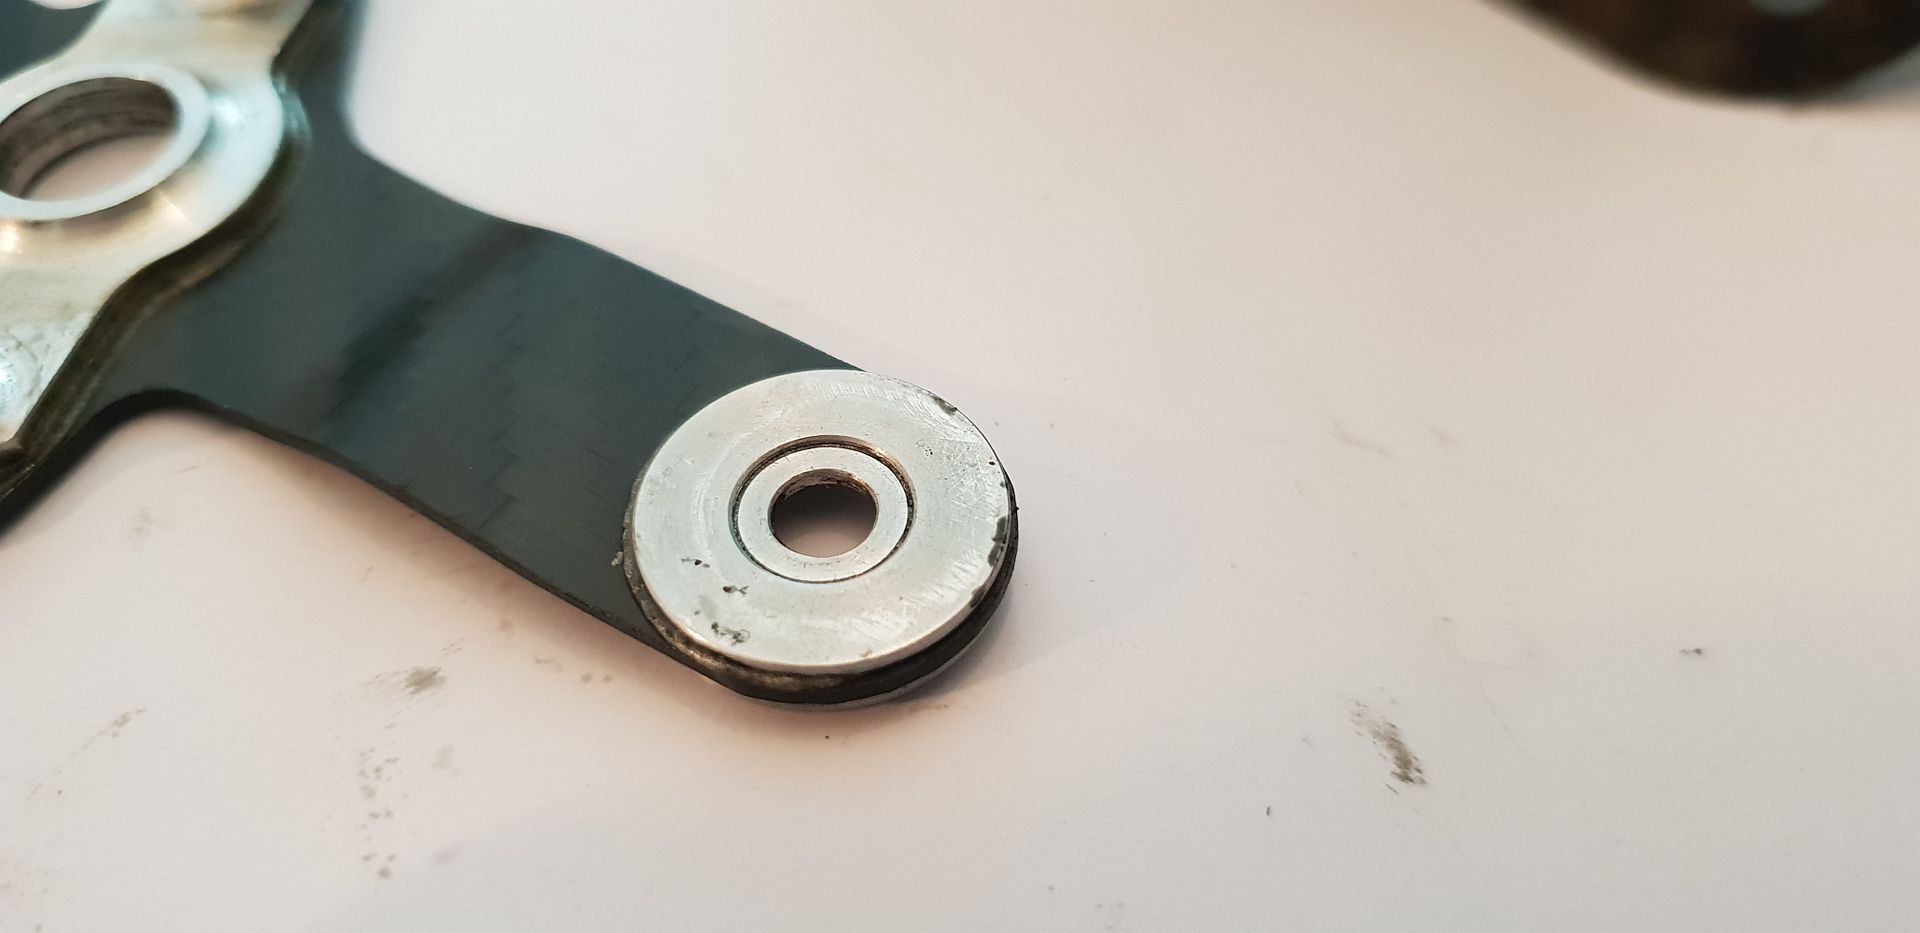
The Encoder shaft and coupling to actuator,
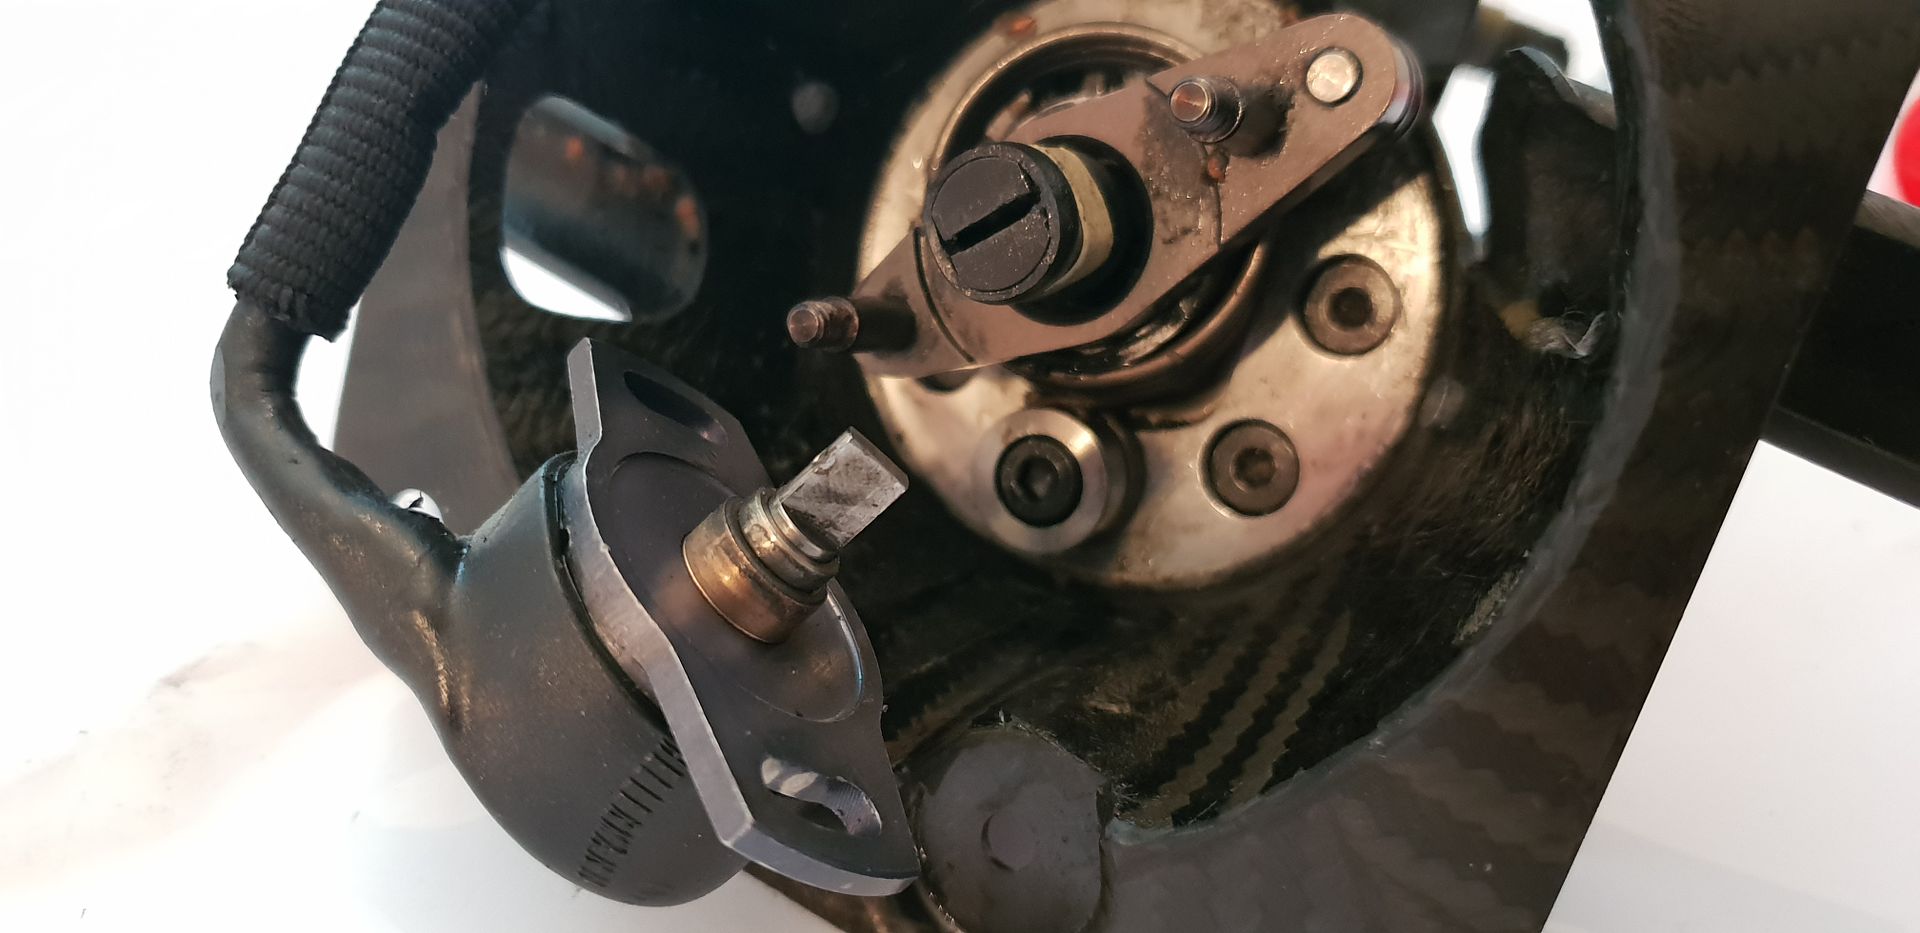
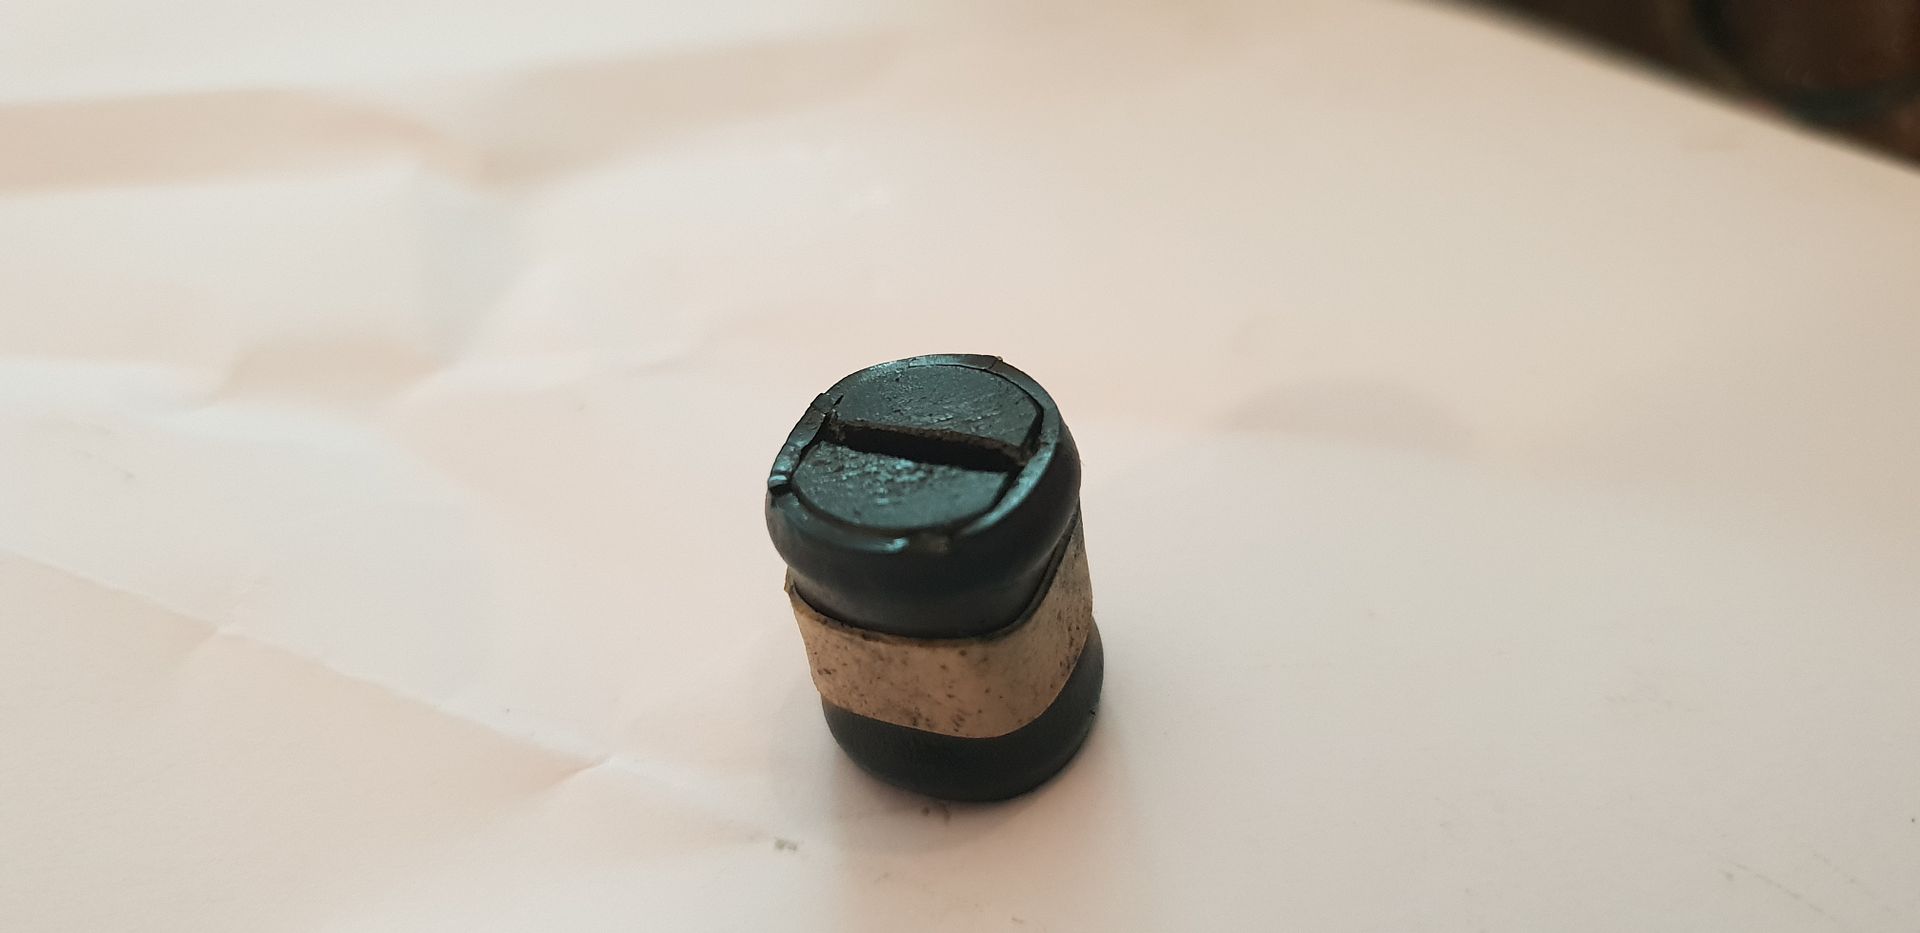
The coupling is of novel design and comprises of two pieces of Nylon encased in adhesive heat-shrink,
The actuator bell-crank and linkage upstands,
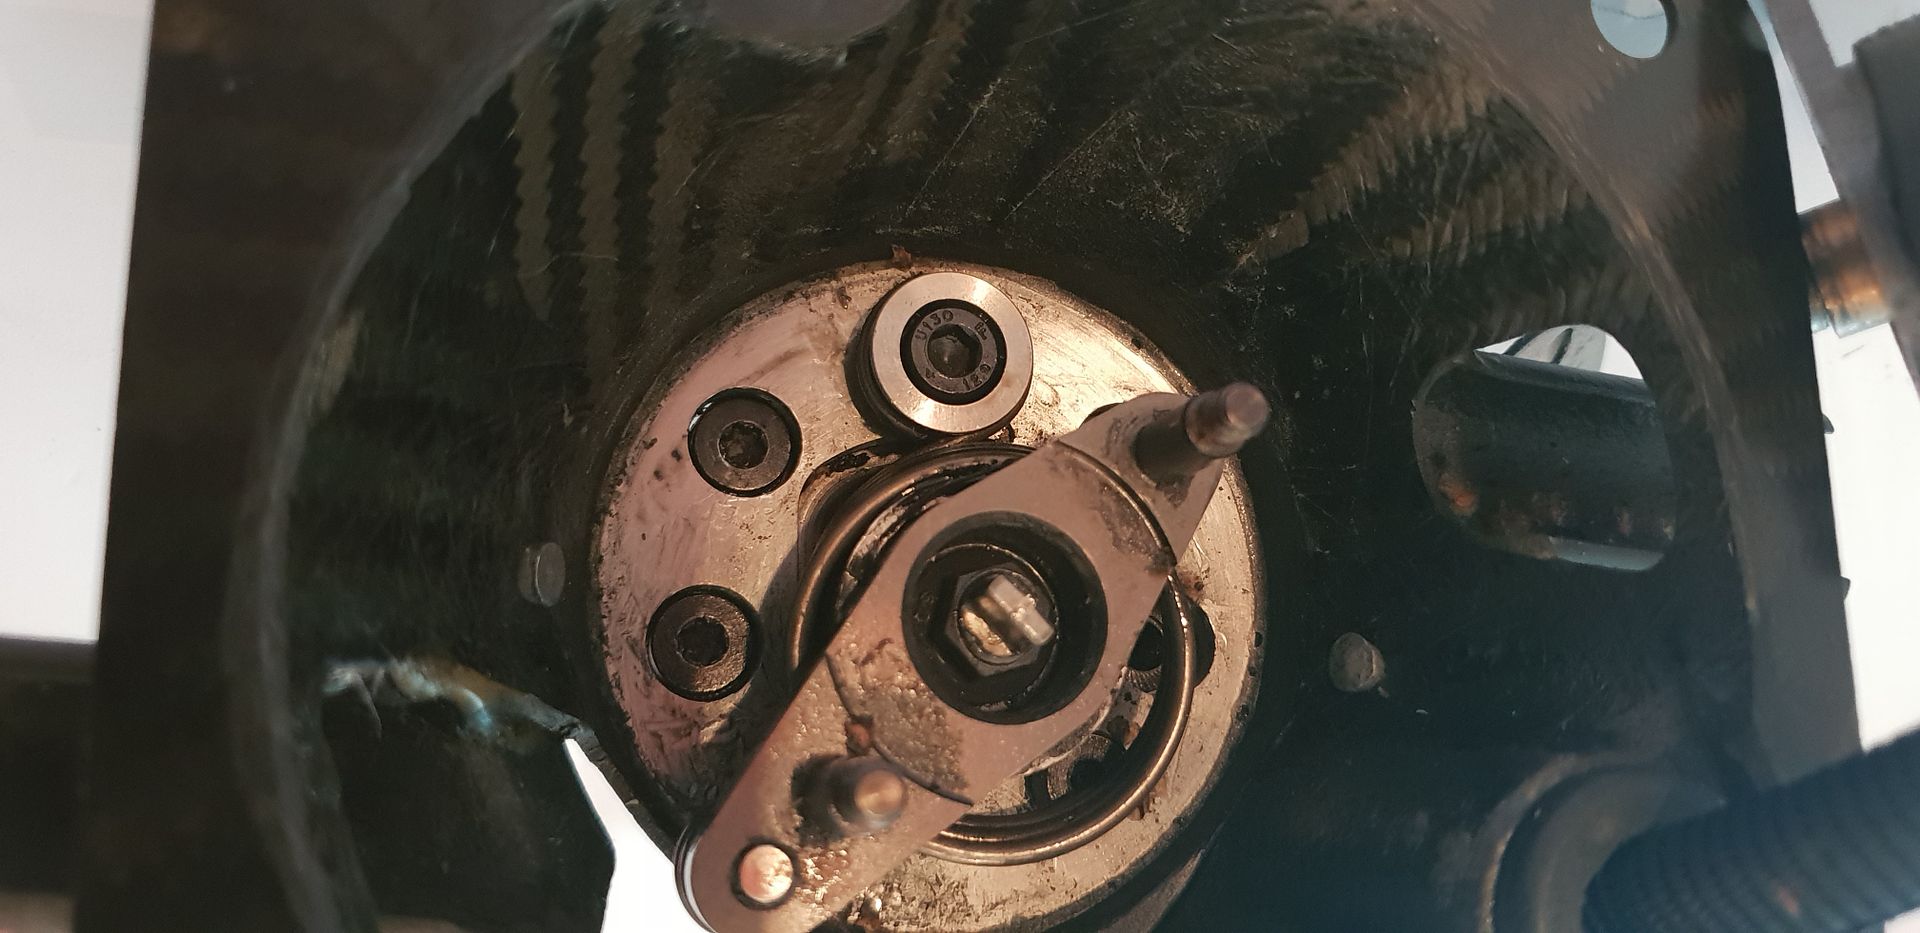
All fasteners holding the actuator body together feature Schnorr anti vibration washers. Schnorr washers are the most expensive washers in terms of locking washers and deemed to be the best locking solution there is. From memory an M10 Schnorr washer is approximately 3euro - so not cheap. Bolts are low profile heads too for weight savings,
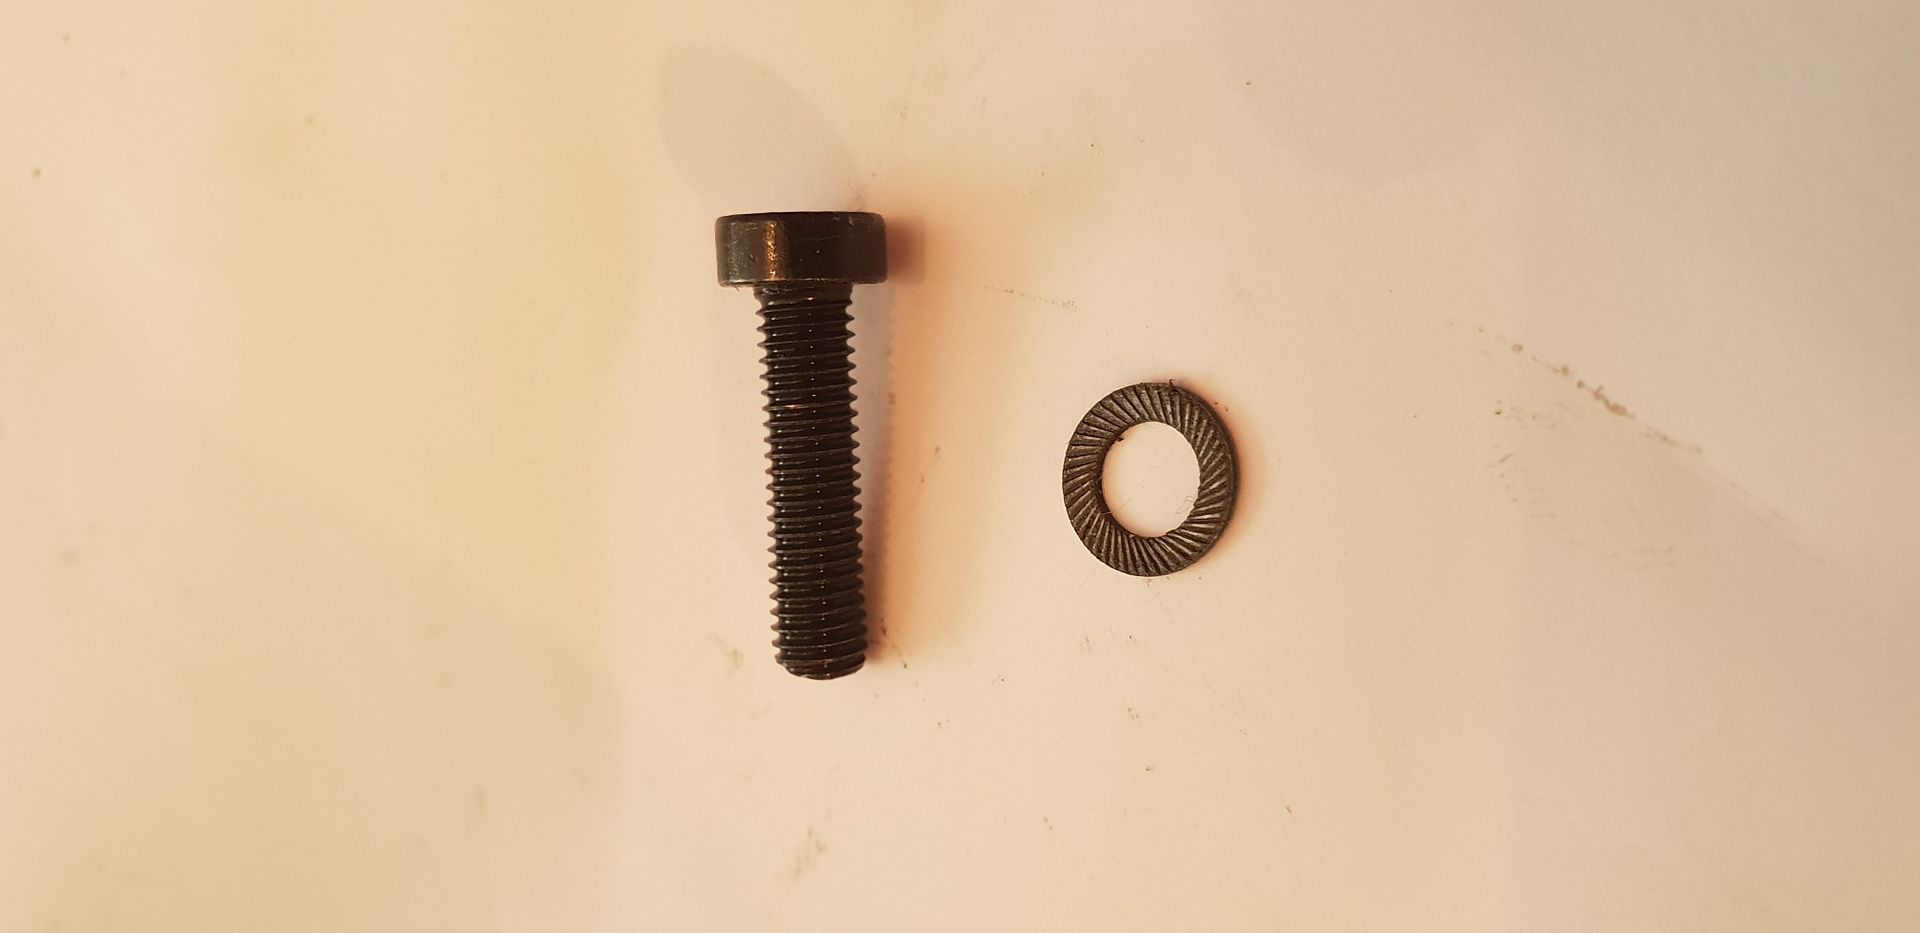
The return spring locates on one of the bolts holding actuator to carbon fiber basket,
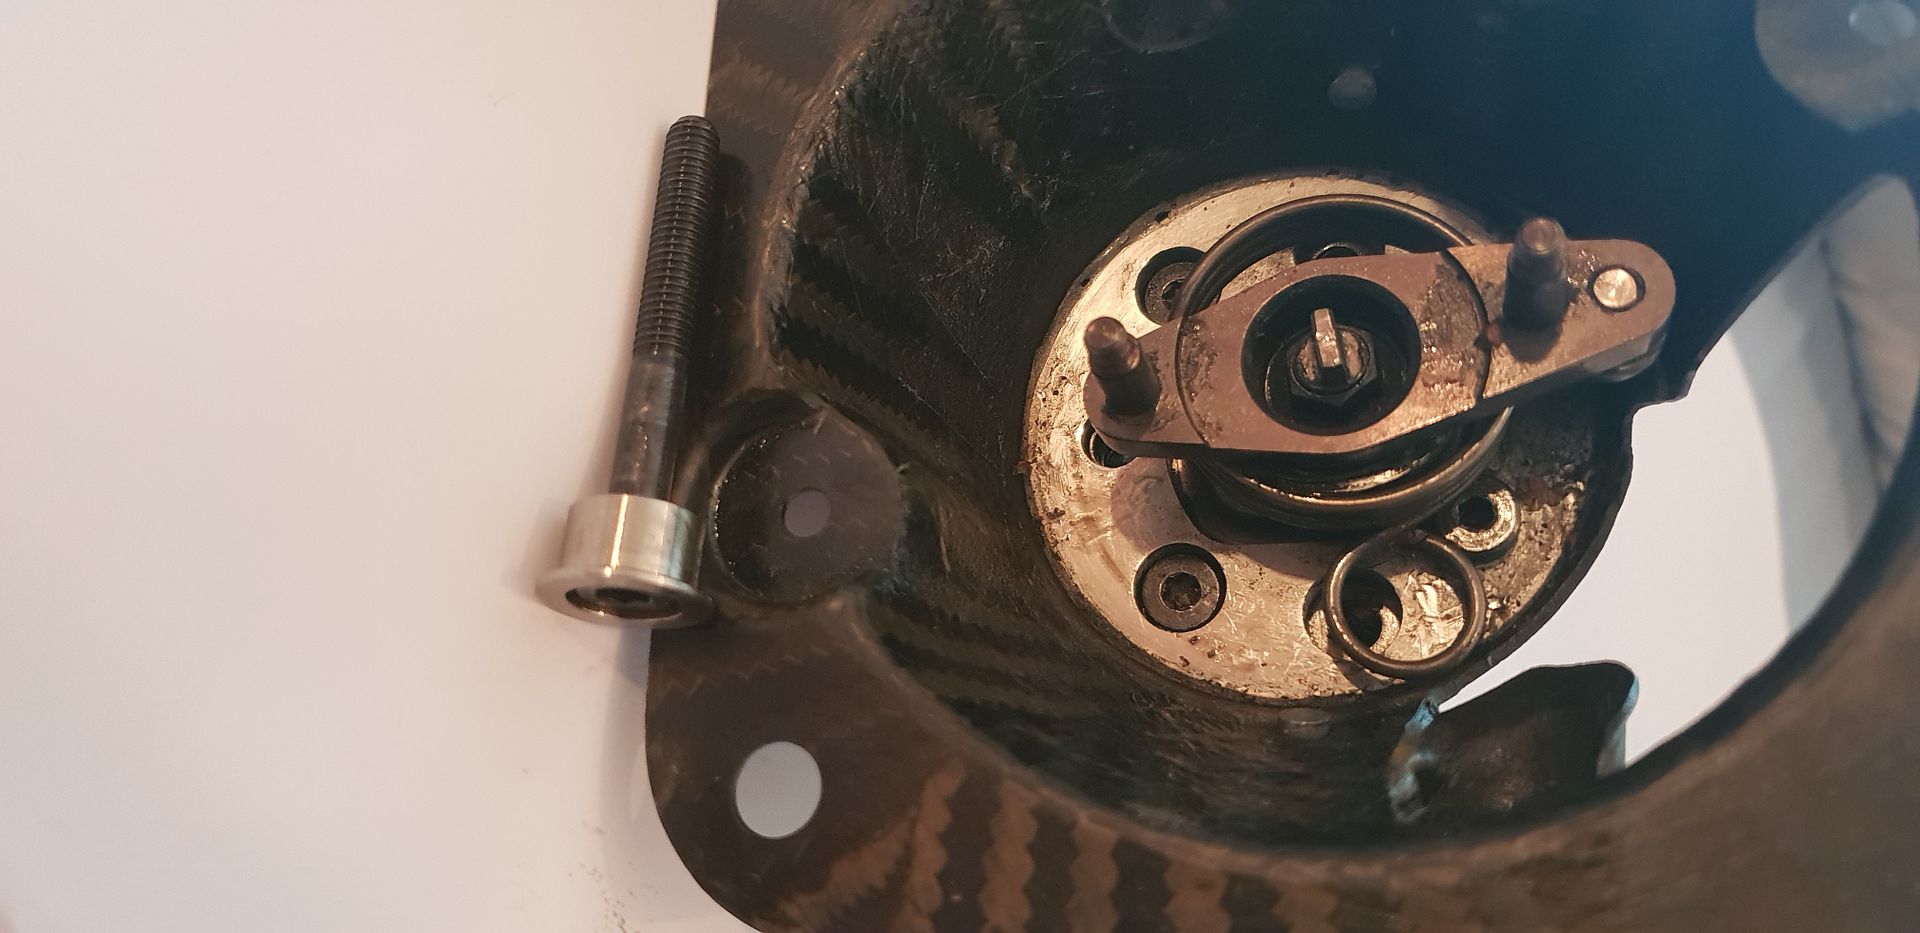
Flipping the assembly over and removing the control hoses and spool valve manifold assembly,
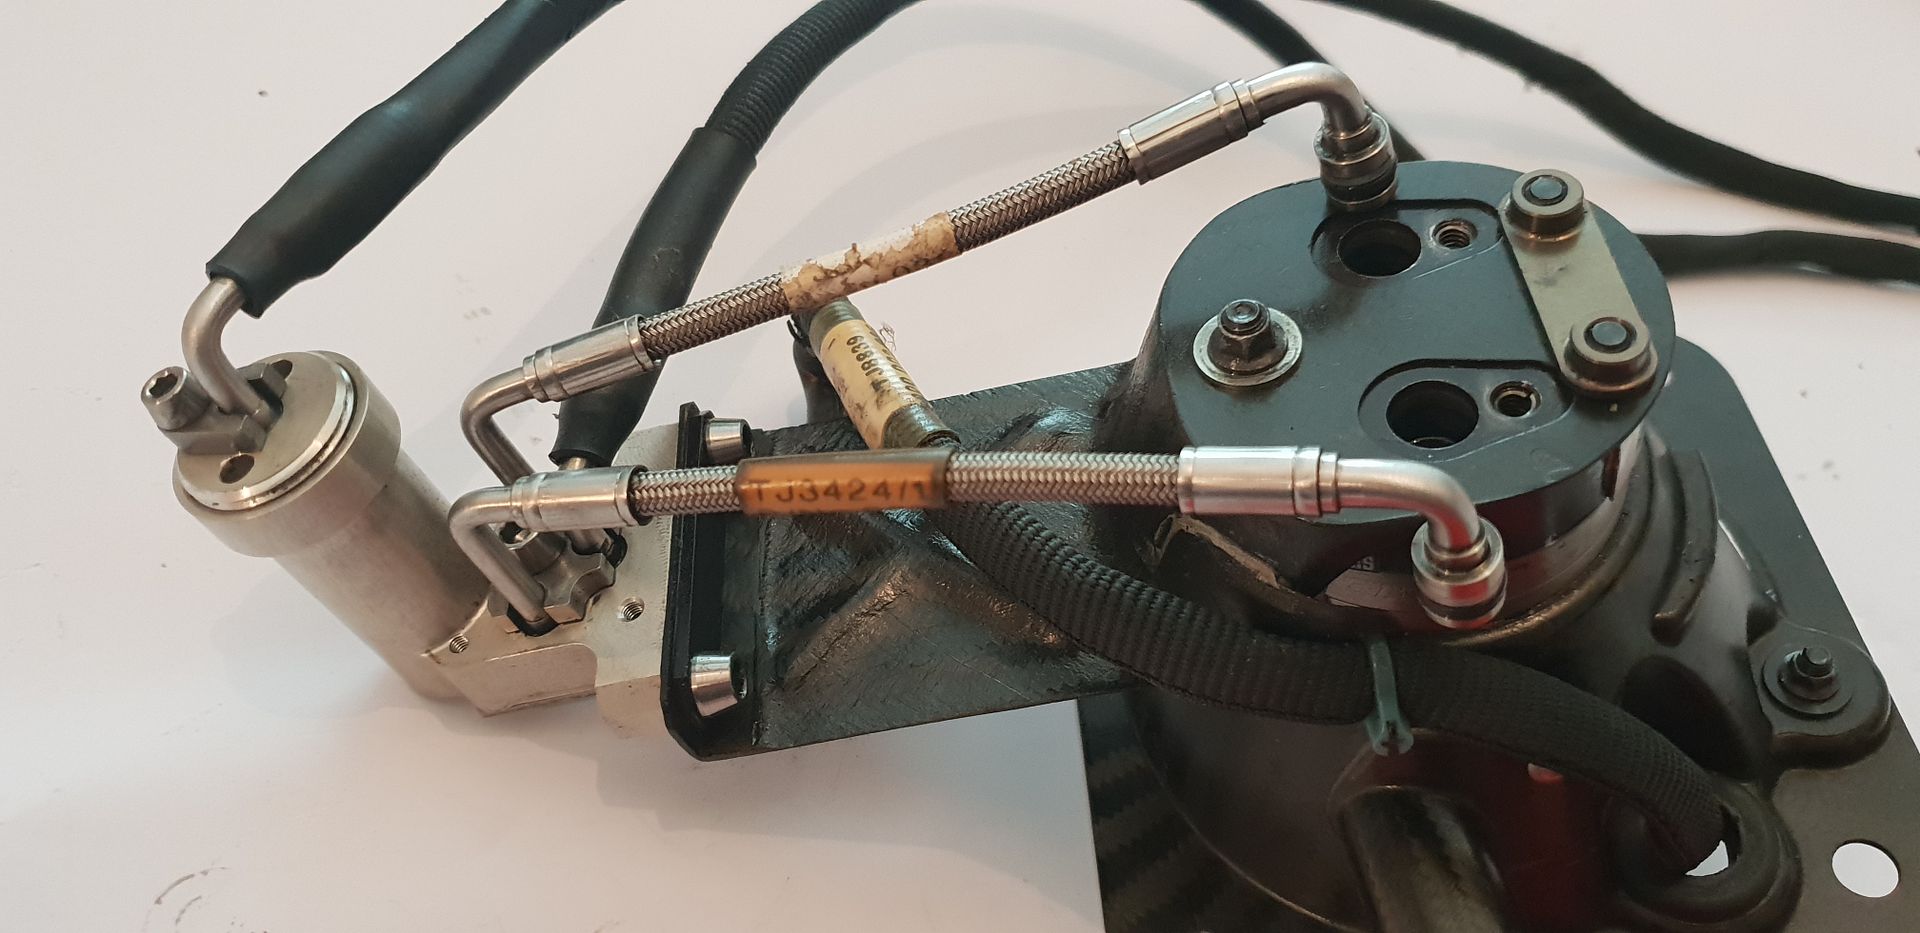
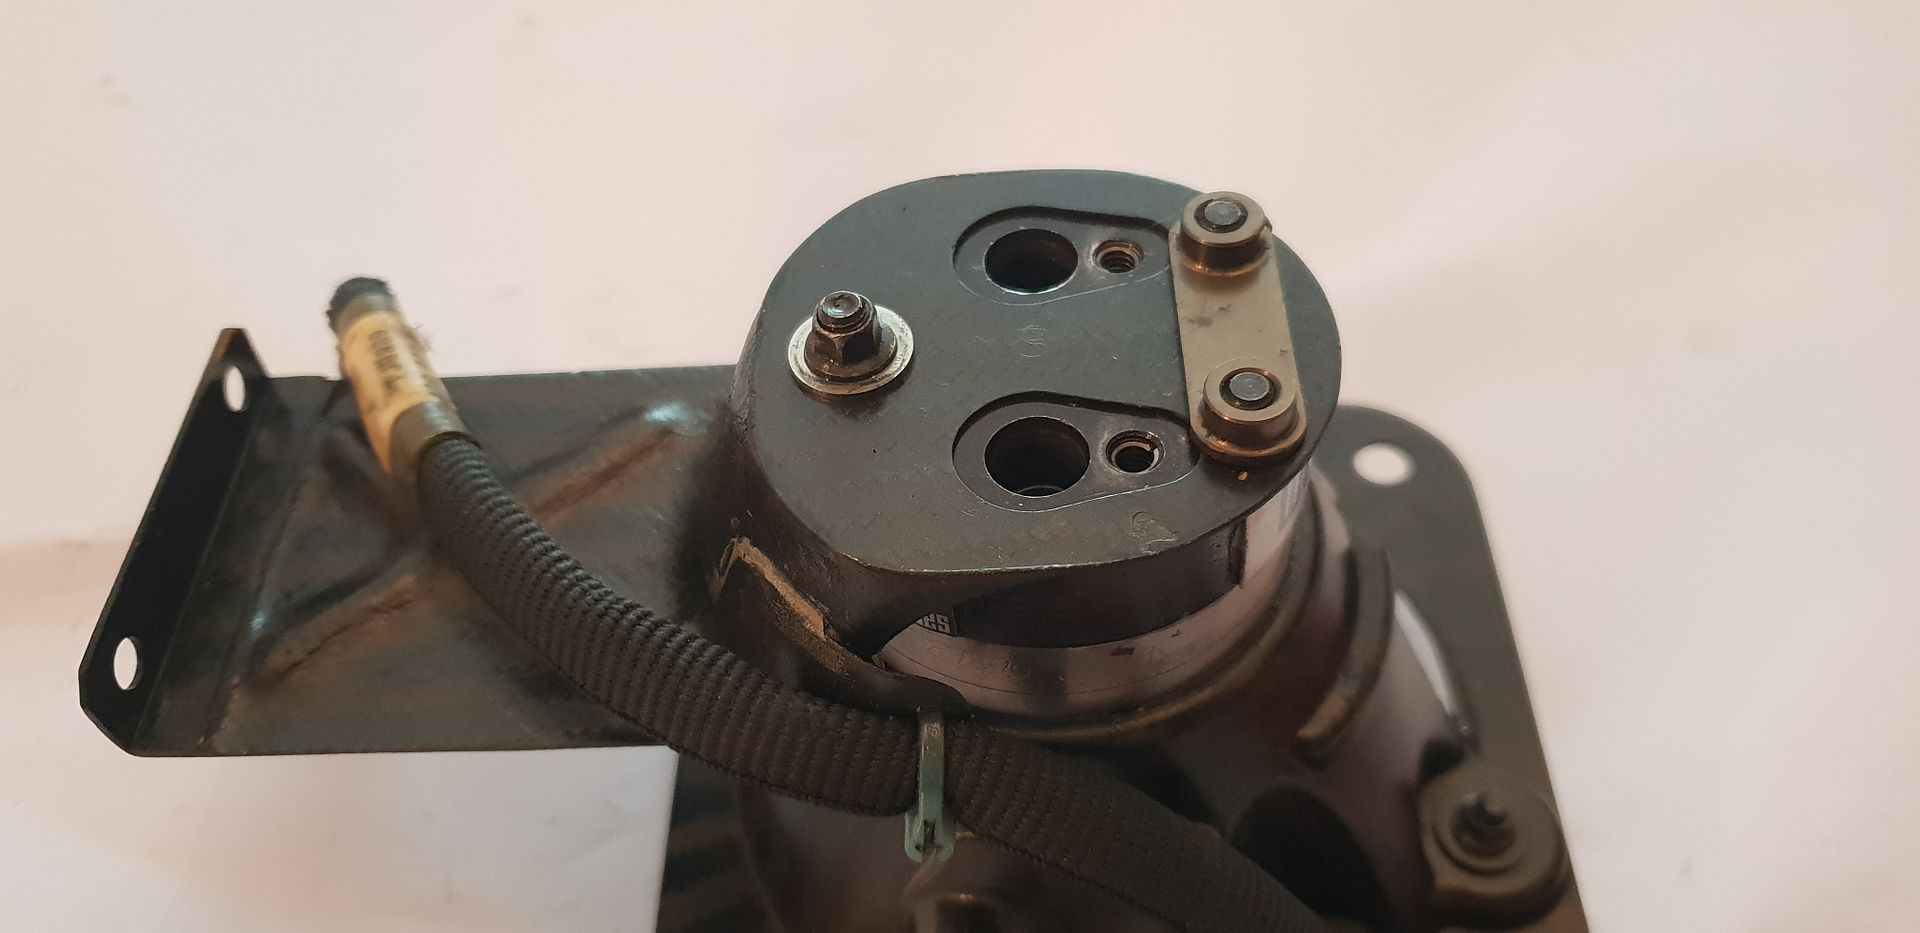
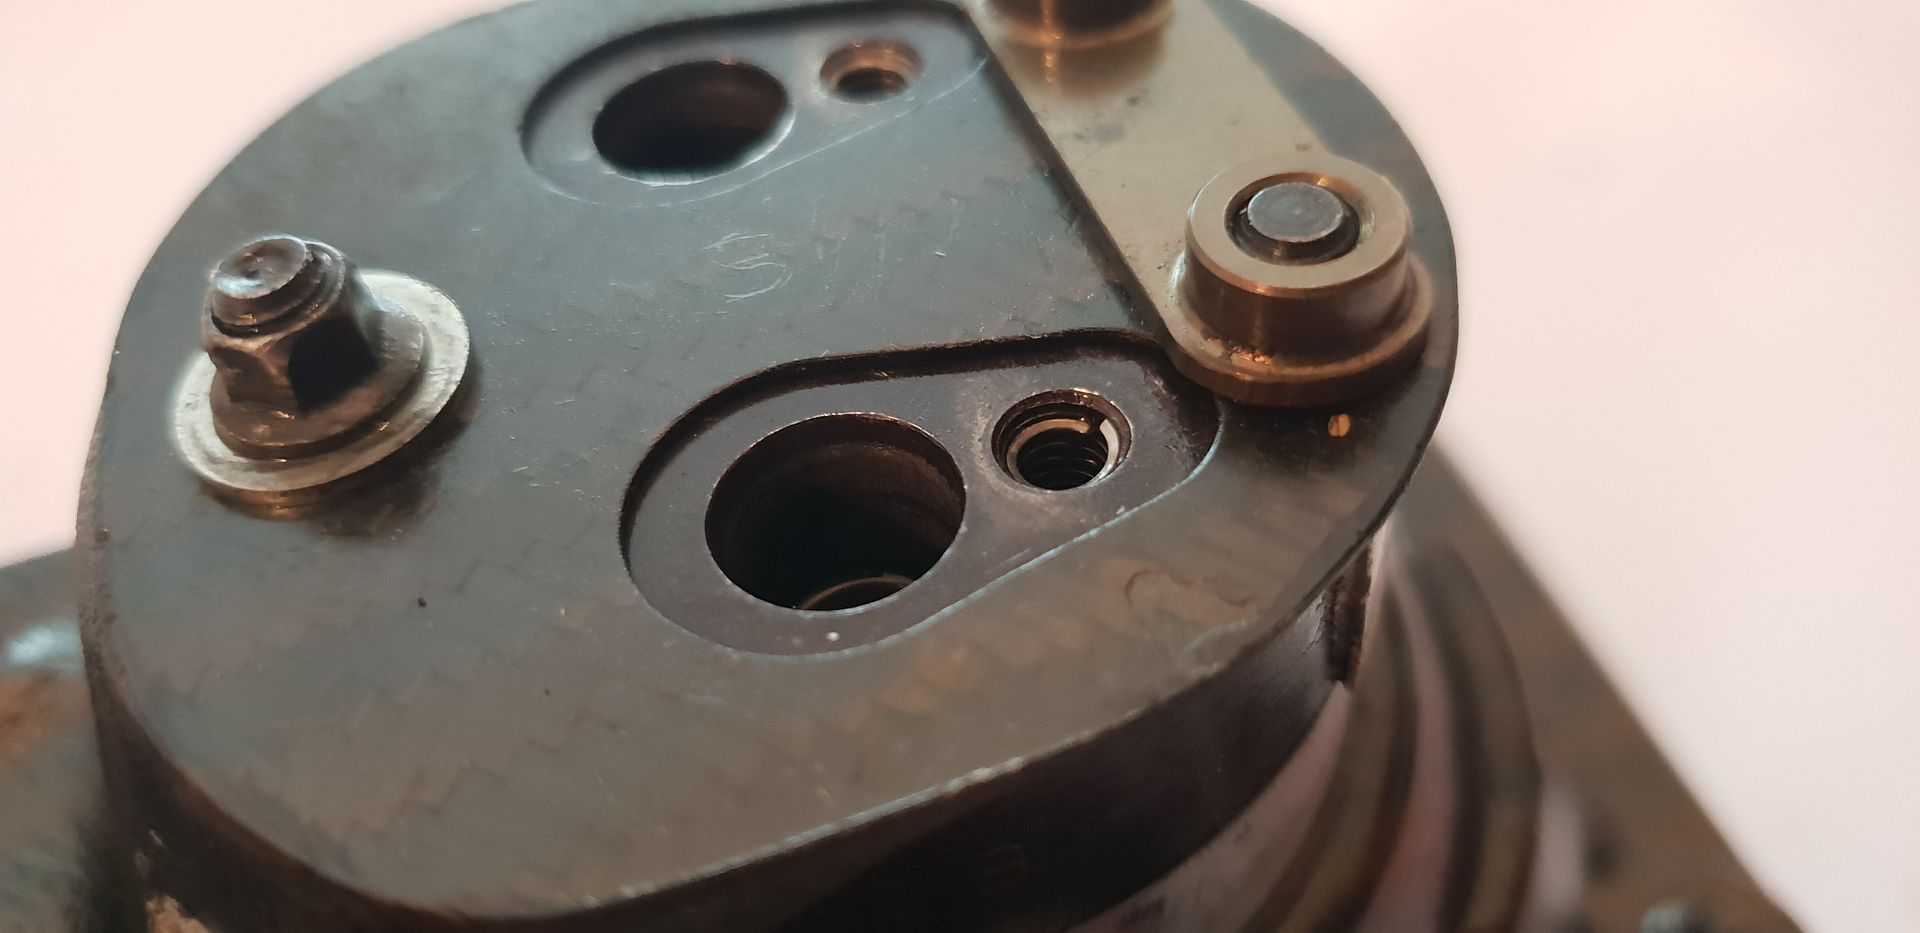
The electronic spool valve manifold assembly, supply filter, and actuator hoses below, supply hose on left, braided actuator hoses in center and return hose on right,
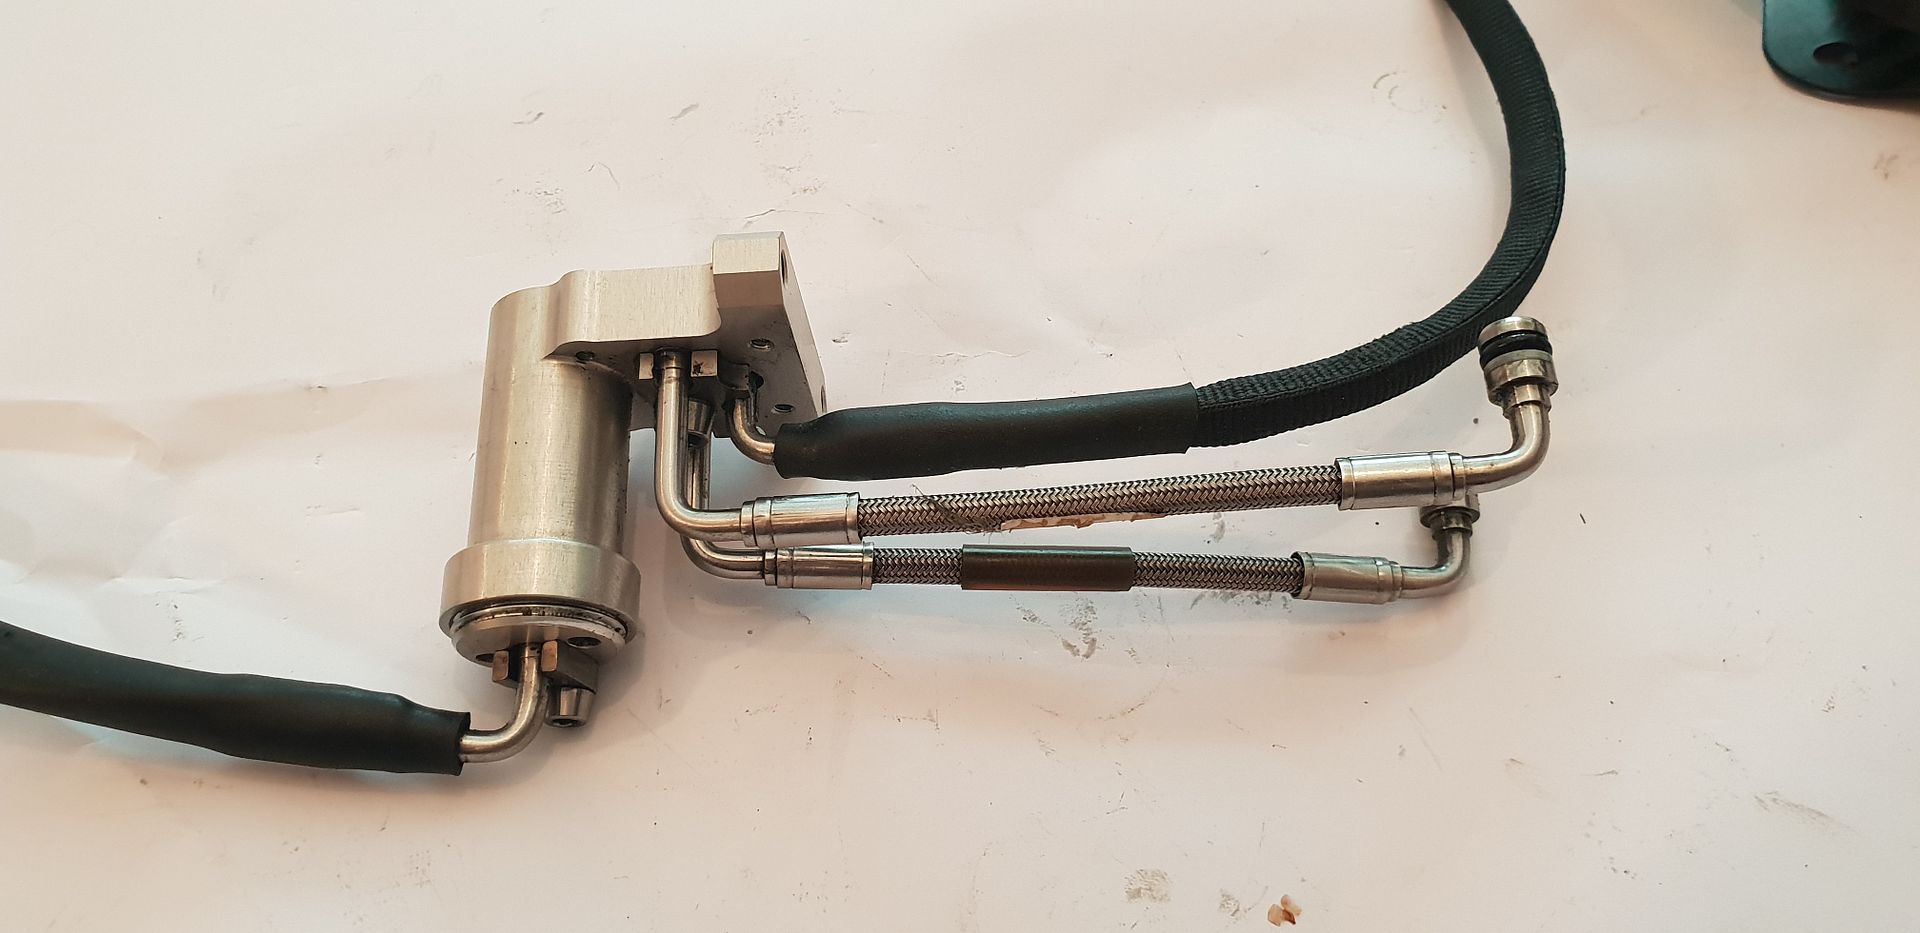
The end detail of the braided hoses which locate into actuator rear cap,
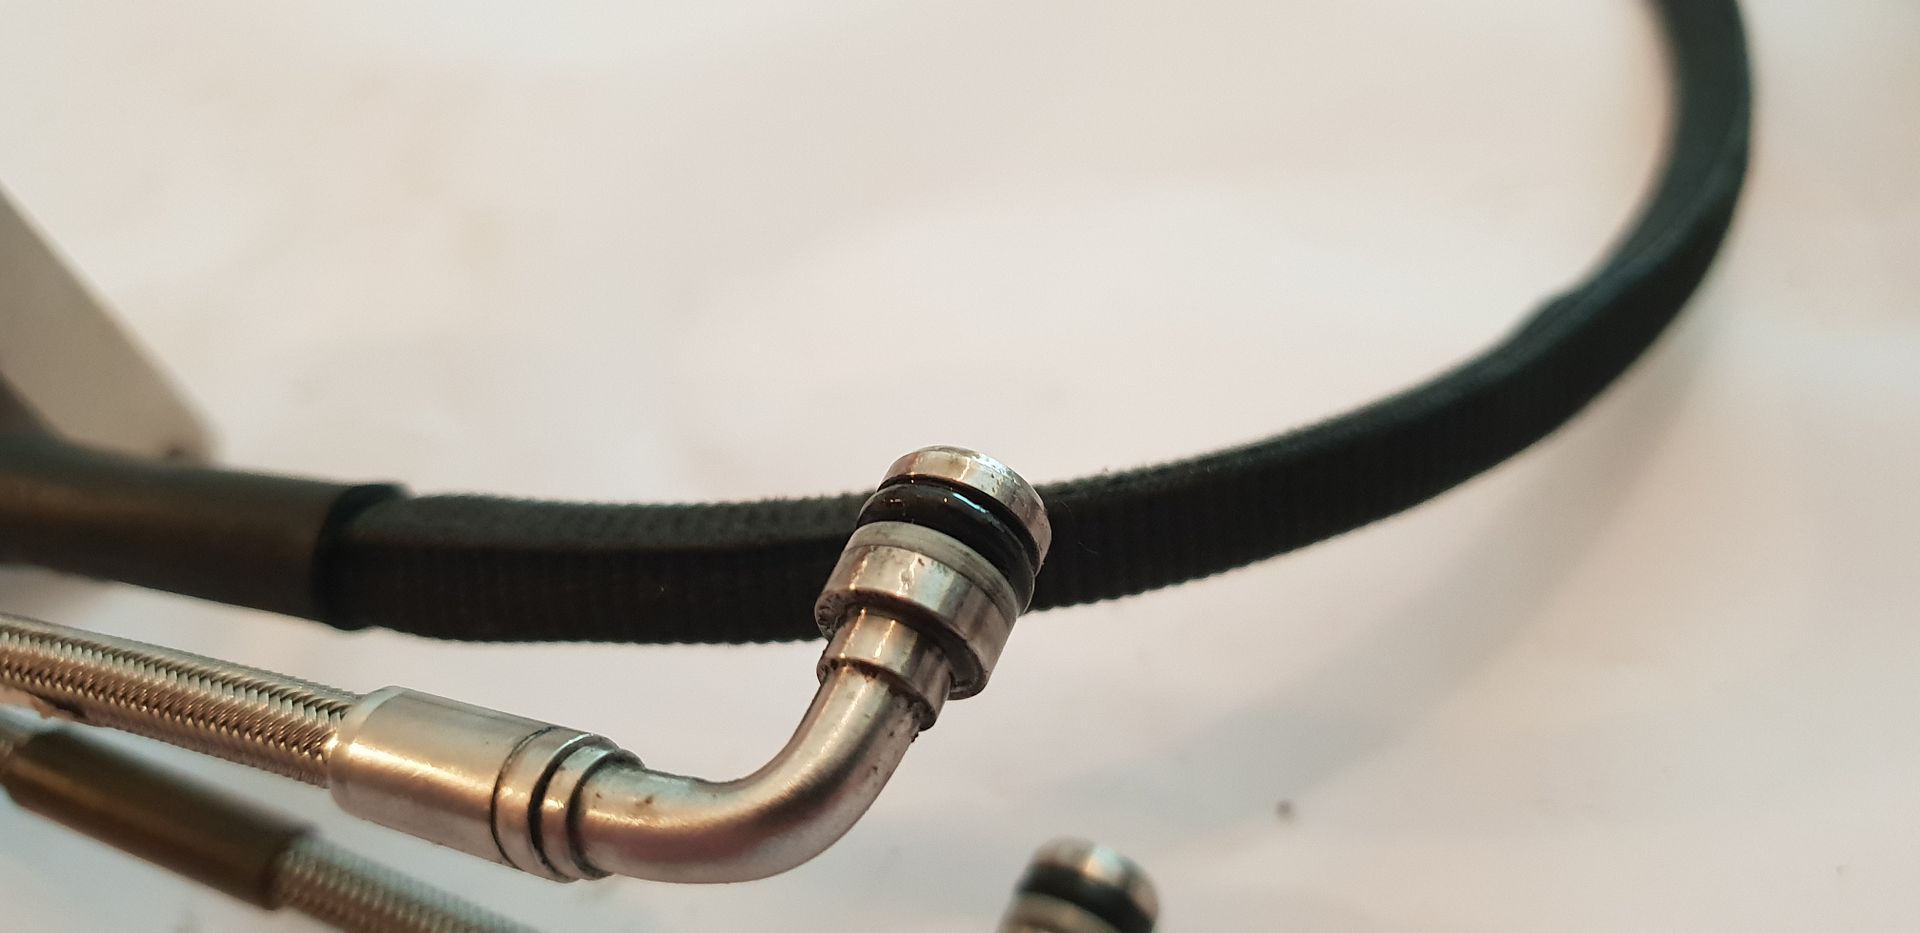
The filter housing and main manifold body,
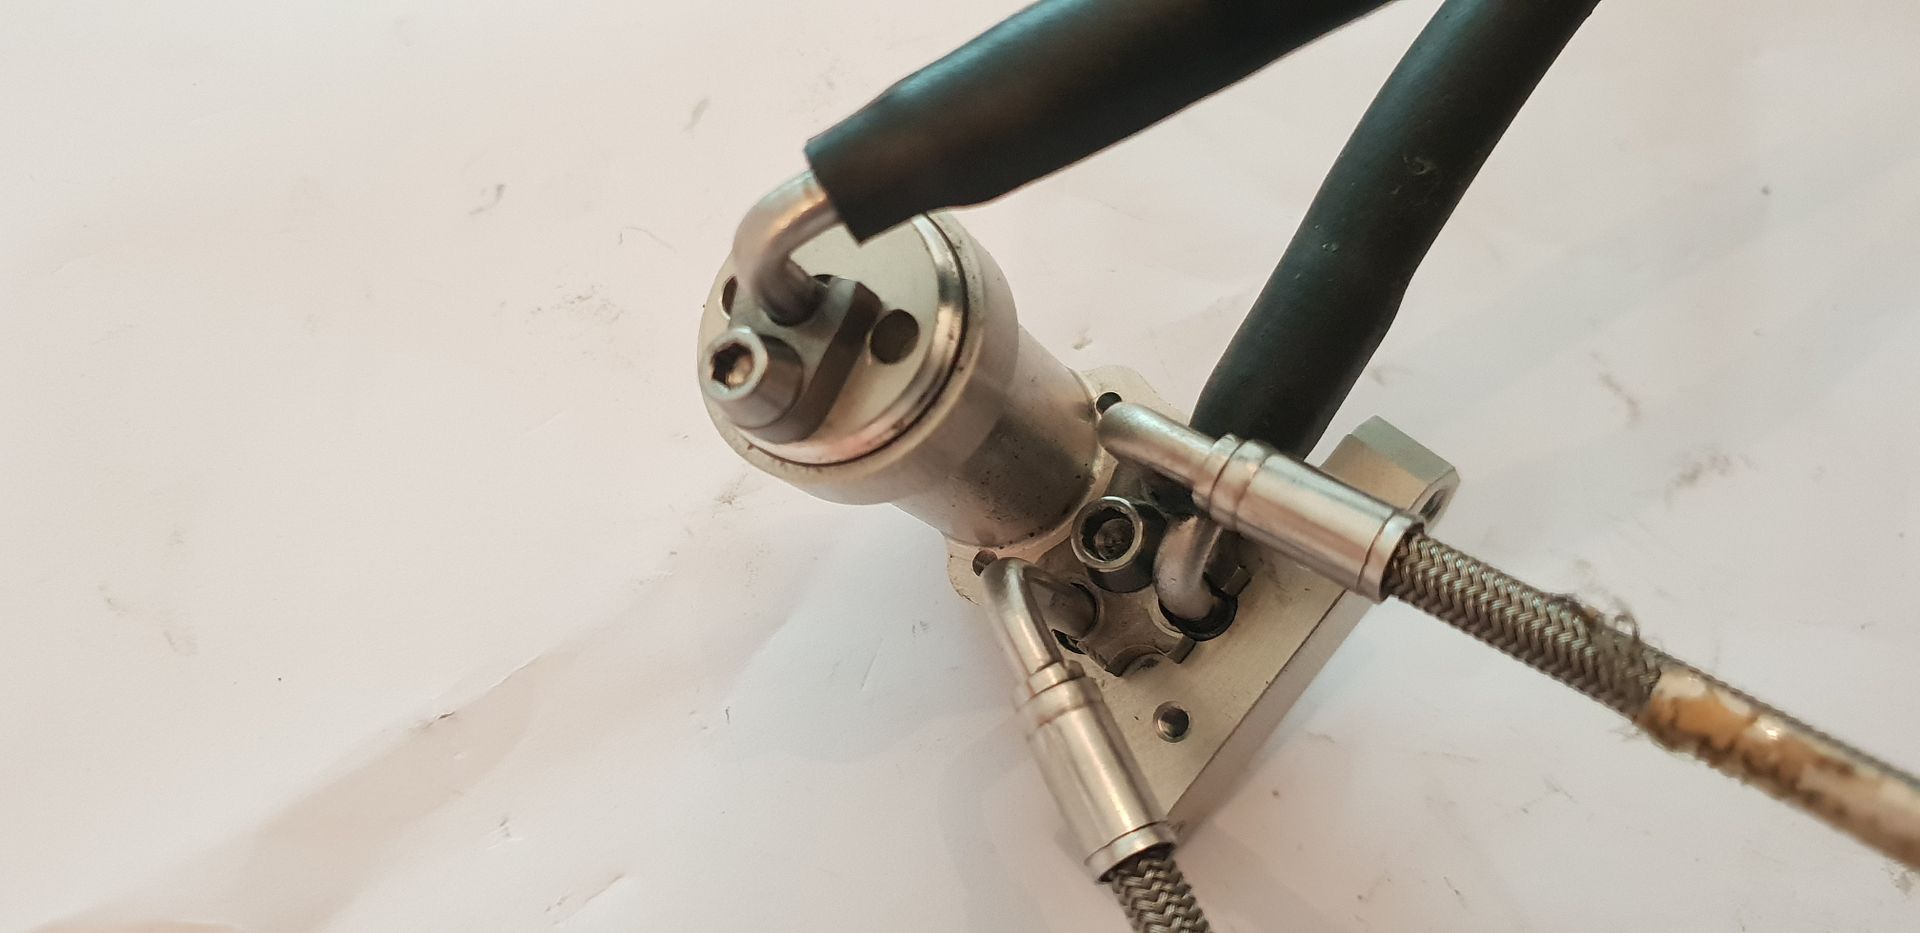
A protective cover plate blocks off the small manifold oil drillings while in transit - the electronic spool valve mounts in its place at time of engine building,
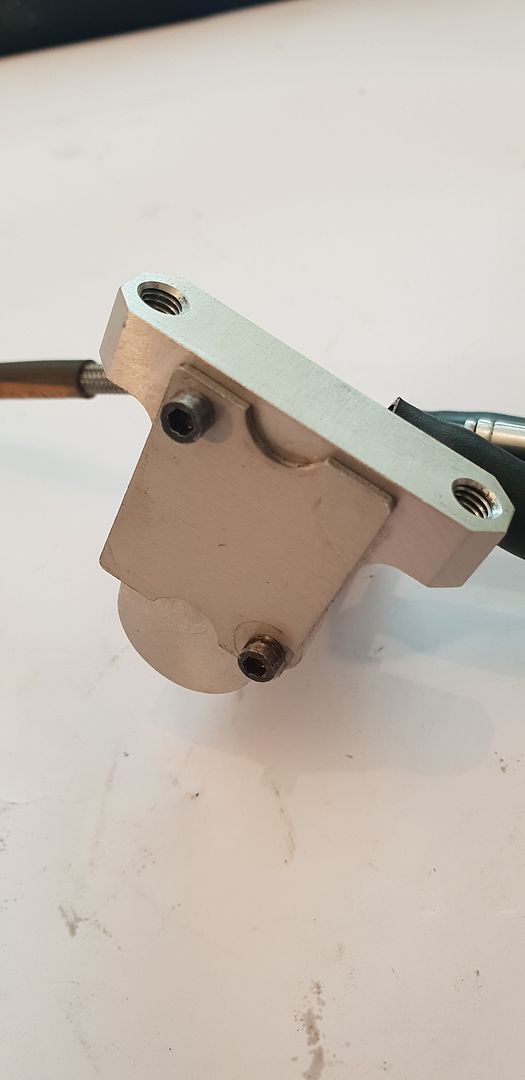
The blanker plate removed and the drillings exposed - flow from base of filter chamber on the bottom, left/right drillings to actuator and return on top,
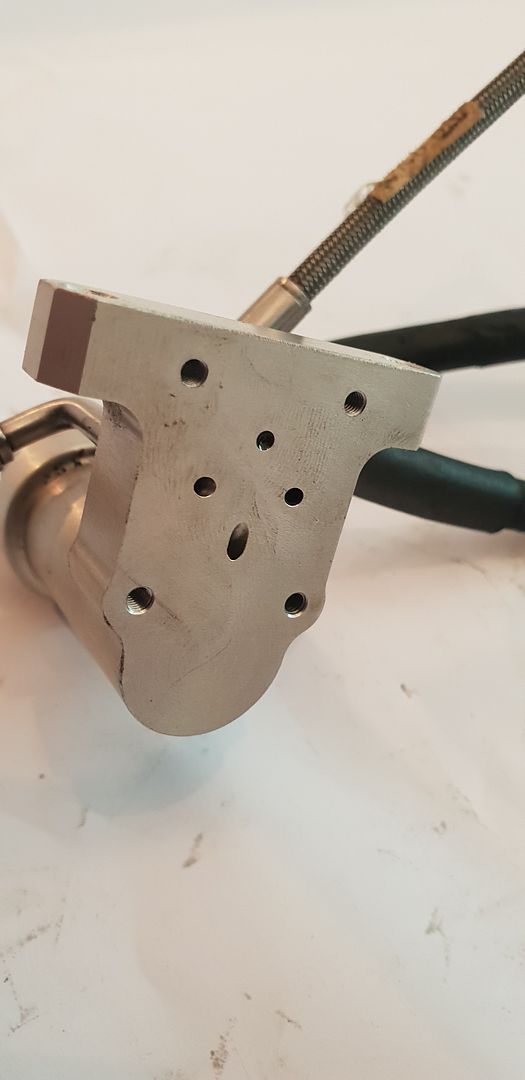
The spool valve which mounts to the manifold shown below - it features dual coils with spool position feedback. Its coils are simultaneously controlled via pulse width modulation from the ECU driver board. If you think of pulse width modulation like bouncing a tennis ball in the air with a tennis racket to a given height each time it is a similar process- the harder you hit the ball the higher you can keep ball each time. The spool valve coils operate under the same principle - the longer the electronic pulse width each time the further over it moves the spool valve, in turn allowing a greater volume of oil to flow to the actuator vane cavity- turning it more. Some valves however are also analogue - higher voltage - spool moves across more...no PWM signal required and akin to holding the tennis ball in air at various heights instead of constant bouncing!
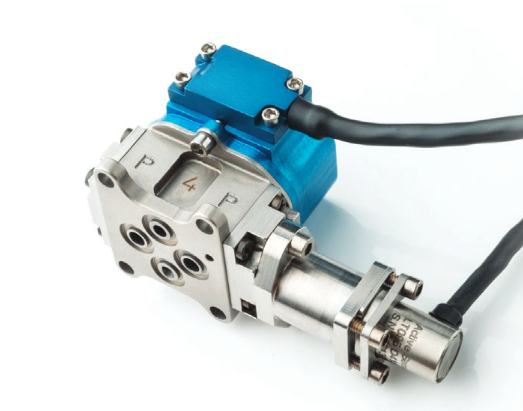
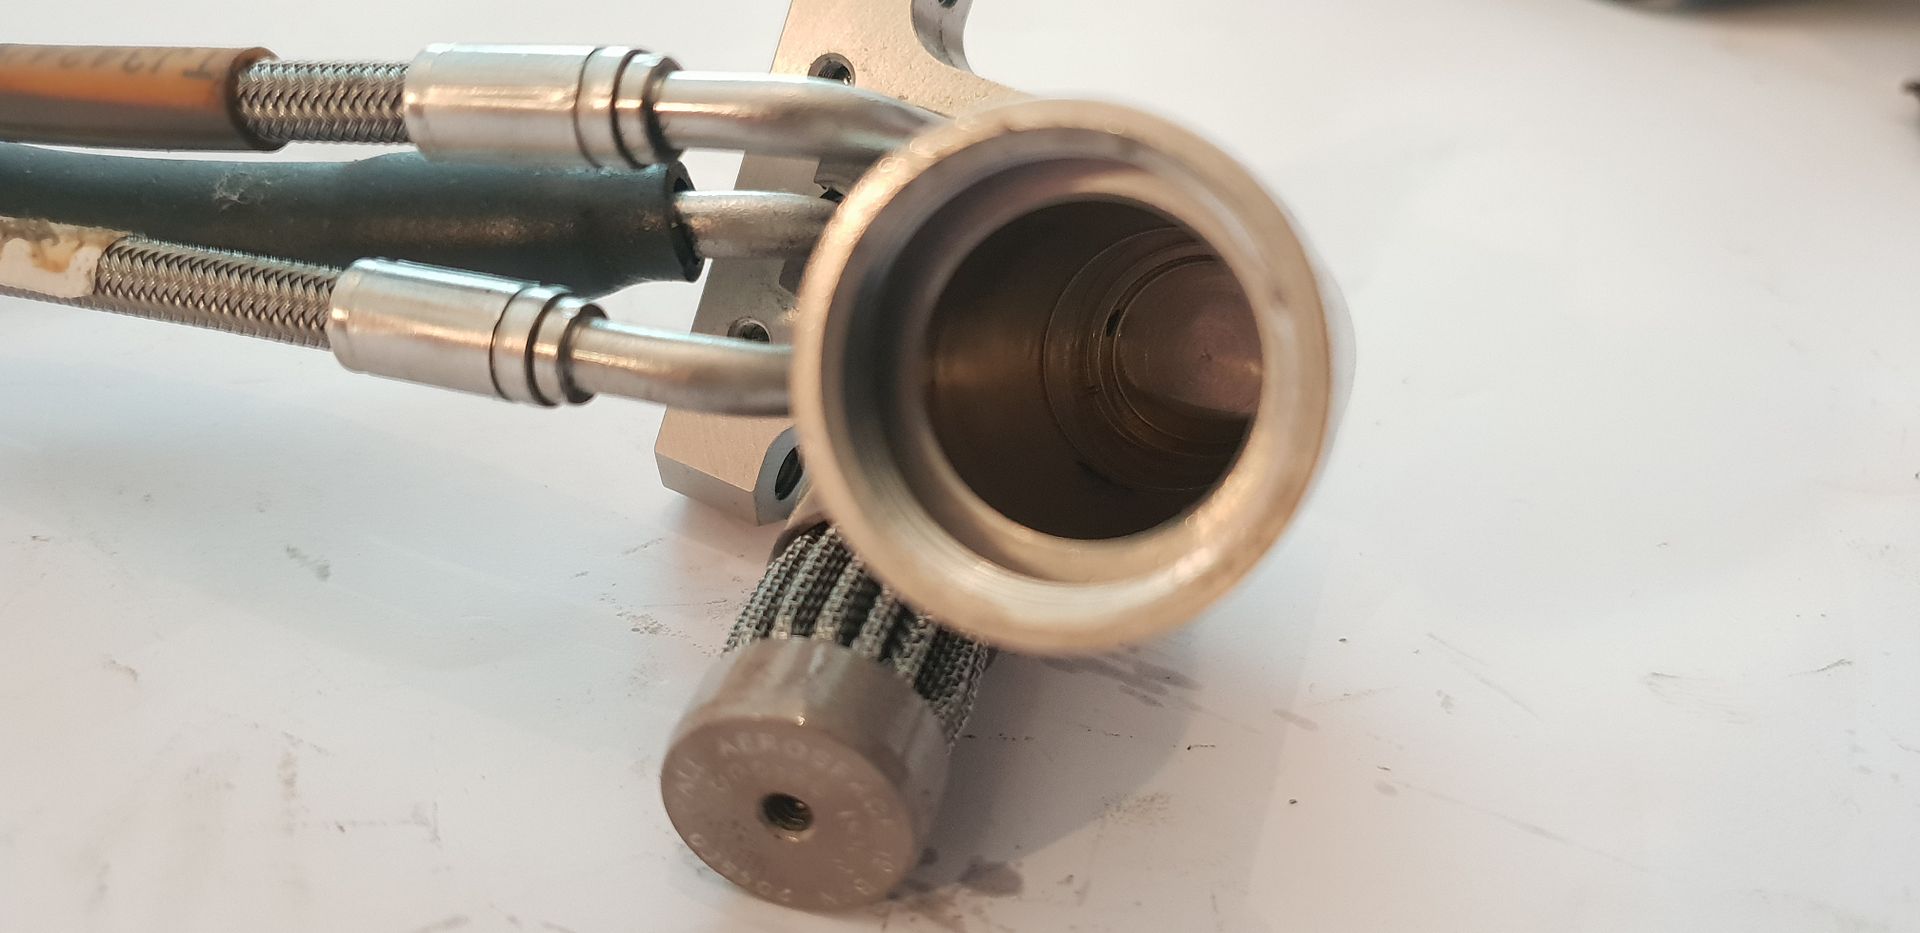
A quick look inside the integrated manifold filter housing,
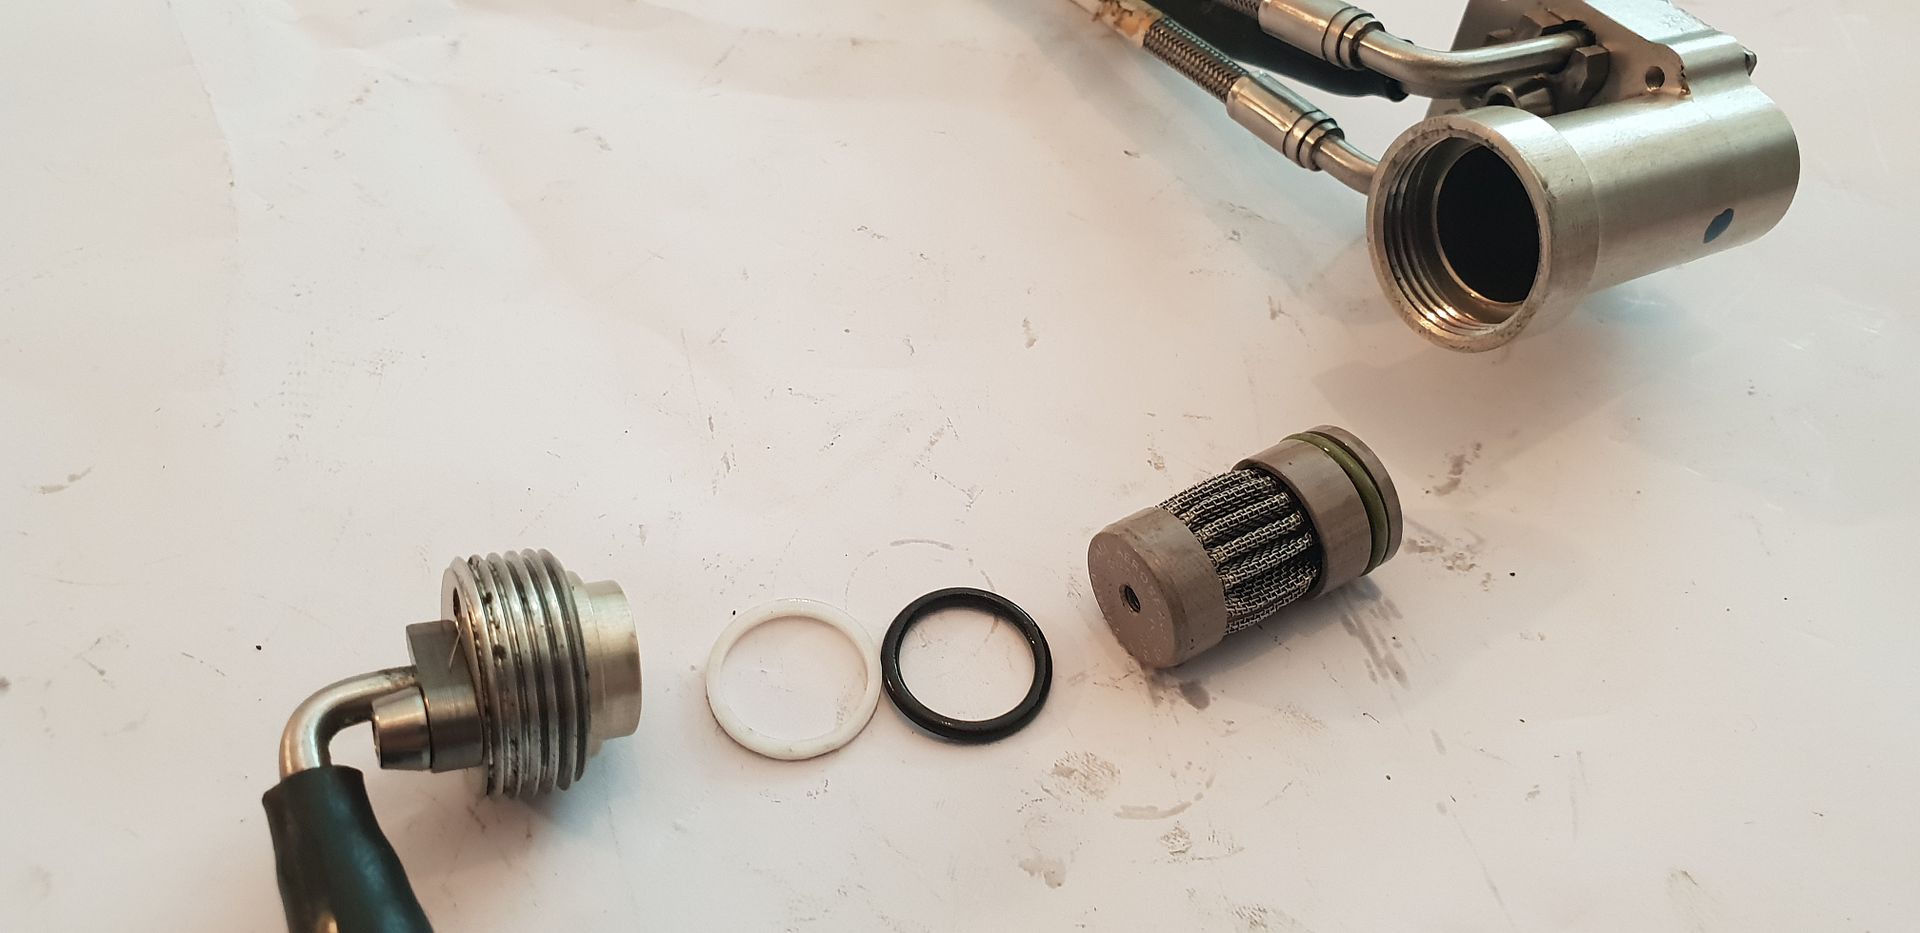
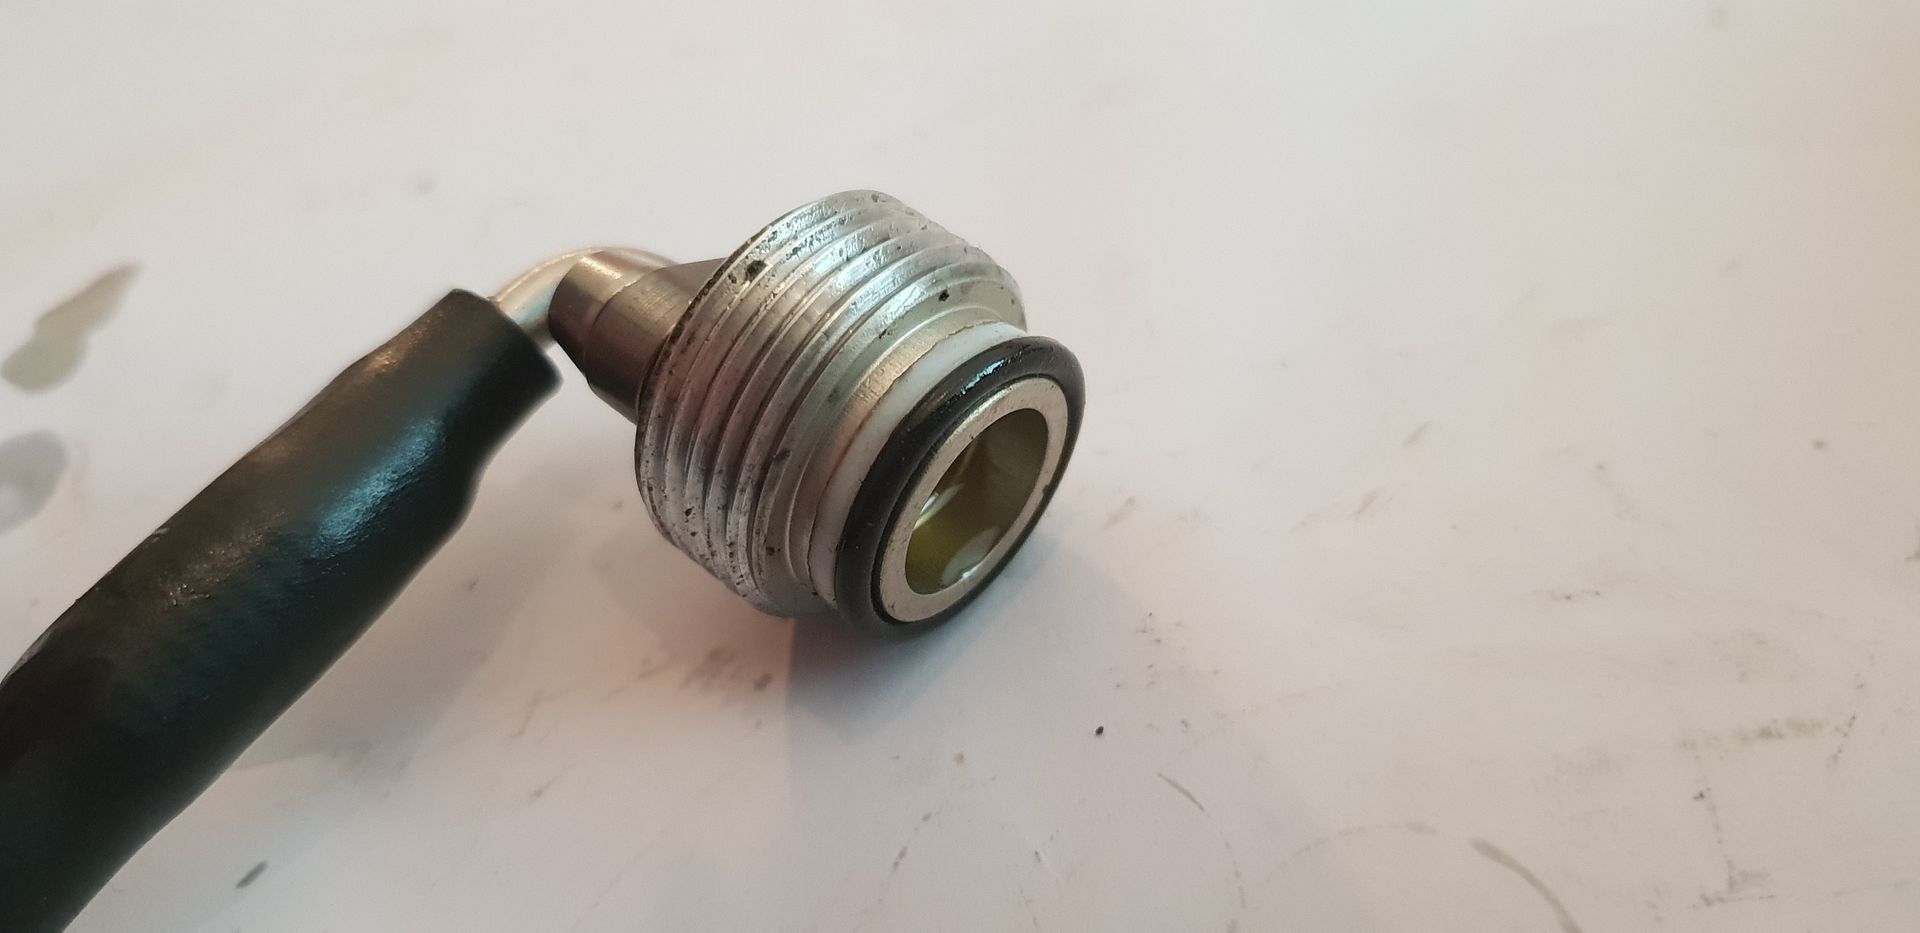
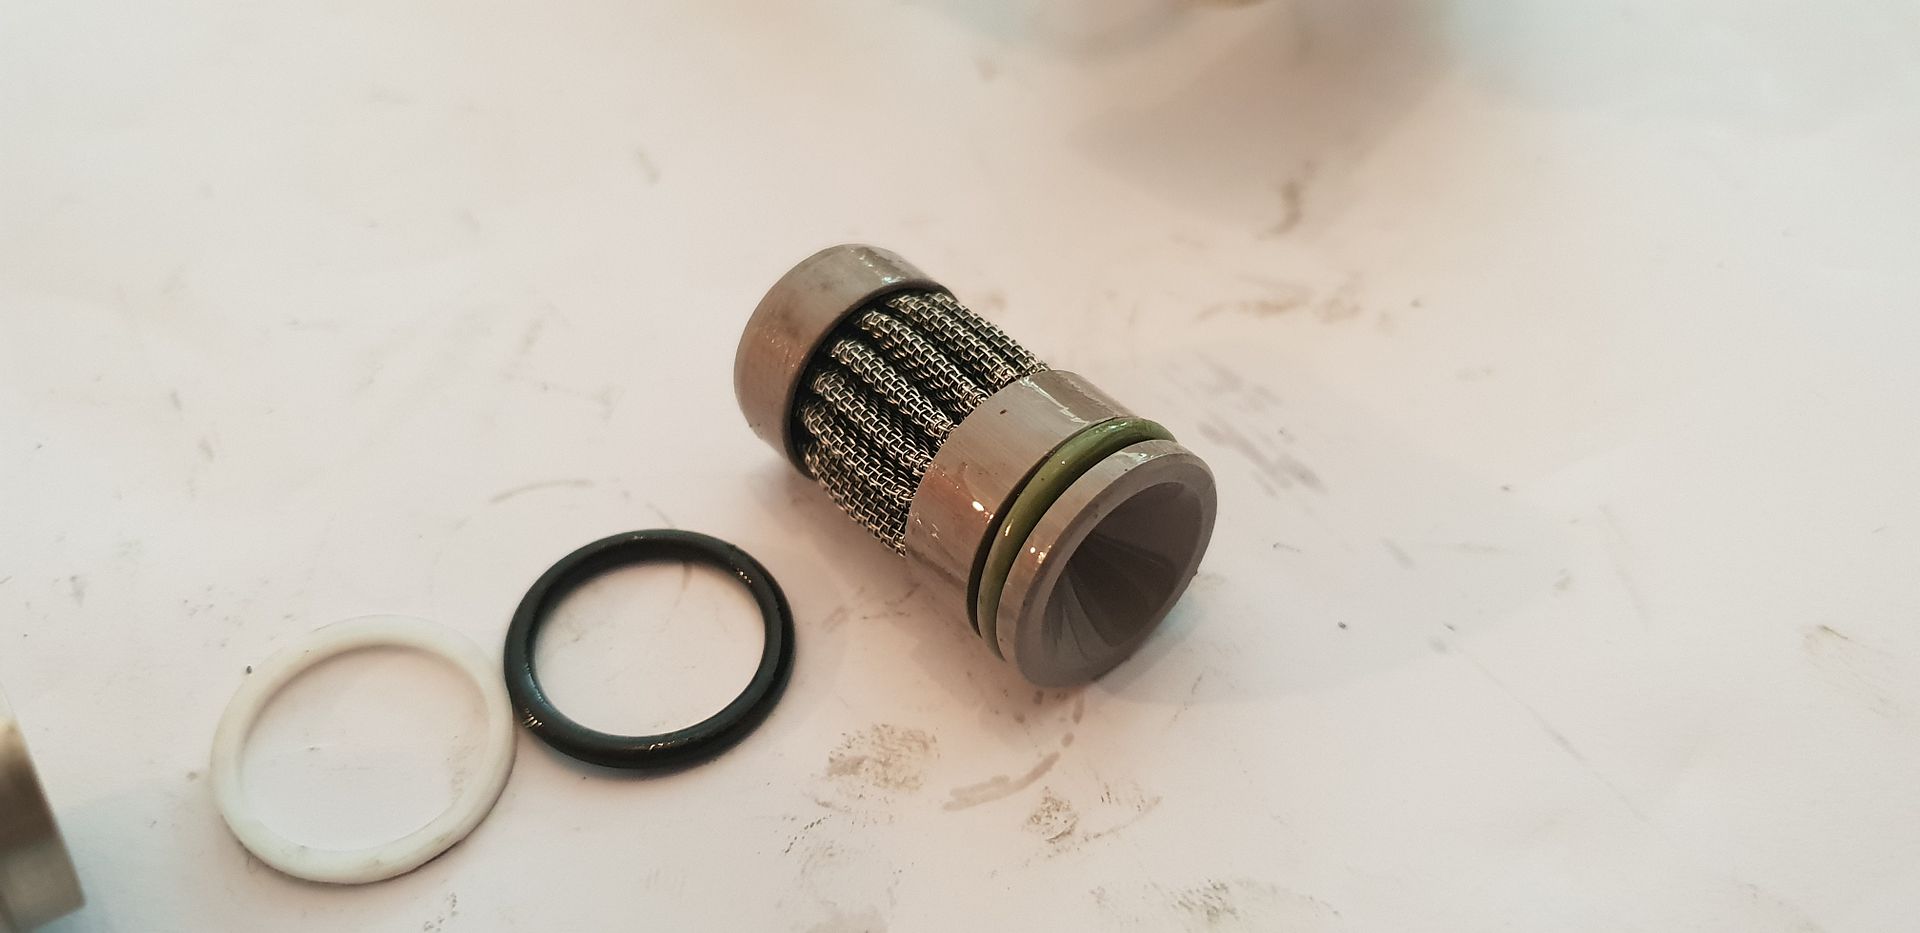
You can just make out the outlet port inside,
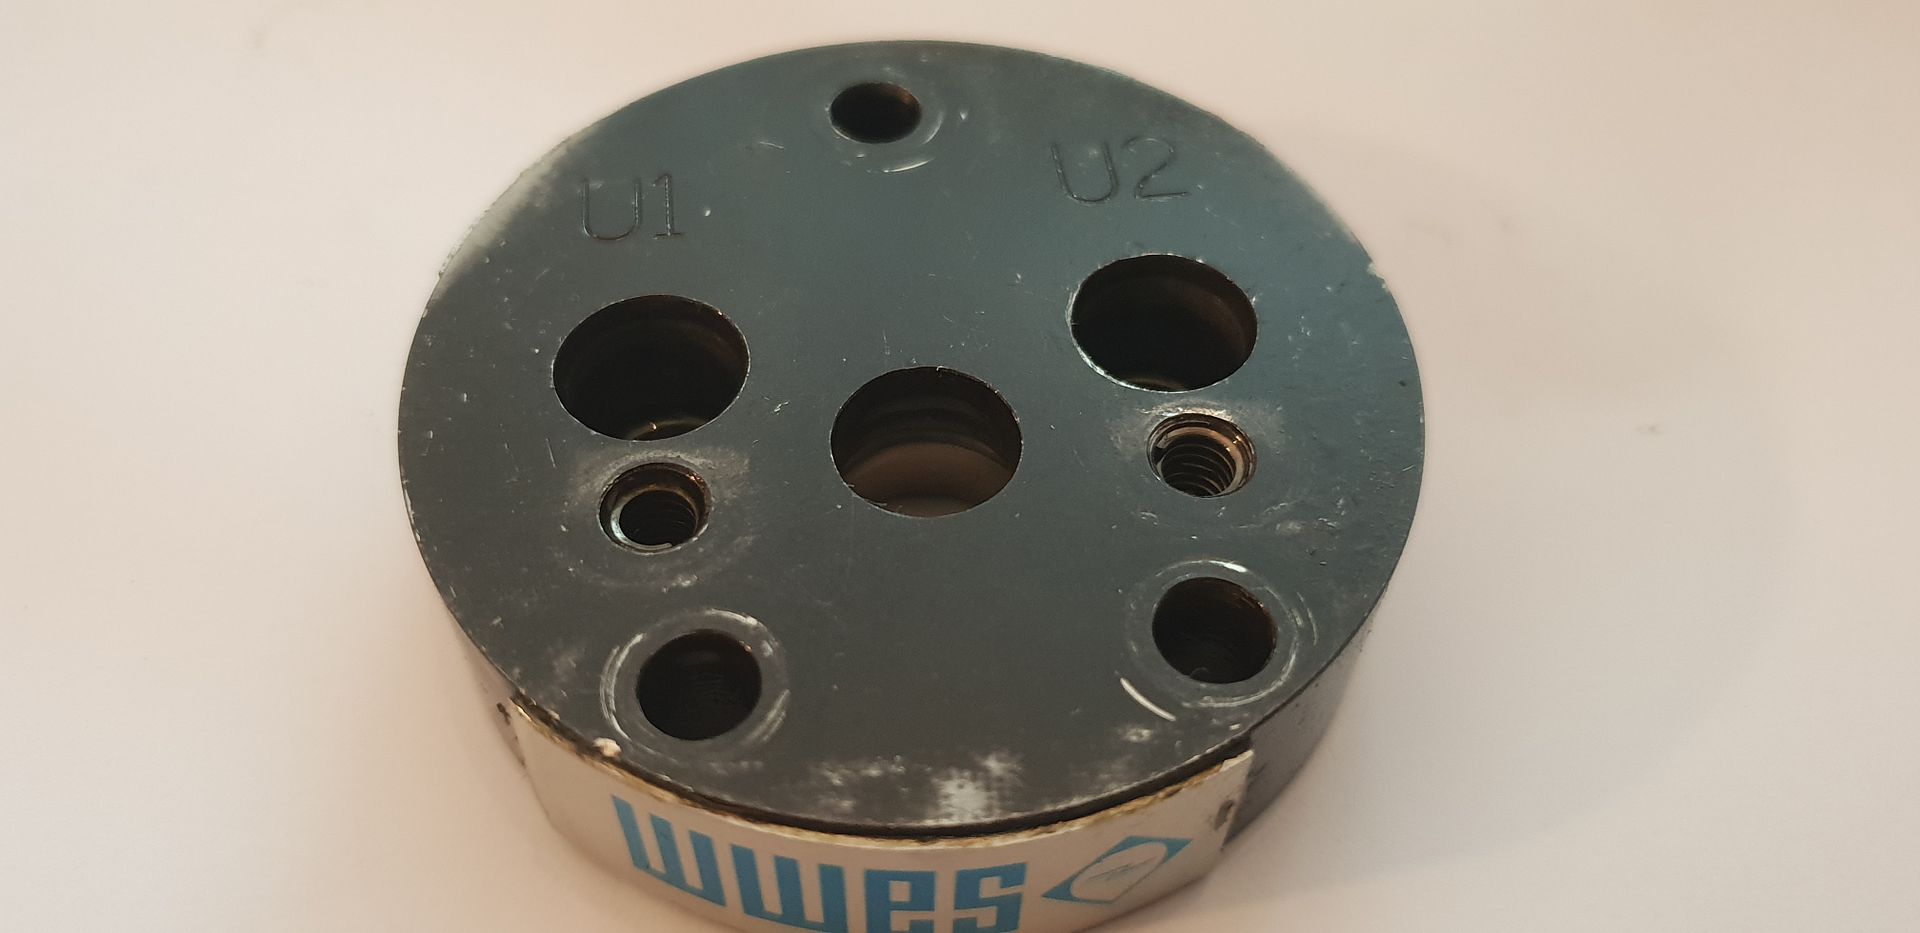
Returning back to the actuator and with the rear cover off you can see its method of operation - the actuator is of the ''Rotary Vane'' type and common in these types of applications. As you can see below, the cap has two ports - each port lies over the small space beside the vane - modulated fluid pushes the vane to the chosen angular position,
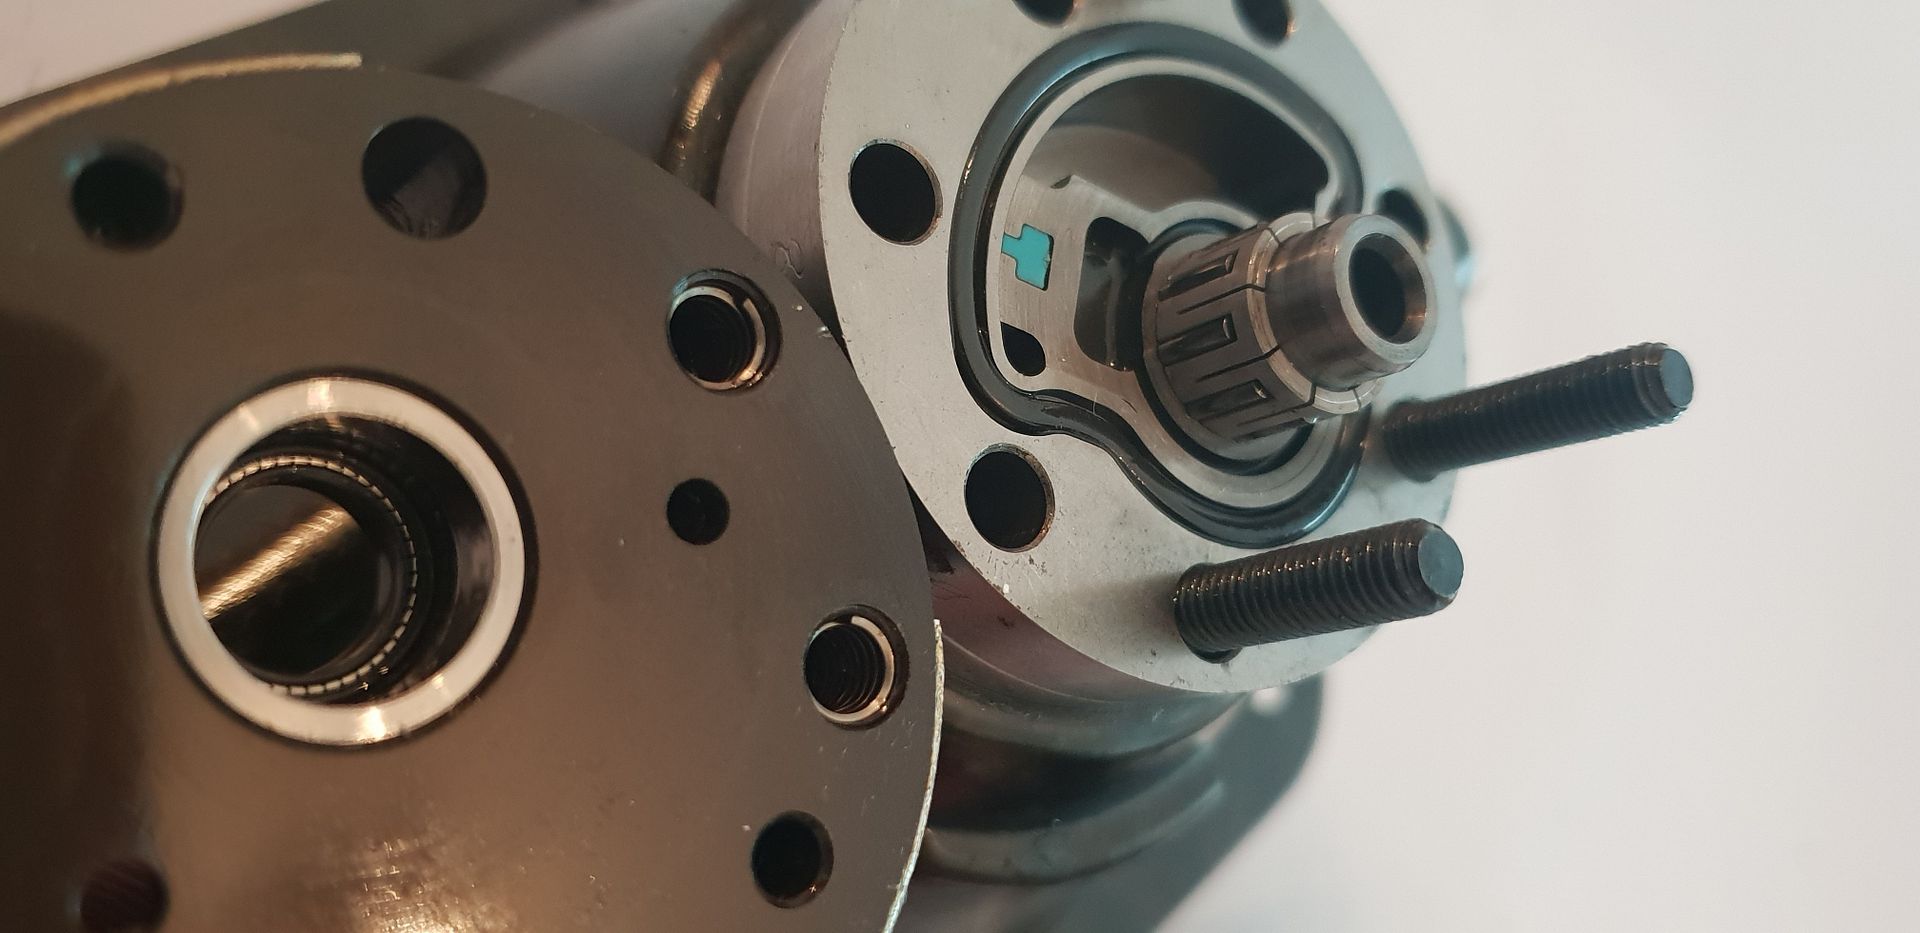
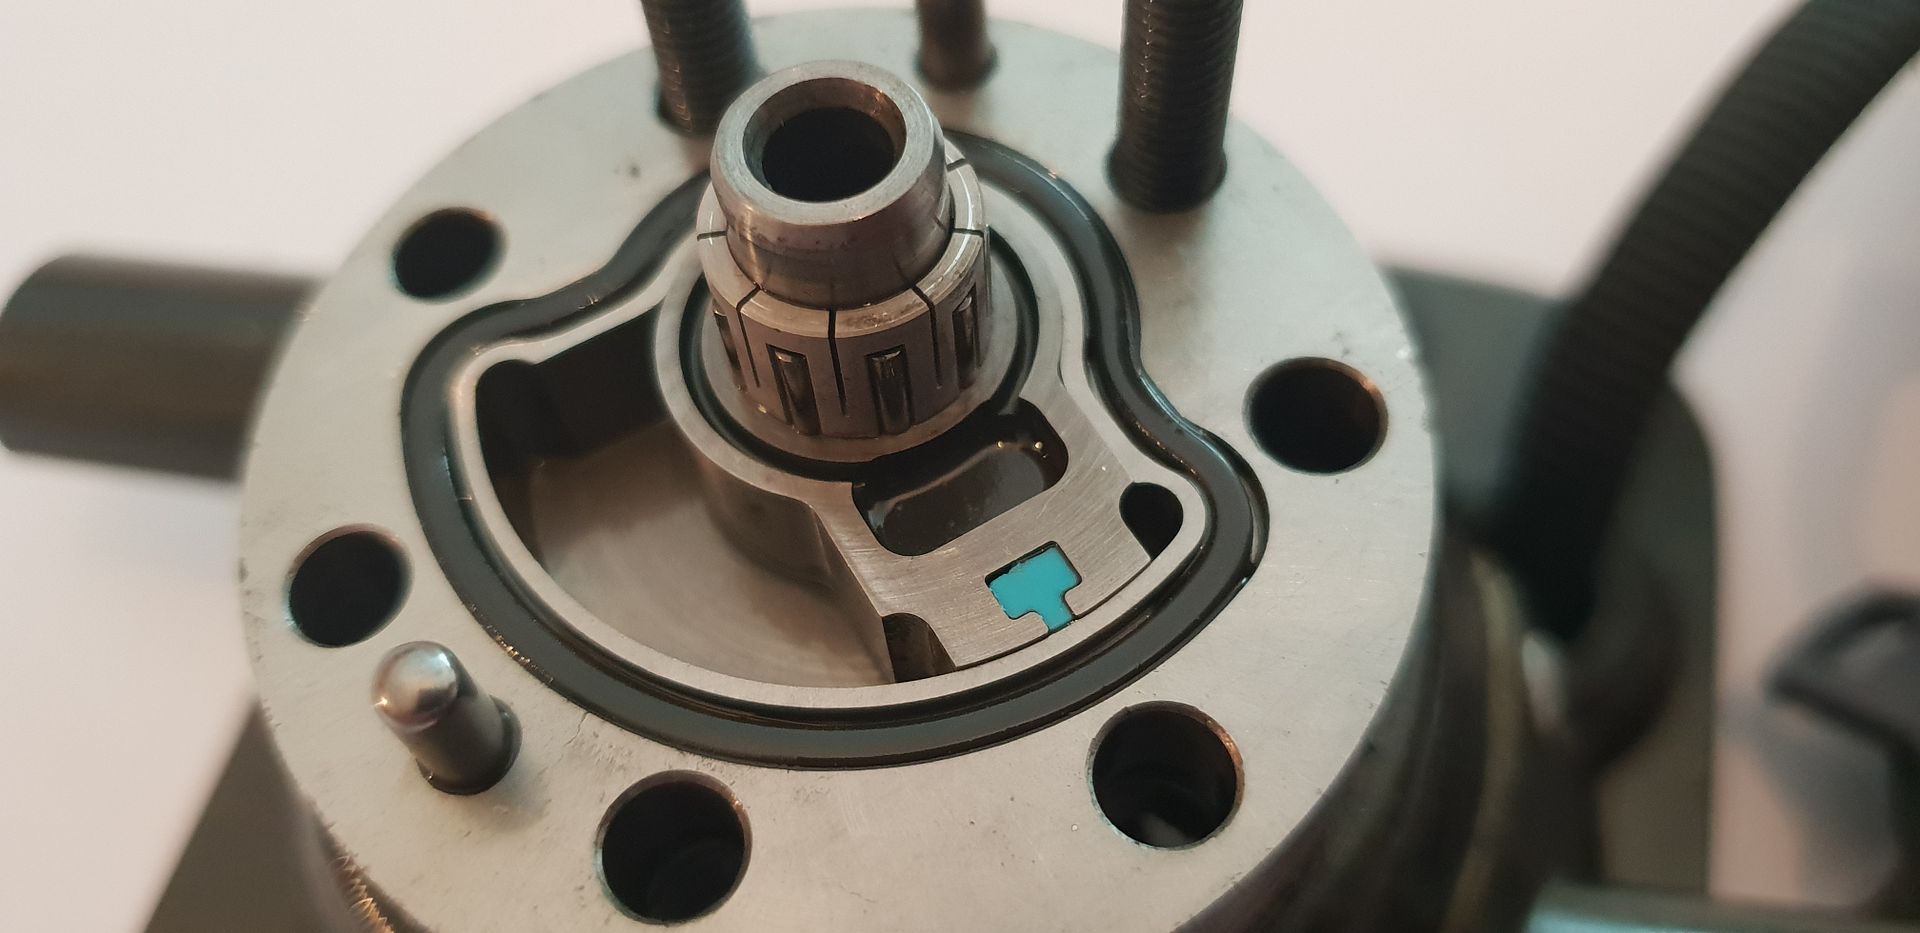
The spindle sits in a steel bushing pressed into the aluminium cap, shaft seal also visible,
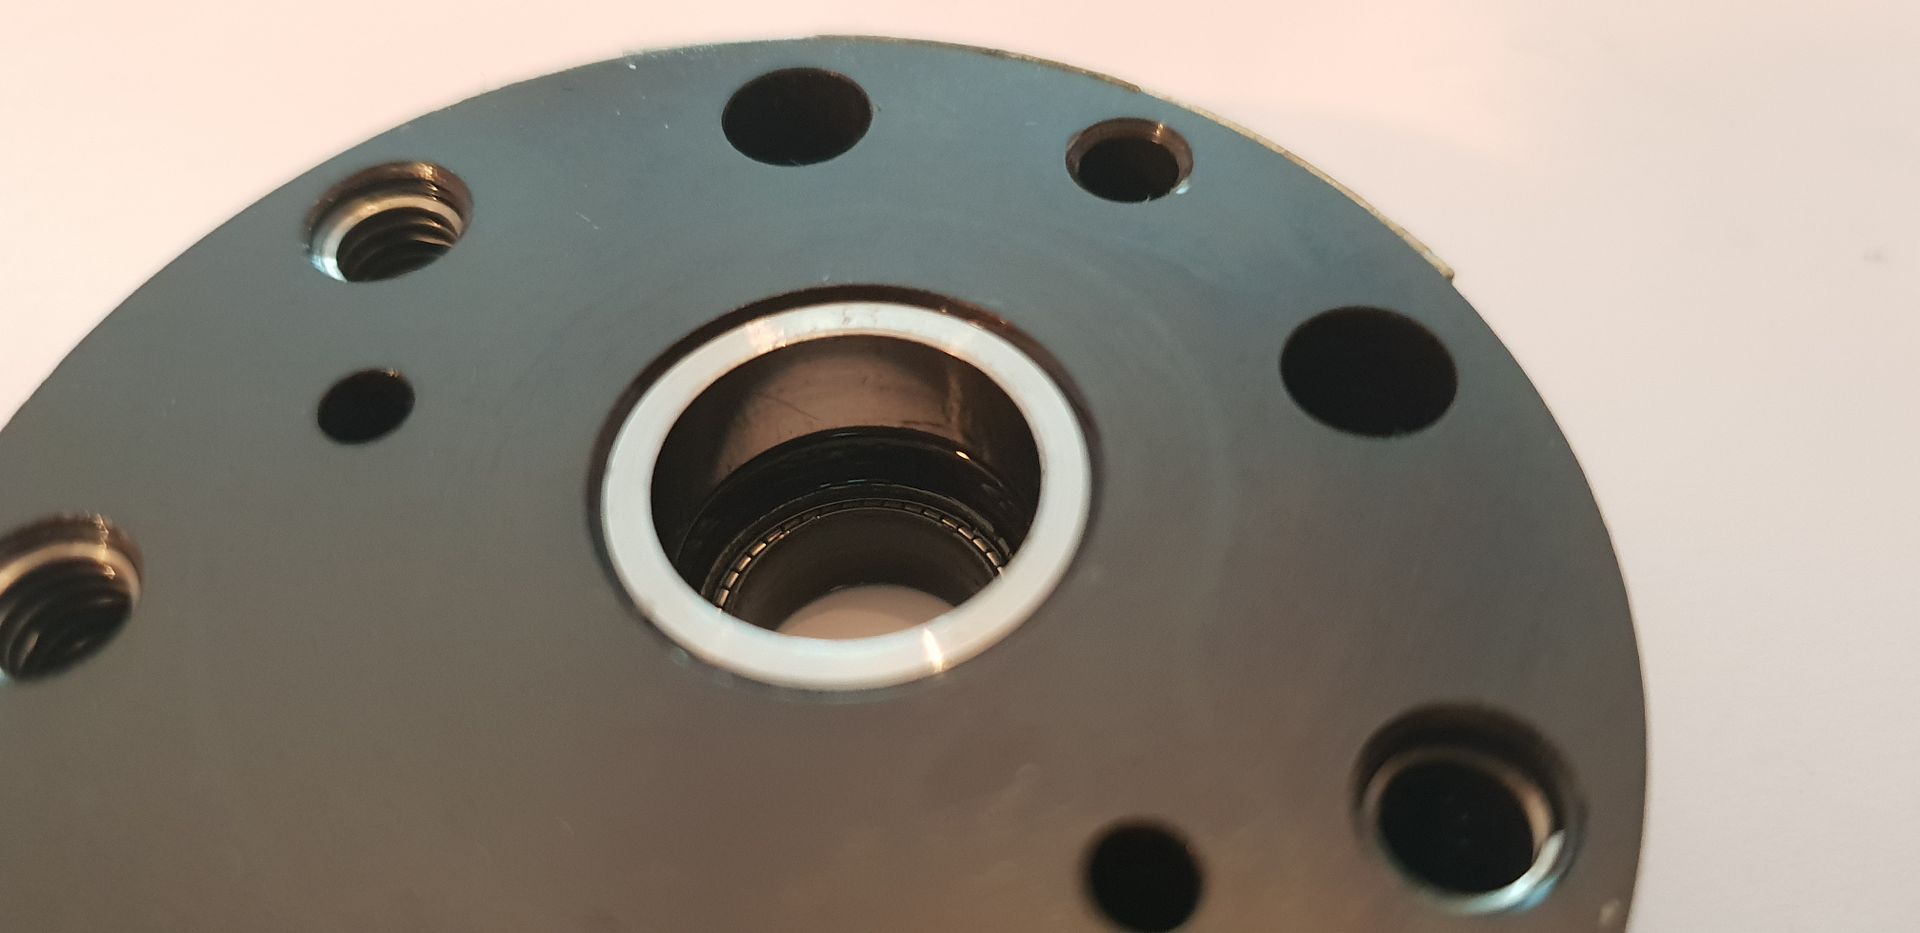
With the mid section removed you can see markings caused by the vane vibrating when in the idle position - the engines are designed with the most resonance present at idle since they dont spend much time there,
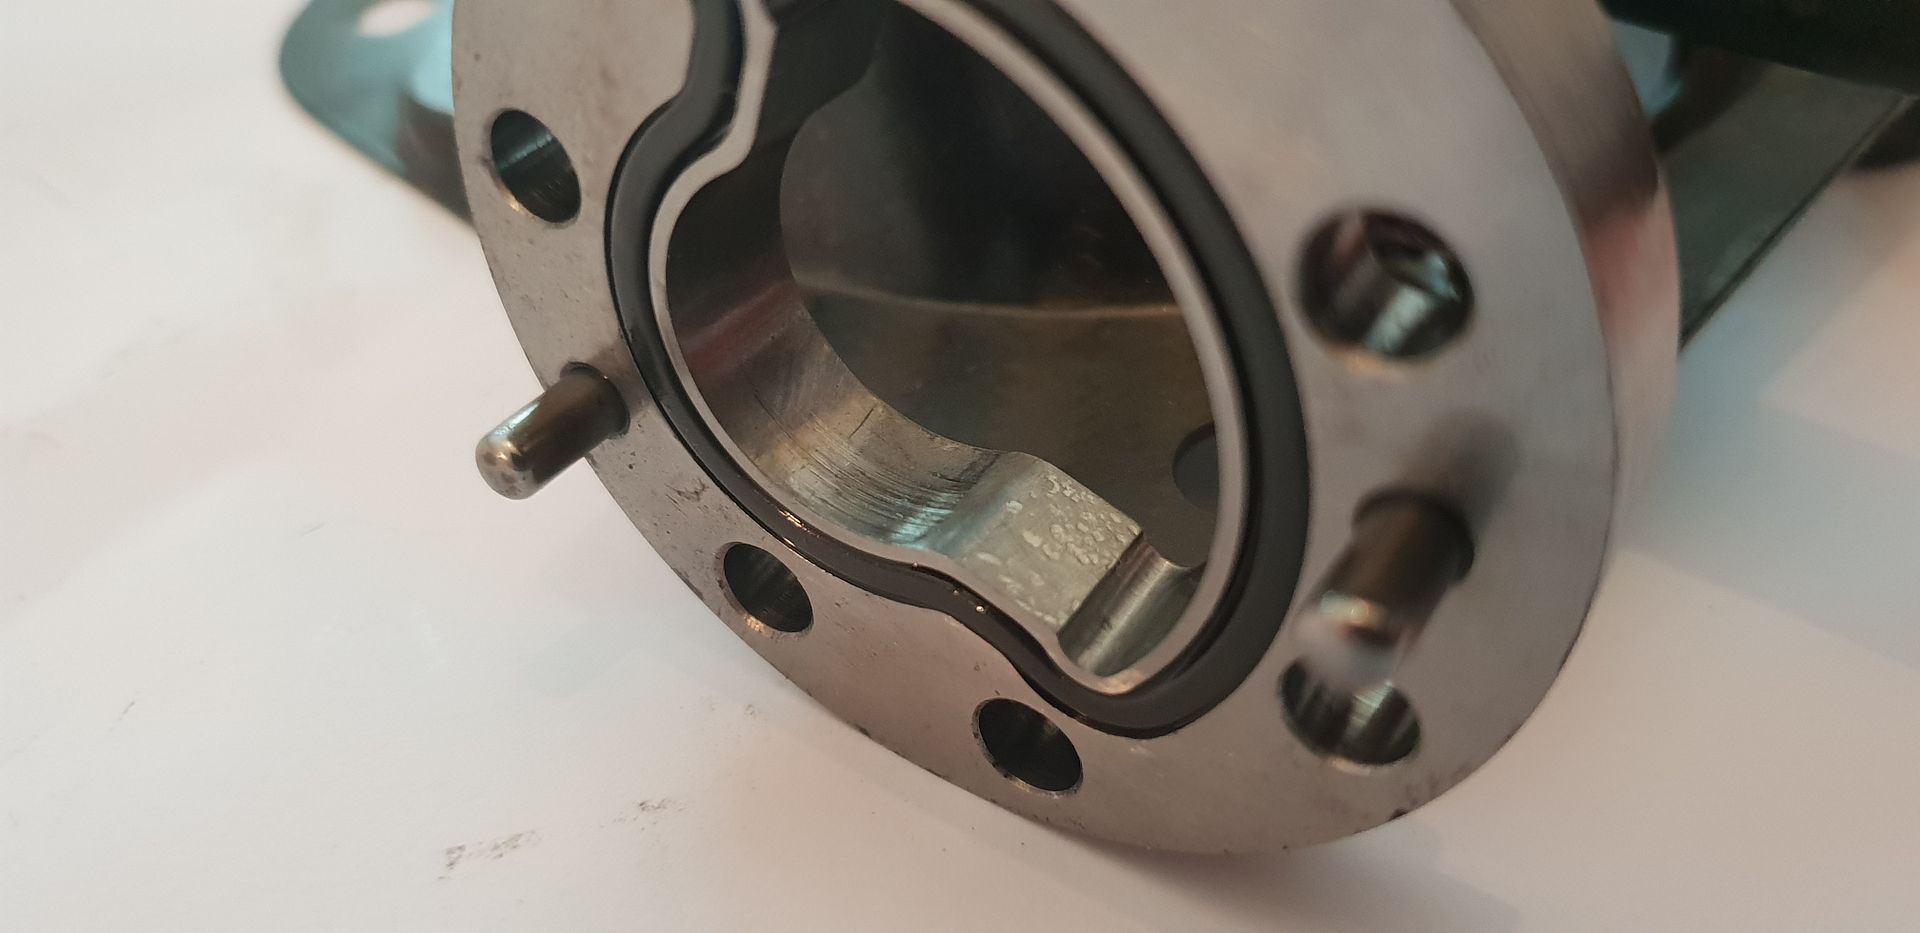
And the wiper seal detail,
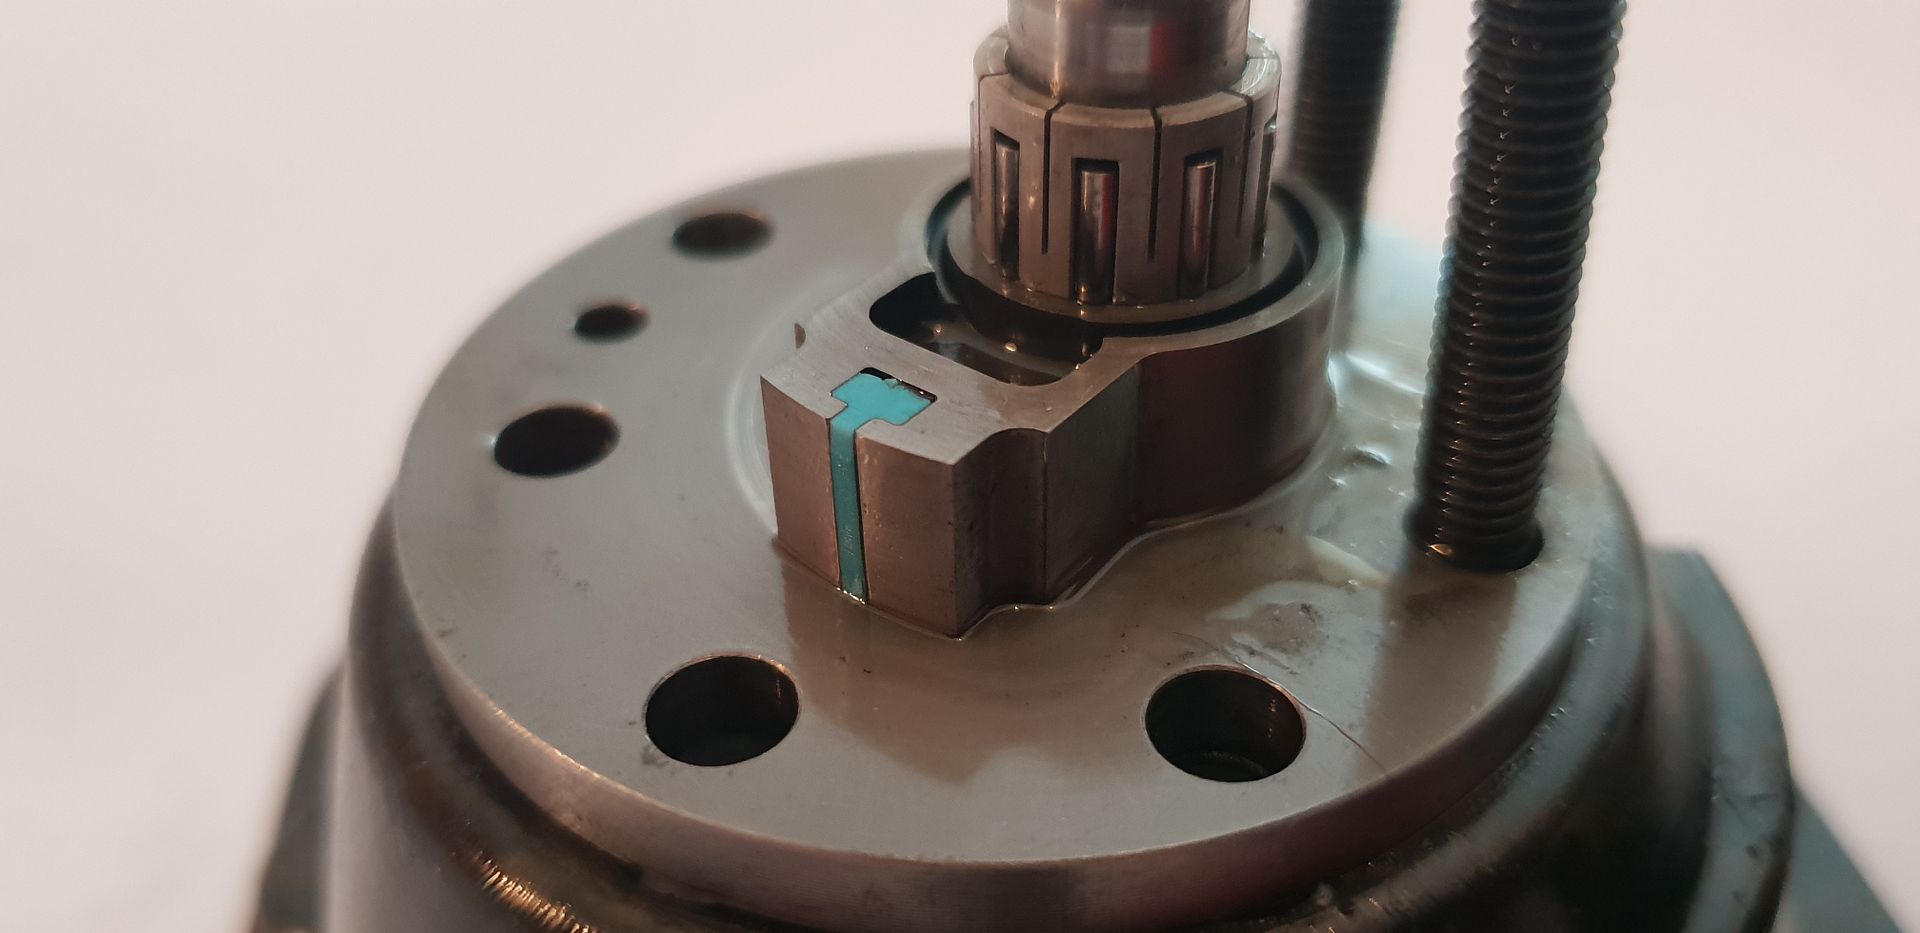
So thats pretty much it in terms of what the F1 Throttle Actuator looks like externally and internally - neat piece of kit and pretty important really...
Until next time,
Brian,
